
We're sorry
There was an error adding this product to your cart. Please close this window and try again.
Inspired? Create and share by tagging @hallmarkstores.
Cut a 6-inch square out of cardboard or quilter’s template plastic and then cut it in half diagonally to form your template. (Or print and use our triangle template.)

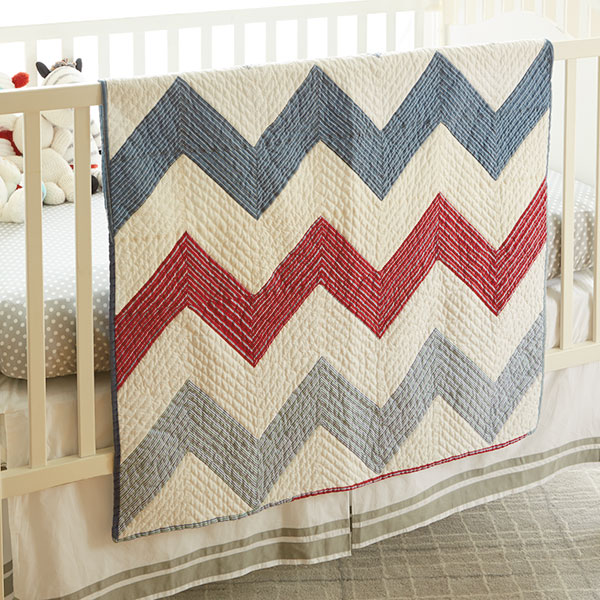
Press and open 1 of the men’s shirts and lay it out so the inside of the back of the shirt is facing up. Place the triangle template on the shirt with the long side of the triangle parallel to the stripes. (This will create a zigzag pattern from the stripes when the pieces are put together.) Draw around the template on all sides with a water-soluble fabric marker. Move template over to draw the next triangle, giving yourself at least ½ inch between the shapes for cutting. For this pattern, you’ll need 14 triangles from each shirt.

Cut out the triangles ¼ inch outside of your drawn lines. Save the shirt’s front, yoke and sleeves in case you need extra fabric or replacement triangles later.

Repeat pressing, drawing and cutting process for the 4 remaining shirts—so you end up with 5 sets of 14 triangles each.
Now cut 70 triangles from the white fabric, using this layout:

After cutting all the pieces, begin assembling your squares. The rows should each be comprised of 7 striped and 7 white triangles.

Lay out the rest of your striped and white triangles following the same pattern until they’re all in rows.
Pin each striped triangle to its corresponding white triangle along the diagonal drawn lines, right sides facing, matching corners. Sew together from corner to corner with a sewing machine or with a needle and quilting thread using a running stitch.
After sewing together all the triangles to form the squares, iron all the squares, wrong side up, pressing seams to the darker fabric. Pin and sew the squares together, right sides facing, along the sides to create rows. Iron the rows, wrong side up, pressing the seams between the squares to face the same direction.

Pin and sew the rows together. When your quilt top is complete, iron again, pressing the seams between rows to face the same direction. Now it’s time to baste the quilt.
To make a quilt “sandwich,” iron your quilt top again, this time from the front, to remove as many wrinkles as possible.
Lay the quilt top right side down on a large, open area of floor or low-pile carpeting. With 2-inch-wide masking tape, tape the edges of the quilt top to the floor, pulling it taut as you go and working opposite sides first, then corners. You don’t want to pull it too tight, but you do want to remove pesky wrinkles.
Then unfold your batting and lay it, centered, over the quilt top, gently pulling out any wrinkles in the batting. Batting should completely cover the quilt top on all sides and corners.
Iron your white backing fabric and lay it on top of the batting, smoothing out wrinkles and centering the fabric so it, too, covers your quilt top on all sides. Tape your backing fabric down to the floor on all sides, using the 2-inch-wide tape and pulling it taut, as you did the quilt top.
Pin all 3 layers together using your large safety pins. Start in the center of the quilt and work your way out to the edges, pinning about every 4 to 6 inches across the entire quilt. If you’re working on carpeting, lift up the pins slightly as you secure them to make sure you’re not pinning the quilt to the carpet.
After the quilt is all pinned together, carefully remove the tape from both layers of fabric and throw it away. Now it’s time to quilt.
Mark your desired quilt pattern onto the entire quilt top using the water-soluble fabric marker and quilting templates or a ruler. (I used a ruler and made zigzag lines across the quilt, ½ inch apart.)

For machine-quilting, skip to Step 5. For hand-quilting, follow these next few steps. Place the center of the quilt in your quilt frame or hoop so that it’s taut and wrinkle free. Remove any safety pins that are in your way as you secure it in the frame.
With a thimble, needle and quilting thread, sew through all layers of the quilt along your marked quilting lines.

When you get to the edges of the quilt that aren’t accessible with a hoop, you can quilt without the hoop by pulling all the layers taut with one hand as you sew with your other hand.
For machine-quilting, roll up the quilt from 2 opposite edges into tight spirals. Starting at the center, quilt along your marked lines, removing pins as you go. Then work your way to the outside of the quilt, keeping the layers you’re not working on rolled up tightly out of the way.

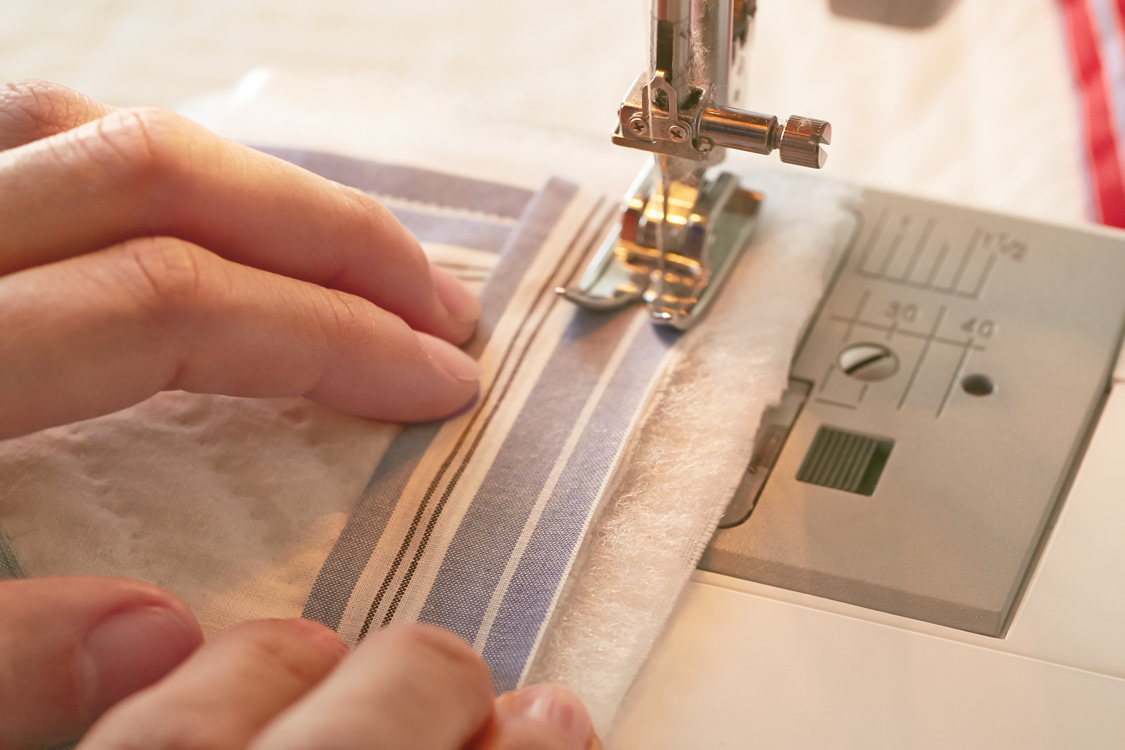
If you want to make your own binding, there are lots of tutorials online, but this is how I do it: Start with 2¼-inch-wide strips of fabric cut on the bias. Then sew strips to each other, end to end, at a 45° angle, until you have 1 continuous 2¼-inch-wide strip. Trim seam allowances and iron them open. Then fold the binding in half, lengthwise, right side out, and iron again. You’ll want your strip of binding to be about 20 inches longer than the perimeter of your quilt. Since the quilt is 42 inches by 60 inches in size, your binding will need to be about 224 inches long.
If necessary, trim off excess backing and batting to within 1 inch of the quilt top edges. About halfway down 1 side of the quilt, and starting about 12 inches from the end of your binding, pin the raw edges of the binding strip to the raw edge of the front of the quilt (optional). Sew the binding to the quilt along the raw edges using a ¼-inch seam allowance. (I recommend machine-sewing here because it’s faster and stronger, and you won’t see the stitches).
At the end of the first side, miter the corner following these steps: Stop sewing when you reach ¼ inch from the corner of the quilt top. Backstitch 1 to 2 stitches, then raise the needle and presser foot and pull the quilt out from the machine towards you (you can leave threads attached).

At a 90° angle, lay the binding out so that it is parallel with the quilt top edge, but going in the opposite direction.

Flip the binding back 180° across the quilt, keeping the previous 90° angle in position underneath. The binding should now be completely straight, with the folded edge of the binding parallel with the just-sewn quilt edge, and the bottom, raw edges of the binding aligning with the raw edge of the quilt edge still to be sewn.

Place the corner of the quilt back under the presser foot, and place the needle ¼ inch from the corner, close to where you ended your stitches previously. Continue to sew the binding to the quilt along the second side until you get to the next corner. Repeat the mitering process and continue again, until all 4 corners are mitered.
On the last side, continue sewing the binding to the quilt until you’re about 10 to 12 inches from where you began. Take the first “tail” of bias binding and, about 5 to 6 inches from the attached end, open it up and iron it at a 90° angle towards the quilt. With the other tail of binding, place it along the unsewn edge of the quilt until it touches the angled first piece of binding. Open and iron the second piece at a 90° angle away from the quilt, so that the 2 angles match up.

Pin the 2 strips of binding together, right sides facing, at the angled folds. (It’s awkward, but it will give you an invisible join when you’re done.) Sew together, and then clip off seam allowances ¼ inch from the seam. Iron seam open, fold in half right side out, iron again, and then sew the final bit of unattached binding to the front of the quilt.
Now that the binding is secure to the front of the quilt, trim the raw edges for all 3 layers (quilt top, batting and backing fabric) to about ¼ inch from the binding seam. Then fold the binding over to cover the raw edge of the quilt, and whipstitch the folded edge of the binding to the back of the quilt. For the mitered corners, if you sew the binding down right up to the corner, the next edge of binding should fold down straight and create a 45° angle. Tack a few extra stitches in the corners to keep them crisp.
Make a label for your quilt with a piece of extra fabric (optional). Write or embroider your name and the date, so future family members will know where this heirloom originated! Appliqué it to a corner on the back of the quilt.

From 9-5, our favorite show is The (Home) Office. 💼 📄 Add some fun to WFH with products and decor from The Office, av...
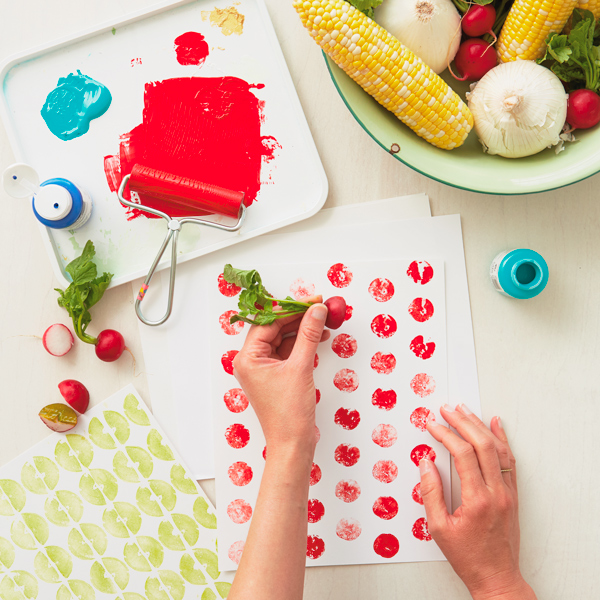
There are so many reasons to try fruit and vegetable stamping: It's surprisingly creative. It's easy. It uses stuff y...

You have the cutest baby in the world. There’s no contest. It’s not even a question. But what you might not have are ...
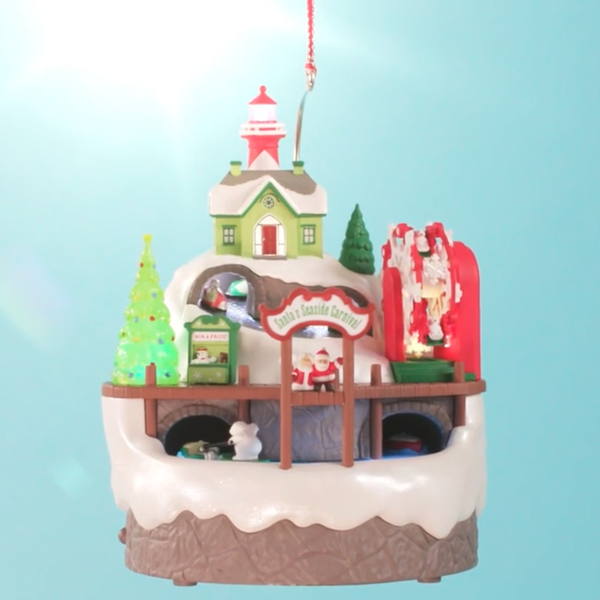
Get ready for all the sights and sounds of Santa’s Seaside Carnival! Santa and Mrs. Claus are ready to greet visitors...
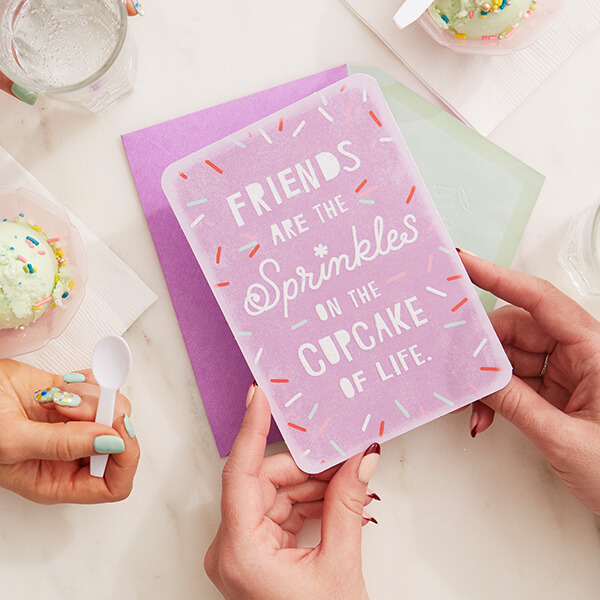
Whether it’s your friend’s birthday or just any old day, sending a card is a great way to bring a smile and nurture ...
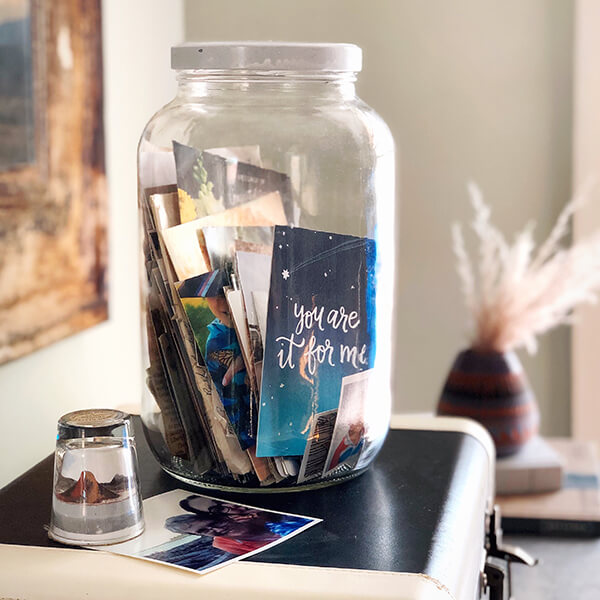
If you’ve got a shoe box full of old cards and letters, you’re definitely not alone. People have been stashing away m...
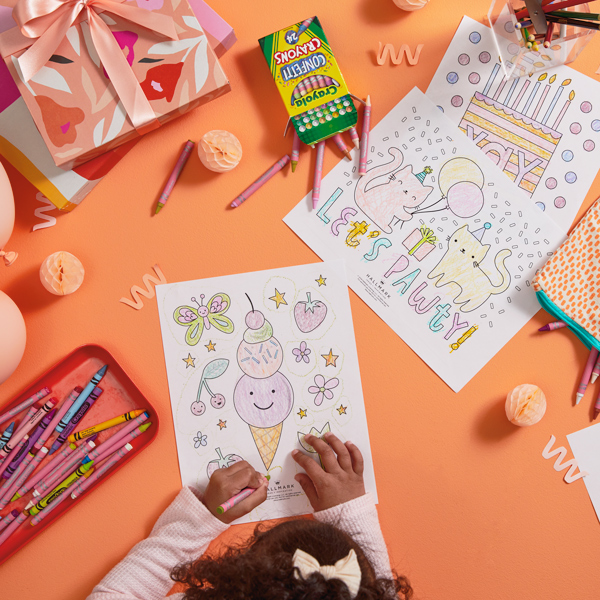
The best birthdays are the ones filled with lots of little treats and fun activities, from sunup to sundown. If you’r...
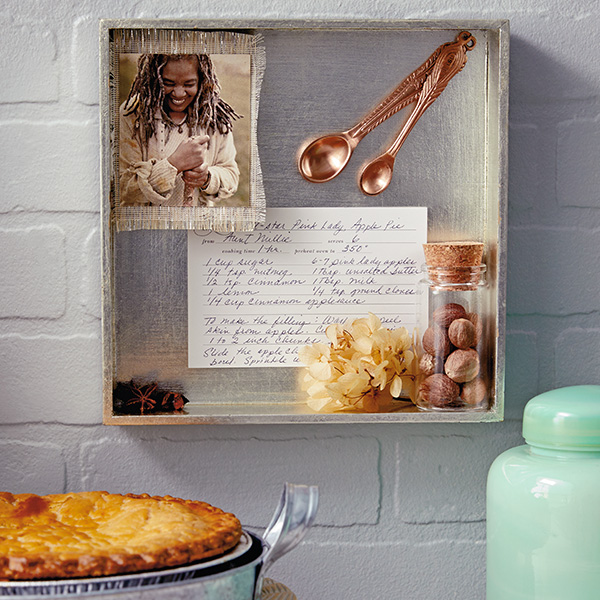
Family recipes are a special kind of priceless heirloom—the kind that transport us back to our favorite times with ou...
It can be tough to come up with gift ideas for Mom. Most of us want to give her something meaningful: a gift that sho...

As a dad, I appreciate Father’s Day. Even though my family has never made a really big deal out of it, it’s always so...

In 6th grade, my homeroom teacher made us illustrated, laminated bookmarks—each one a custom collage of our interests...

Fans of Disney Tim Burton’s The Nightmare Before Christmas, we have a frightfully fun new addition for your tree! Kee...

My little brother starts kindergarten this year, and I’m already bracing myself for the tears—mine, not his. I know t...
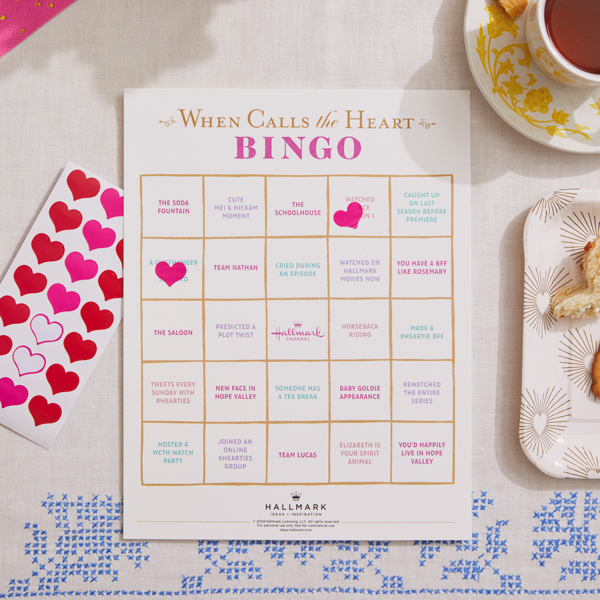
Who's ready for a Heartie Party? You know we are! So much so, we created a bingo card to add a whole extra layer of f...
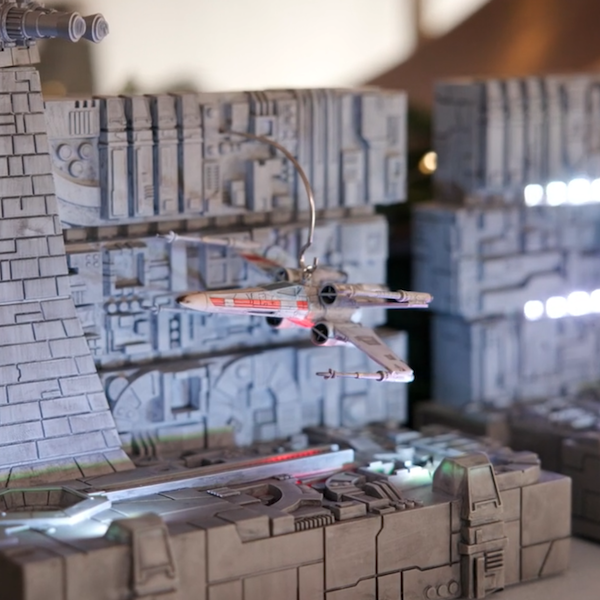
You don’t have to travel to a galaxy far, far away to experience an epic adventure! Each stocking holder performs sce...
Get a special behind-the-scenes look at how Keepsake Artists Gregor Benedetti and Rob Stanphill collaborated on the d...

Do you want the inside scoop on an im-paws-ibly cute new series? We’ll throw you a bone—Keepsake Artist Sharon Visker...
We’re so excited to introduce our new ShowToppers collection. Featuring three unique designs, each tree topper is int...

Keepsake Artist Sharon Visker is here with a special delivery of Christmas magic! Hear how she brought this bustling ...

Ready for a little magic? Featuring light, sound and real dialogue from the movie, Harry, Dobby, Ron, Hermione and th...