How to address an envelope
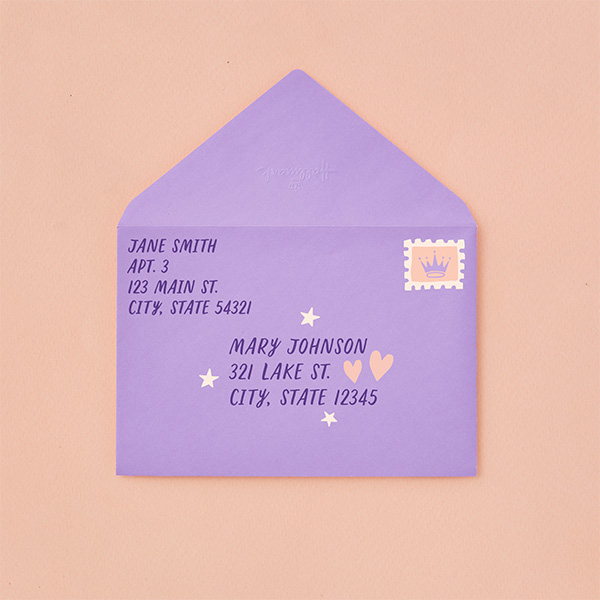
Not long ago, dropping a note in the mail was part of everyday life. Now we communicate instantly with texts, emails, and social media—but when you want to send a tangible, lasting, meaningful message, there’s nothing like a card. Here’s how to address an envelope and send your card out into the world.
Inspired? Create and share by tagging @HallmarkStores.
How to address the envelope
It’s important to get the addresses in the right spots, or you risk your mail landing on your own doorstep instead of the intended recipient’s.
Add Your Return Address
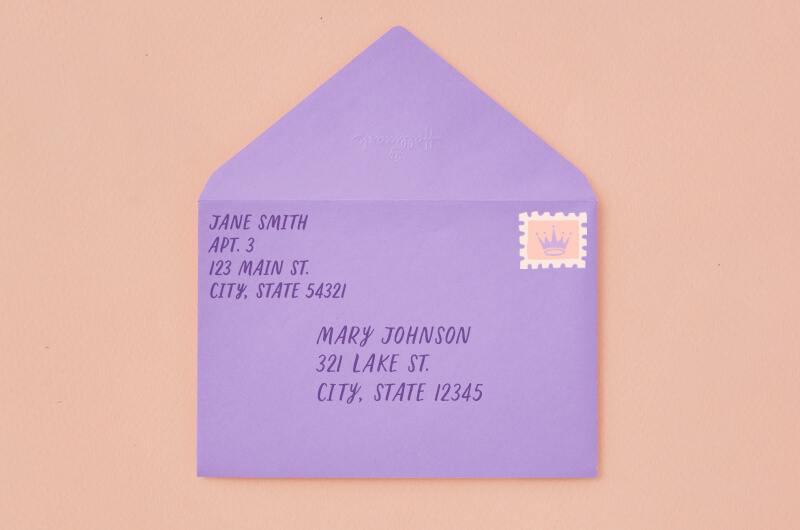
Write your own address (the “return address”) on the top left corner of the front of the envelope. It’s also acceptable to put it on the back of the envelope in the middle of the flap.
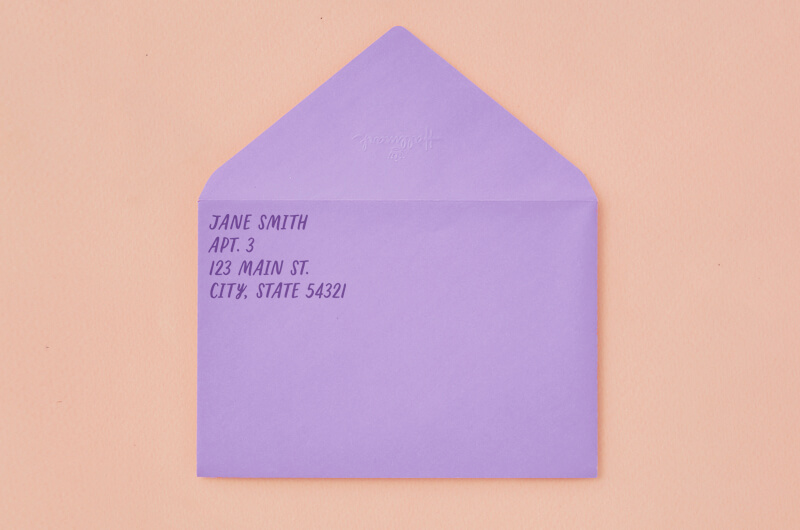
Line 1: Your full name (and title, if appropriate)
Line 2: Business name, building name (if a college dorm, for instance), apartment or suite number, if applicable
Line 3: Street address
Line 4: City State Zip Code
The return address is there in case your mail has the wrong amount of postage or the recipient’s address is inaccurate. The card will be returned to you to fix and resend.
Add the Mailing Address
Next, write the recipient’s name and address in the center of the front of the envelope.
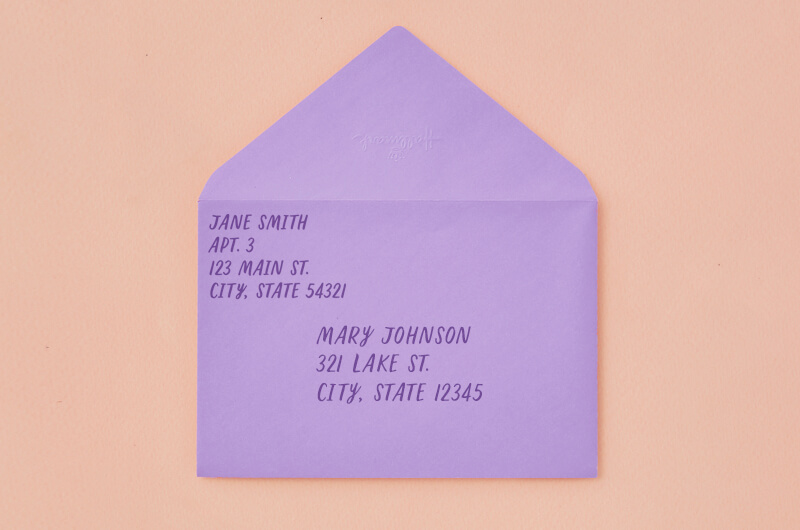
Line 1: Recipient’s full name (and title, if appropriate)
Line 2: Business name, building name (if a college dorm, for instance), apartment or suite number, if applicable
Line 3: Street address
Line 4: City State Zip Code
Bonus points
If you want to make things easy on the Post Office:
• Print neatly in all capital letters.
• Don’t use commas or periods.
• Use the Zip Code™.
• Leave about a half-inch of blank space across the bottom, because the post office will put a bar code there.
But also…
We’re big fans of mail art. Just make sure the address is legible and the stamps are visible. And know it will confuse the scanners and computers, so your card may take a teeny bit longer to arrive at its destination.
Pro tip: If your mail is going outside of the country, follow the format of that country’s addresses and include your own country under the standard return address.
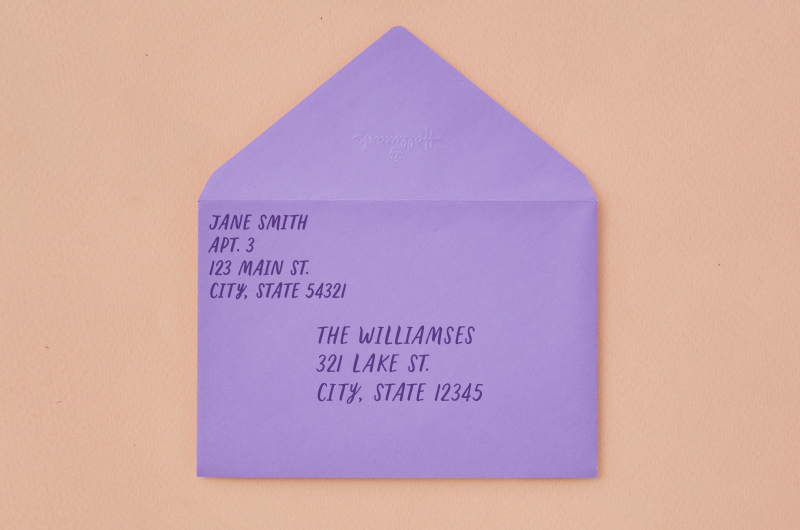
How to address a card to a family
Addressing a card to a family can be a little tricky. Why? Because you’re taking the family’s name (the last name) and making it plural. If you can never remember how to do it, don’t worry—this is something that LOTS of people struggle with.
So here’s your official primer on how to address a card to a family, whether it’s for Christmas, a wedding or any other occasion:
- If the family’s last name ends in a consonant that’s not an “s,” “ss,” “x” or “z,” all you have to do is add an “s” and you’re golden. Example: “The Smiths” or “The Lymans”
- If the family name ends in an “s,” “ss,” “x” or “z,” then you’ll need to add an “es” to make it plural. Example: “The Williamses” or “The Gonzalezes” or “The Felixes”
- You could also skip the pluralization altogether and just add “Family” after the last name. Example: “The Williams Family” or “The Childress Family”
- If there are two last names in the family, use an “and” to include them both, rather than hyphenating. Example: “The Smith and Williams Family” (Not “The Smith-Williams Family”…unless they’ve legally combined their names and do hyphenate them, in which case, hyphenate away!)
How to find a mailing address
Did you get to that last step and go “Oh, right…the address. That’s a thing I need”? If the contact list on your phone doesn’t include addresses, you’re not alone.
Here are the easiest ways to get a mailing address:
- Ask the person you’re sending the card to. Unless you want it to be a surprise, then…
- Check the map app on your phone. If you’ve ever driven to their house, you might have it there.
- If it’s a family member, ask your mom. If it’s a pal, ask your most organized mutual friend. If it’s a co-worker, ask your administrative assistant.
- Try searching their first and last name with their city and state and the word “address.”
How to mail a card
Add the Stamp
The stamp goes in the upper right corner of the front of your envelope.
The stamp you’ll need depends on a few things:
- Where you’re sending your card
- The size and shape of the envelope
- How fast you want your mail to arrive
For most domestic (meaning U.S. only) deliveries with a standard-size envelope, you can use a Forever® stamp (currently 55 cents) and the mail will arrive in 1-3 business days. (Forever stamps have the benefit of holding their value no matter how long you have them, even if postage rates change.)
Non-standard-size envelopes—square, oversized, or unusual envelopes—start at about 70 cents. Really big, funky, bulky, or complicated envelopes—or letters going to other countries—will cost more. And then there are all sorts of options—next day delivery, certified mail, etc.
The US Postal Service is your best source for information about postage, including where to buy stamps.
Fun fact: You can mail just about anything—like a shoe, a coconut, or a rubber ball—with enough postage. Just consult with your local Post Office for the best way to get it to your destination.
Mail the Card
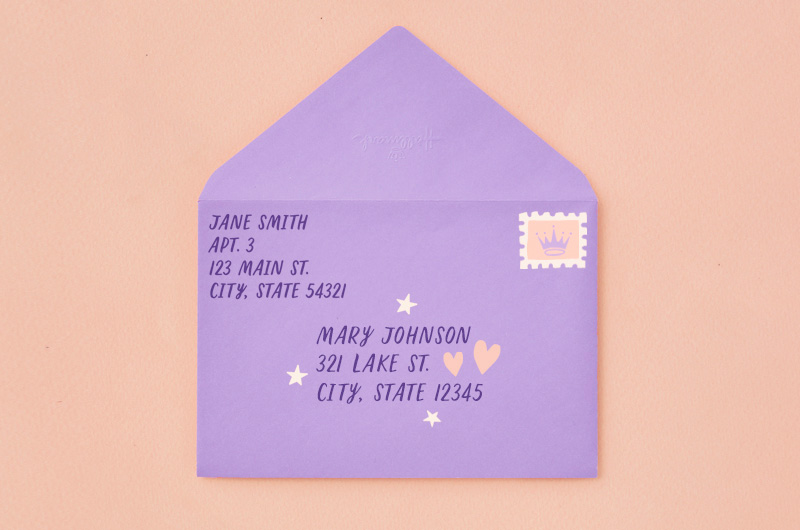
Mailing your card is the easiest part: Simply leave it in your mailbox for your mail carrier to pick up. If you’re worried about speed or security, you can also drop it off at your local Post Office or into any blue USPS box. Find your nearest location.
Shop Cards
See allYou may also like
See more-

Gift Wrapping How to put tissue paper in a gift bag
Gift bag + tissue paper = a quick gift-wrap solution. Sure, it’s easy enough, but there are a couple of tricks to ...
-
Gift Wrapping How to make tissue paper flowers
Who doesn’t like to get flowers? A tissue paper flower can brighten any gift. All you need is five pieces of tissu...
-

Gift Wrapping How to wrap a present: a step-by-step guide with pictures!
In theory, we all know how to wrap a present. You get some wrapping paper, fold it around a box, tape the paper—in...
-
Wedding How to write vows that wow for your wedding
Learn how to write vows that wow for your wedding with these tips from Hallmark writer Stacey Donovan.
-
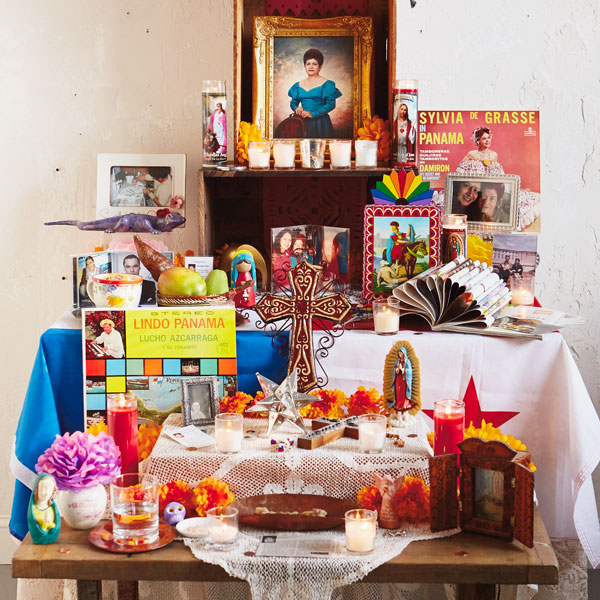
Fall How to make a Day of the Dead altar: A personal story
How to make a Day of the Dead altar, featuring the heartfelt story of a Hallmarker.
-
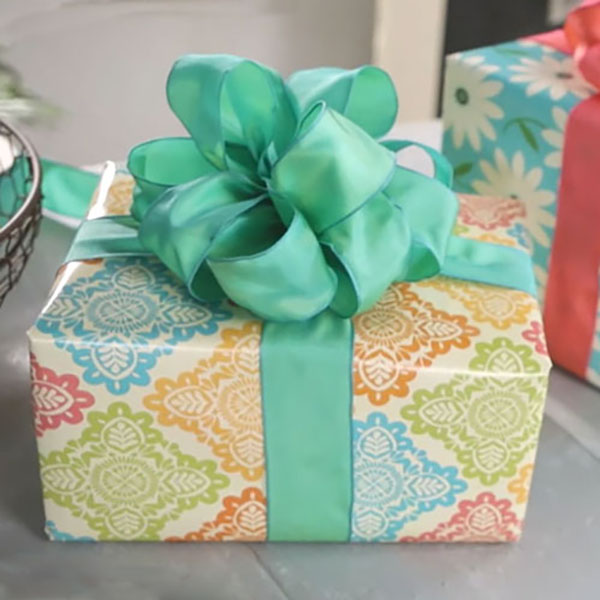
Gift Wrapping How to make a bow out of ribbon
Adding a bow on top is the classic finishing touch to any gift. Watch the fun gift-wrapping video tutorials below ...
-
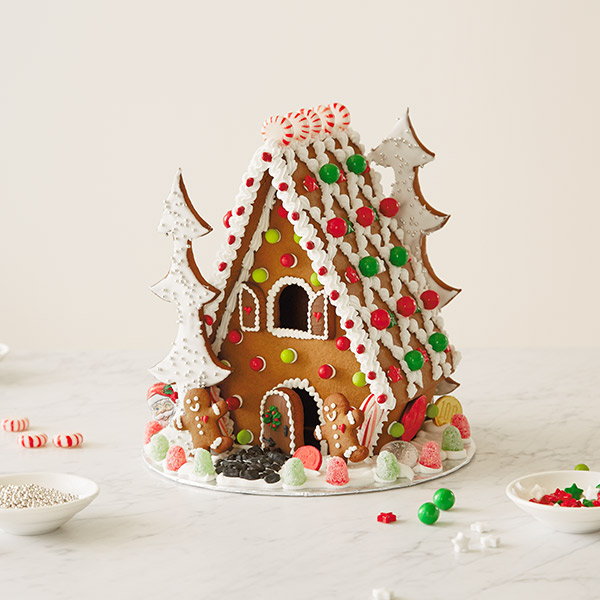
Christmas Bake up Christmas cheer with a homemade gingerbread house
Whisk off to a snow-covered chalet this holiday season with a homemade gingerbread house fresh from your oven. Car...
-
Thank You How to write a thank-you note
Since the dawn of time, people have struggled with the right way to say thank ...

