How to wrap a present: a step-by-step guide with pictures!

In theory, we all know how to wrap a present. You get some wrapping paper, fold it around a box, tape the paper—in like, places—and then it’s done. It’s a present.
The problem is that having a theory about how something is done and actually doing that thing (and doing it well) are very different.
So if you’ve never wrapped a present or you have wrapped a present and been thoroughly underwhelmed by the results, this article is for you. We’re going through the process of how to wrap a present step-by-step, with pictures and details that will help you on your way to becoming a present-wrapping pro!
Inspired? Create and share by tagging @hallmarkstores.
Step 1: Gather your materials

Just like any project, having everything you need within easy reach is key when it comes to how to wrap a present.
You’ll need:
- a box to put your gift in
- wrapping paper
- scissors
- tape
- some ribbon or a bow (optional but highly recommended)
Step 2: Determine your width
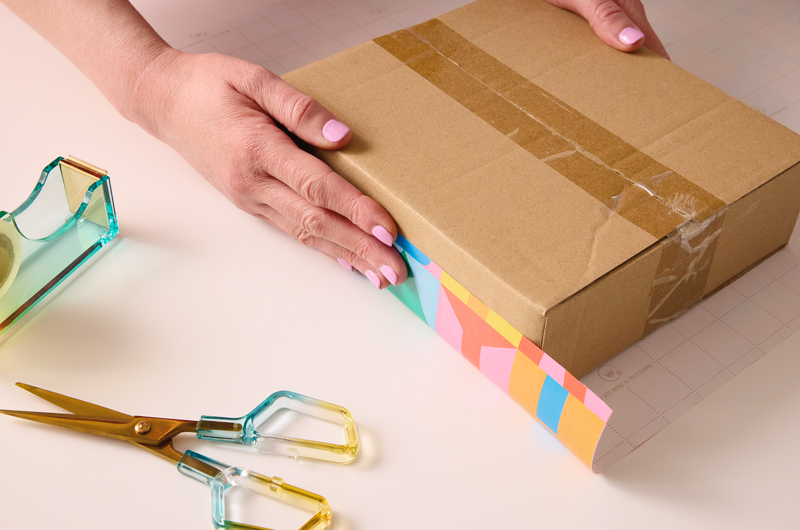
Roll out your wrapping paper and place the box you’re wrapping on top of the reverse/blank side. Ideally, the width of the piece you cut will reach just 2/3 up each side of the box.
Tip: Making crisp creases and folds at the ends will be so much easier if you’re not wrestling with excess wrapping paper.
Step 3: Cut the width of your wrapping paper
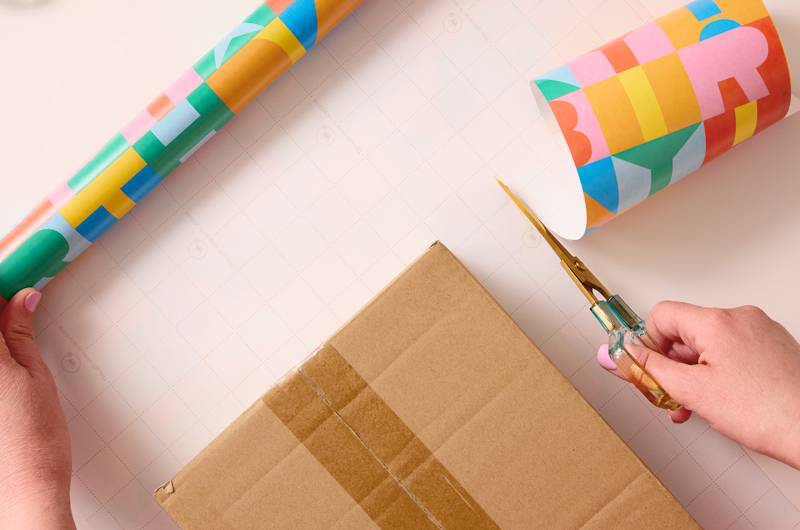
Once you’ve double-checked to make sure you’ve got an equal amount of paper extending out on both sides, use a pair of scissors to cut your width.
Tip: Cutting the width now will save you from having to cut off excess later, which usually ends up jagged and a little sloppy looking. (Not speaking from experience or anything. 😬) It’s super helpful if it’s wrapping paper with a grid on the back to help you measure! All Hallmark gift wrap has this handy-dandy grid on the back.
Step 4: Measure and cut the length of your wrapping paper
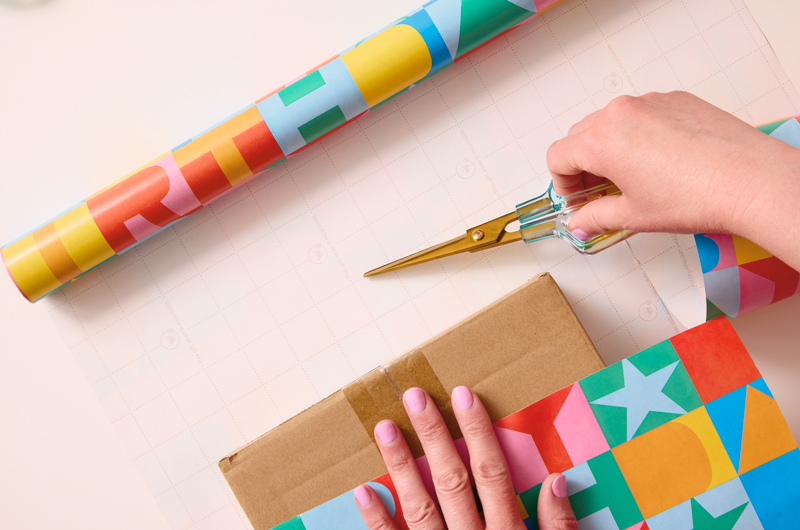
After you’ve cut for width, measure out a length that’s long enough to go around all four sides, plus a couple inches for overlap. Note where this is, then slide the box back a bit to allow yourself room to cut as shown.
Tip: Measuring also helps you avoid waste, making that roll of wrapping paper last!
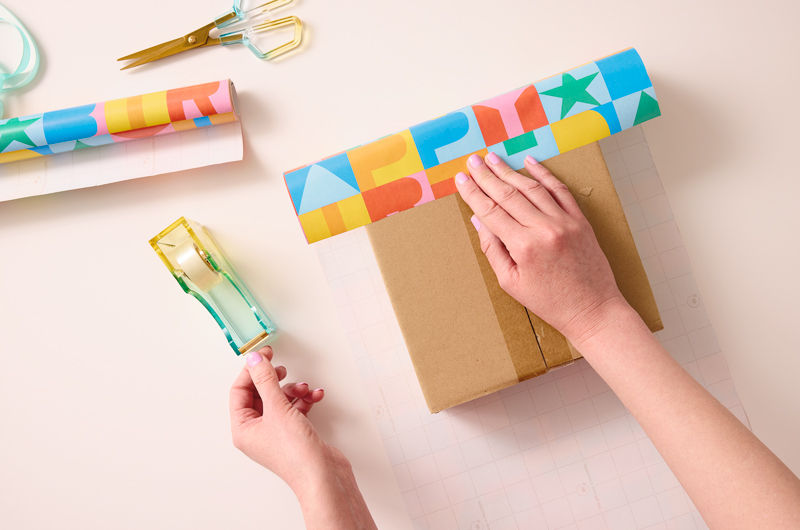
Step 5: Place your box carefully
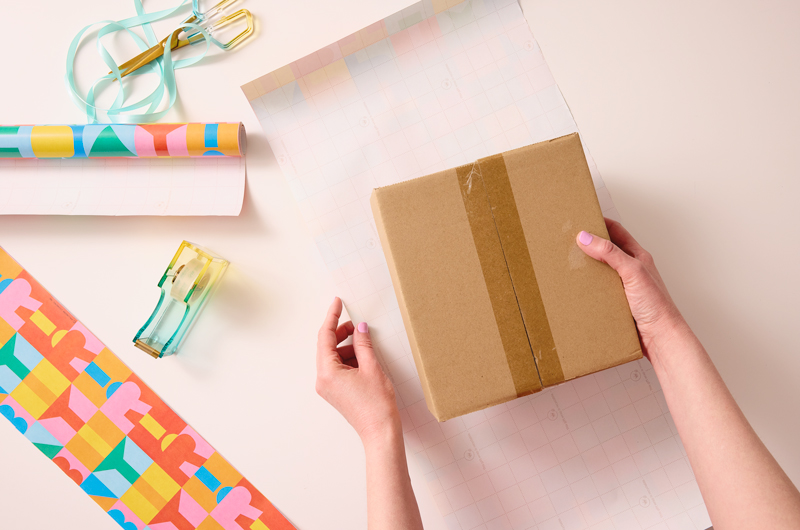
Place your box with the top facing down at the center of the width of your paper and near the top of the length of your wrapping paper. If your wrapping paper has a grid on the reverse side, use it to help align the box.
Tip: Strategically placing the box ensures an even amount of overlap on all sides. This helps make sure you don’t have any uncovered areas!
Step 6: Do a “test fold”
Fold the bottom length of the wrap up to the top edge of the box. If it meets that edge, and you’ve got that top length to provide you with overlap, you’re golden. ✨
Tip: Double-checking where you want to fold your wrapping paper before creasing or taping it ensures a neater wrap. It’s also helpful if you’re the sort of person who’s very particular about patterns matching up.
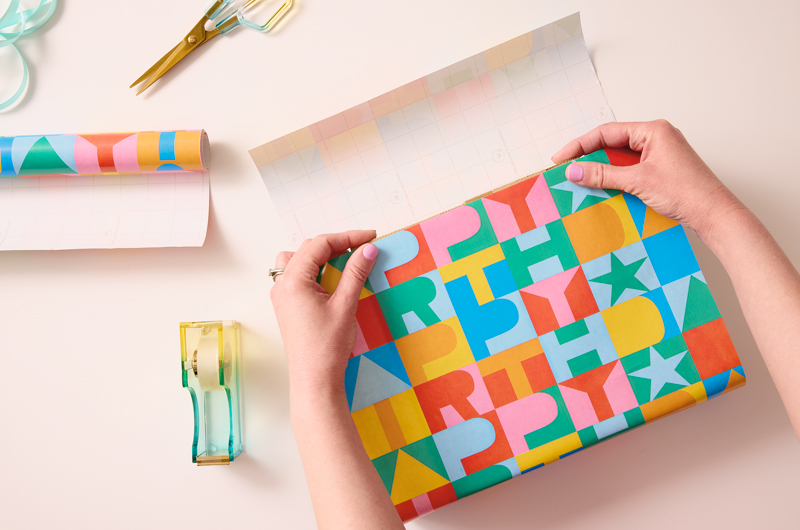
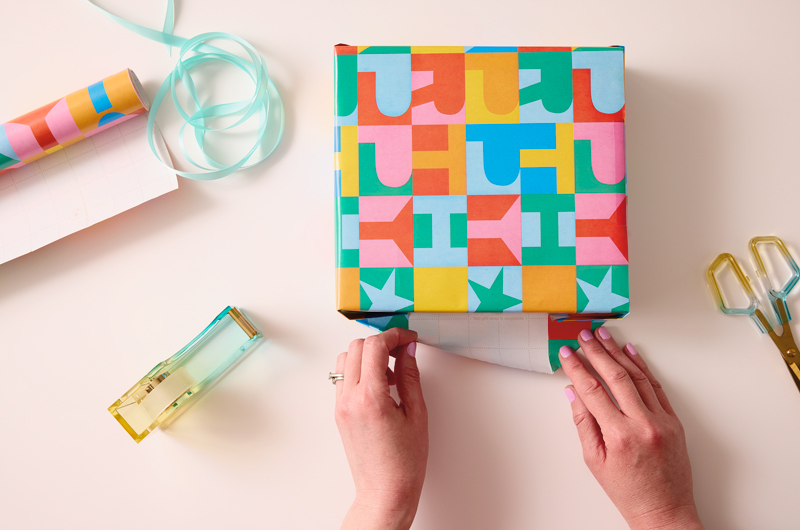
Step 7: Fold down and tape the top length
Fold the top length of the wrapping paper over the top edge of the present and secure with one strip of tape. The paper should only cover an inch or two of the box.
Tip: Taping the first edge down keeps the paper from sliding around and making your wrapping turn out crooked. It’s also easiest to fold up the lengths before worrying about any creasing on the widths or sides of the box.
Step 8: Fold up and tape the bottom length
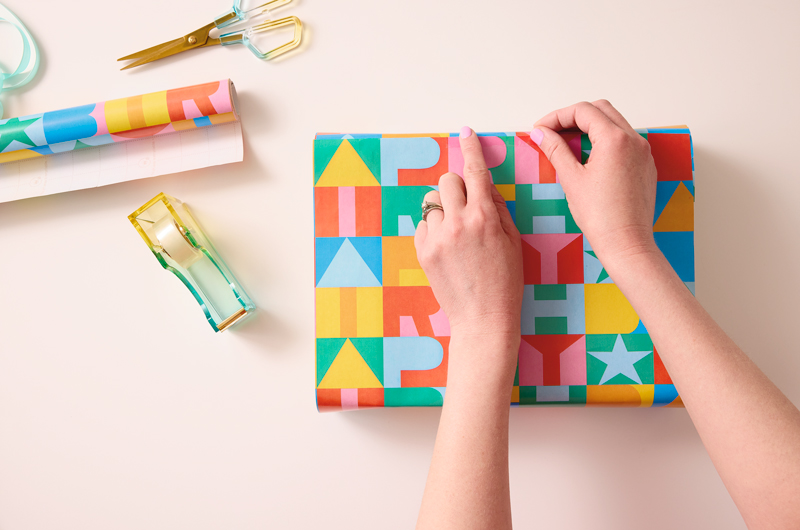
Bring the remaining bottom length of wrapping paper—the part you did your “test fold” with—up and over the box, overlapping the length you taped down in Step 7. Tape it down along the edge.
Tip: Taping the paper at the edge of the box, rather than in the center, makes any misalignments in the wrapping paper design (florals, characters, repeating patterns) less noticeable. If you’re worried about the design not matching up, opt for solid-colored gift wrap or gift wrap with a busy, irregular pattern that will disguise any crooked seams!
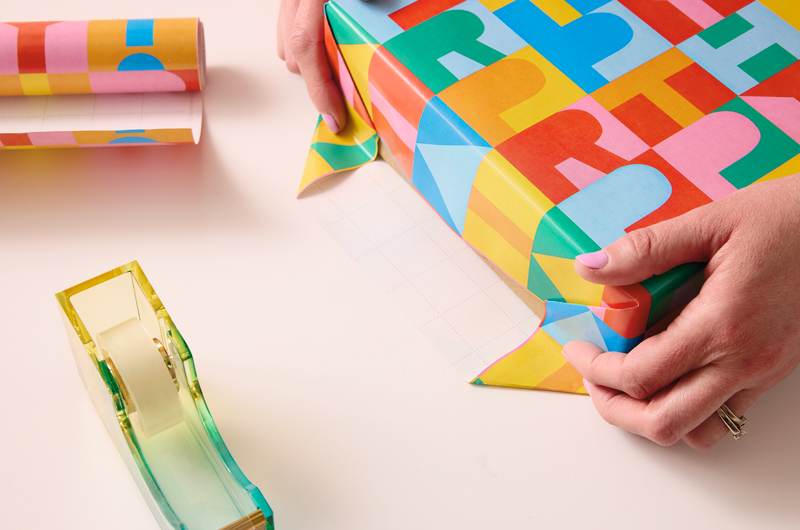
Step 9: Crease at the sides
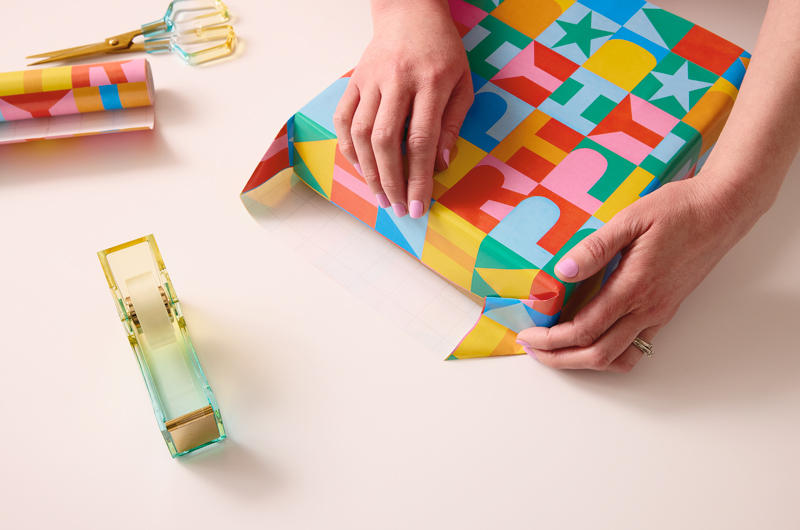
Fold down the top flap of paper that extends beyond the side of the box. Crease it where it meets the corner to make a triangle-like shape, first at the top, then at the bottom.
Step 10: Fold the creases in
Once again, use the corners of the box as a guide and fold the initial creased flaps you made inward, toward the center of the box.
Step 11: Fold the flap up and tape
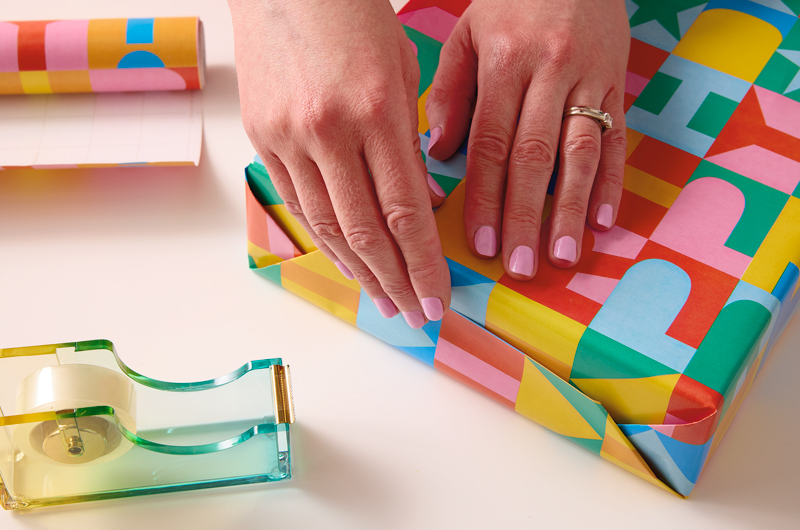
Just like it sounds, easy-peasy. 😊
Step 12: Repeat creases on the other side
You’re basically a pro at this now. 😏
Step 13: Crease all the way around
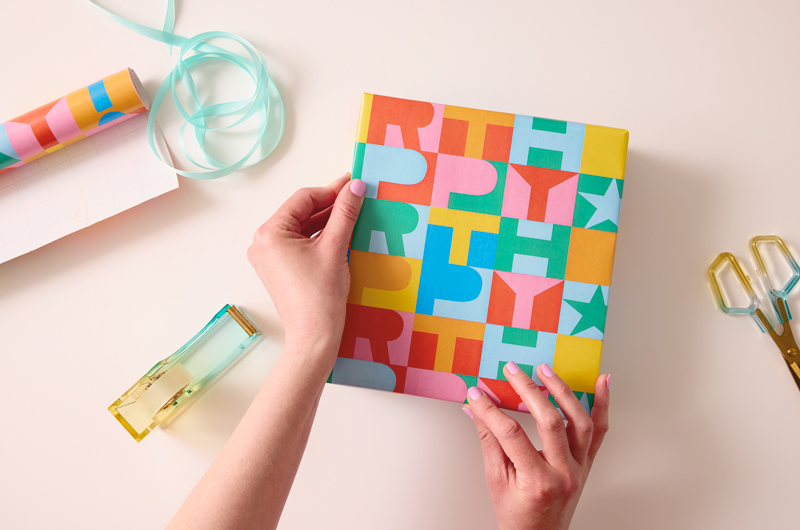
Using your forefinger and thumb, crease along the corners of the box at the top, bottom and sides. This removes any remaining “puffiness” in the paper and gives your present a nice, clean look.
Step 14: Add a bow and a card!
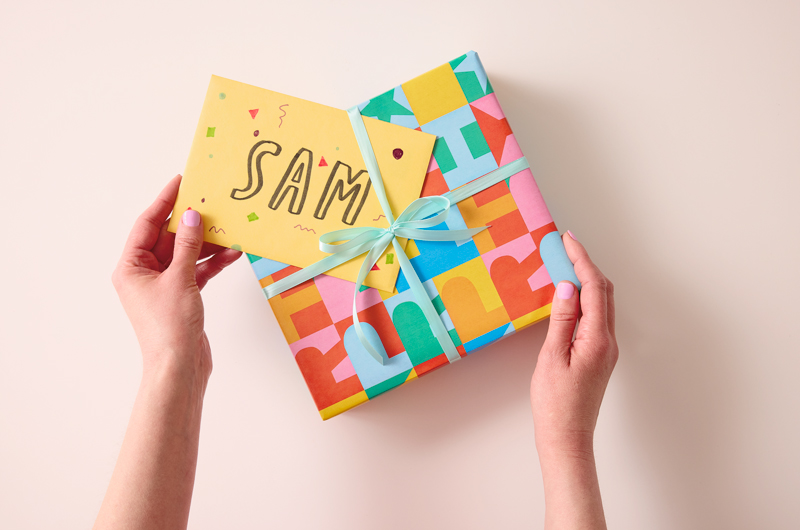
Tie some ribbon around your gift, slip a card underneath the ribbon and you’re done!
There you go! Now that you’ve gone through this step-by-step guide on how to wrap a present you have all the secrets to getting a perfectly wrapped gift box. But that’s just the start! We can get wayyyyyy fancier if you wanna. 🤩
Check out these fun ways to get your gift-wrapping status to legendary:
Shop Gift Wrap
See allYou may also like
See more-
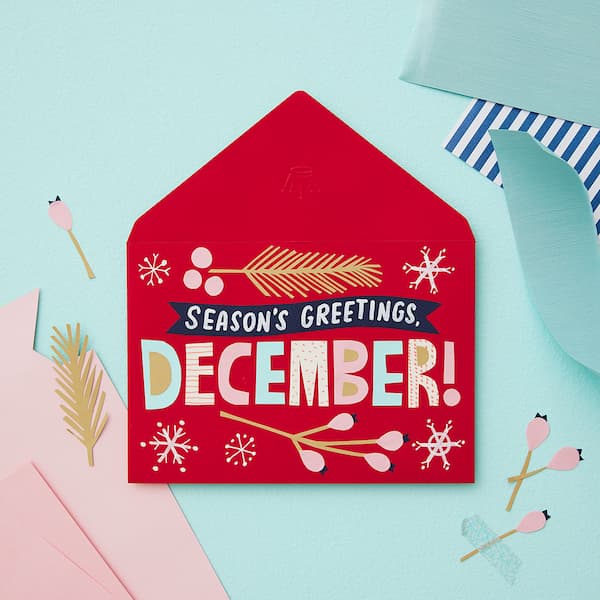
Calendar Flip Share More Moments: December 2026 Holidays and Observances
Whichever holidays you celebrate, whatever your traditions and whoever you call family, December is a month full of m...
-
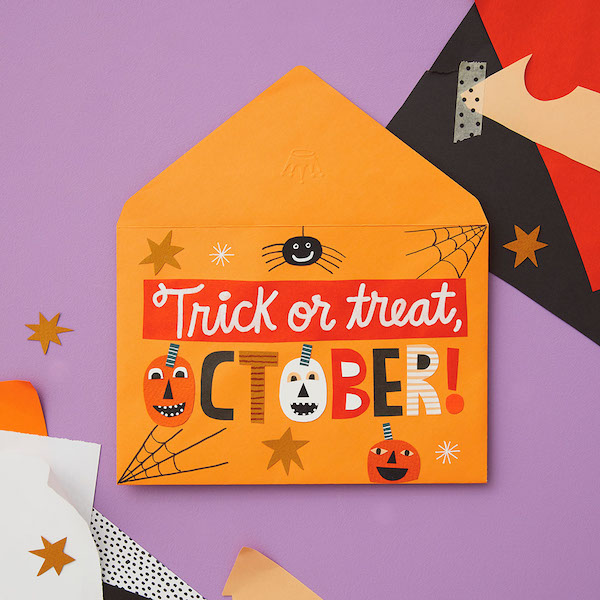
Calendar Flip Hey, Pumpkin! October 2026 Holidays and Observances
Get info, ideas and inspiration for October holidays and observances, including free sharable quotes and digital wall...
-
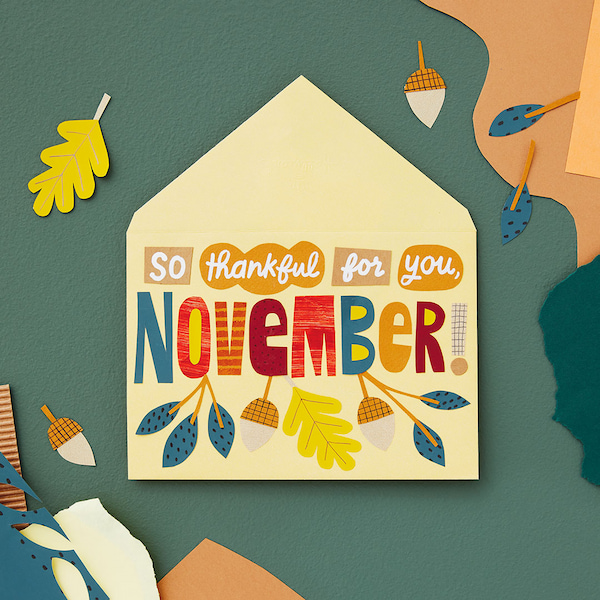
Calendar Flip Share joy, give thanks: November 2026 Holidays and Observances
Get info, ideas and inspiration for November holidays and observances.
-
DaySpring The secret to praying when you don't know how to pray
I open the closet door in a room that is not my own. I put packages of diapers on the top shelf, rearranging and rest...
-
Mahogany Every woman has a hair story
I always take a selfie as soon as I get in the chair at my hair appointment. Most women take photos after, but it’s t...
-
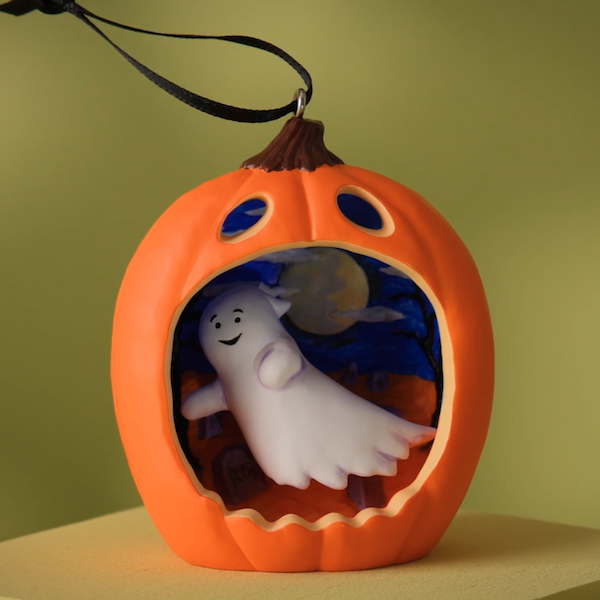
Keepsake Ornaments Add some Halloween glee to your tree! 🎃
From sassy cats to friendly ghosts, vintage vampires to mischievous kittens, we have lots of options if you're lookin...
-

Keepsake Ornaments An epic adventure for your tree 🧙🏻♂️
Relive some of your favorite moments from The Lord of the Rings: The Fellowship of the Ring™ with this Keepsake Ornam...
-

Keepsake Ornaments What a great little tree! 🎶🎄
This little tree has a LOT going for it. And just like the one in "A Charlie Brown Christmas," this Peanuts® ShowTopp...
-
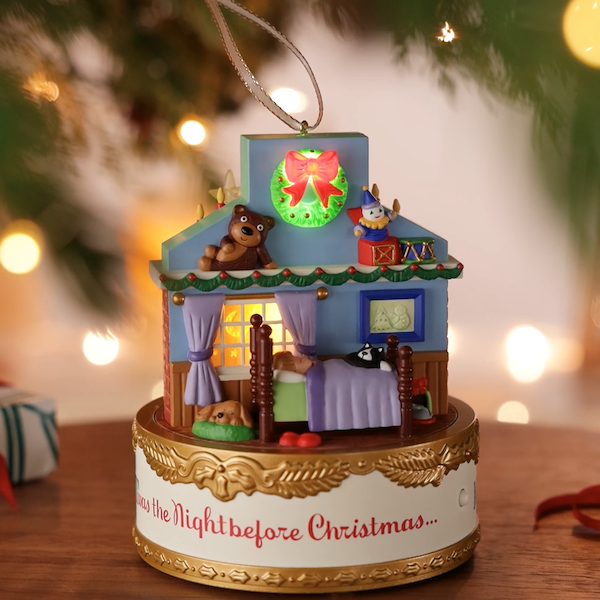
Keepsake Ornaments Childhood nostalgia incoming! 🥰
This incredible Keepsake Ornament depicting scenes from the classic poem, "A Visit from St. Nicholas," will take you ...
-
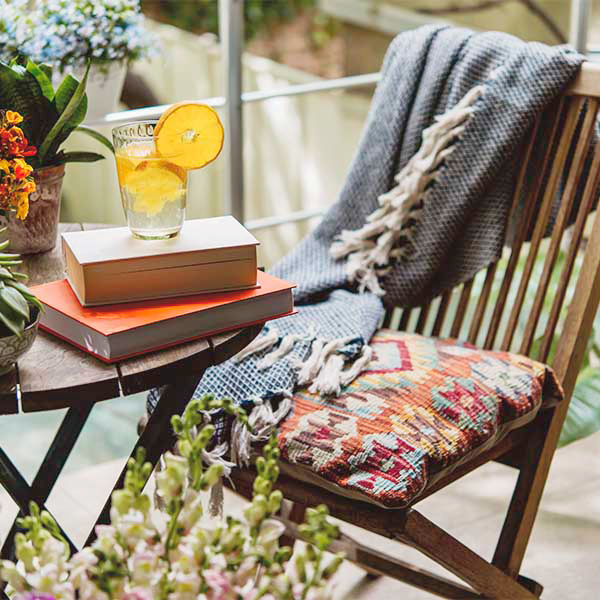
DaySpring Six Scriptures for spiritual rest this summer
A recipe for a relaxing summer afternoon: the sun’s warming rays, a cool drink, something good to read, a comfortable...
-

Keepsake Ornaments A carousel fit for a princess 👸
A Disney Princess, that is! Cinderella, Jasmine and Ariel are riding in high style on this gorgeous, gilded carousel...
-
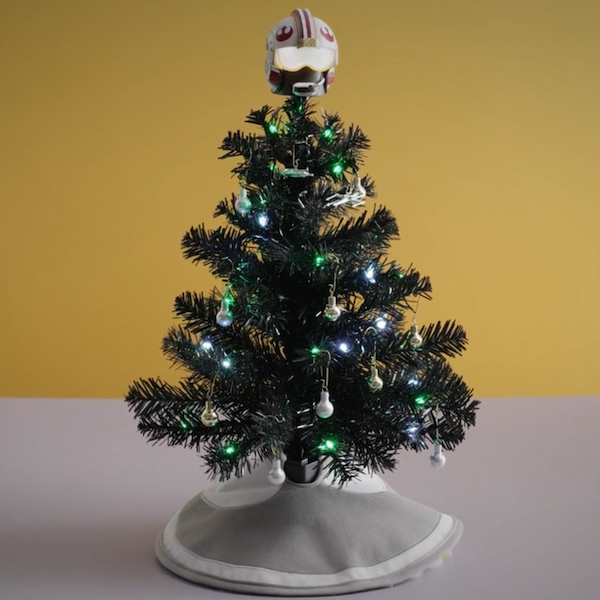
Keepsake Ornaments Mini tree, big pew-pew energy ✨
Immerse yourself in intergalactic adventure with a mini tree that's filled with Star Wars™ fun. From the Mini Star Wa...
-

Keepsake Ornaments Soar to new holiday heights with Disney Dumbo 🐘
First in the Disney Parks Memories series, this Keepsake Ornament is inspired by the original 1955 facade of the clas...
-
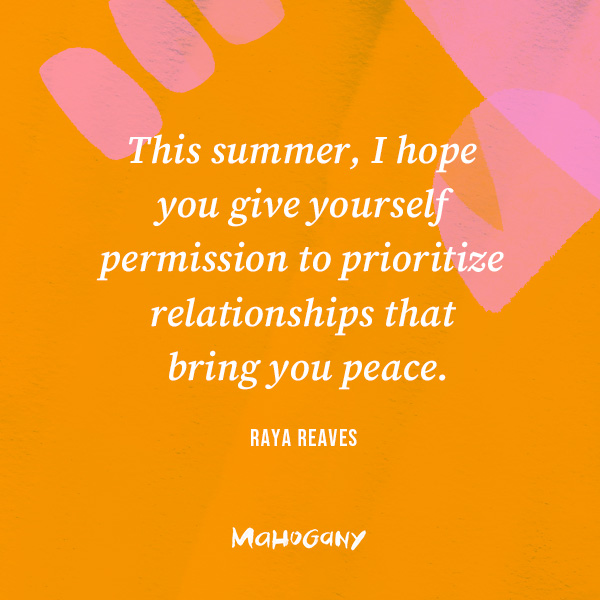
Mahogany Making new summer memories
When I think about summer and friendship together, my mind immediately goes back to one particular day in college. I ...
-
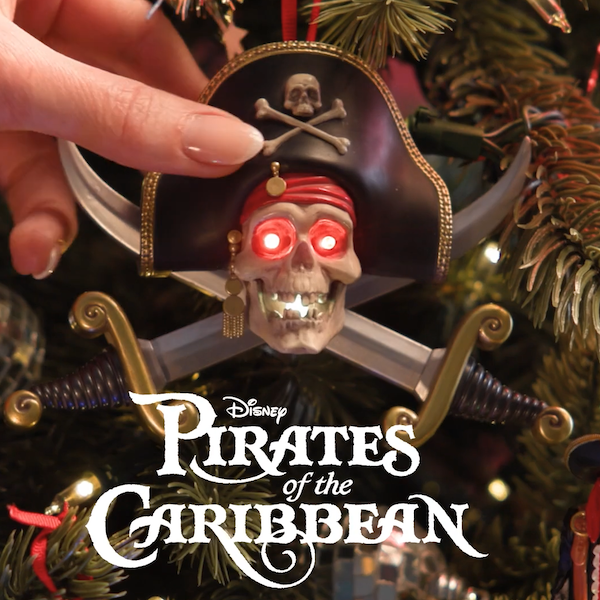
Keepsake Ornaments Avast mateys, here be pirates 🏴☠️
So it's pirates yer lookin' for, is it? Well, ye've stumbled upon a veritable treasure trove! Relive the swashbuckl...
-

Keepsake Ornaments Hear that? It’s the sound of Millennial nostalgia! 🎮
Video games were a huge part of growing up for lots of Millennials. This PlayStation™ Keepsake Ornament perfectly cap...
-

Keepsake Ornaments A new release with heirloom vibes 😍
Watch Keepsake Ornament Artist Jake Angell debut his newest masterpiece: the first in the Hallmark Artchives-inspire...
-
DaySpring Meet the DaySpring contributors
The DaySpring Writing Community is where women of different ages, life stages, cultural backgrounds and church tradit...
-

DaySpring The season for "letting-go hugs"
When I wrapped my oldest child in my arms, I attempted to direct every iota of love, hugs and care into the gesture, ...
-
Mahogany You are already so beautiful, Sis
I was in that place where women go on the weekend to get their hair cut and colored, to cover the roots and dye the g...
