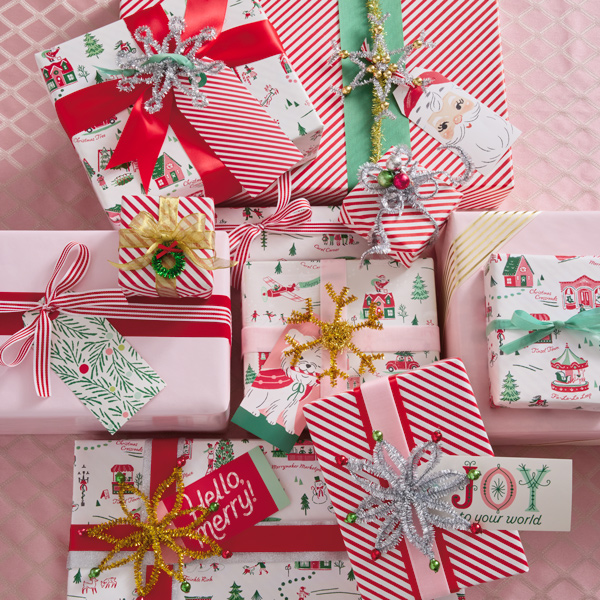
Easy and festive ways to wrap Christmas treats
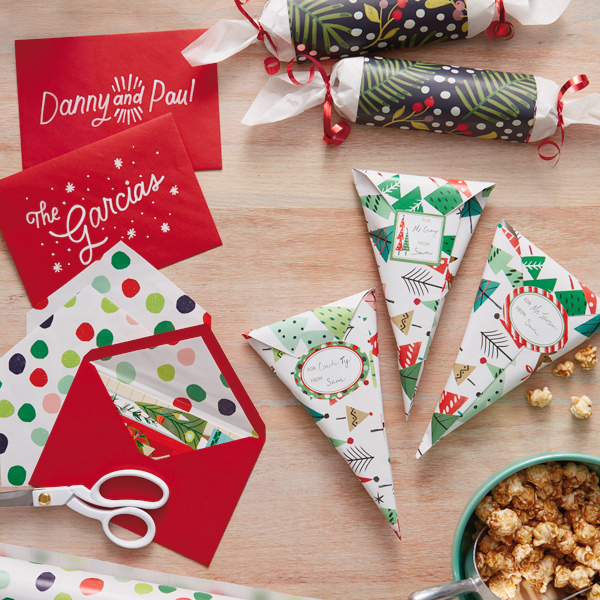
You’ve made lots of festive goodies and have lots of friends…so we’ve got cute, easy ideas for wrapping Christmas treats. We gave the gift-wrap team some hard-to-wrap snacks and asked for their help. See results and how-tos below!
Inspired? Create and share by tagging @HallmarkStores.
Supplies to wrap Christmas treats
- Wrapping paper
- Gift tag seals
- Curling ribbon
- Holiday cards
- Double-stick tape
- Waxed paper
- Scissors
- Ruler
- Pencil
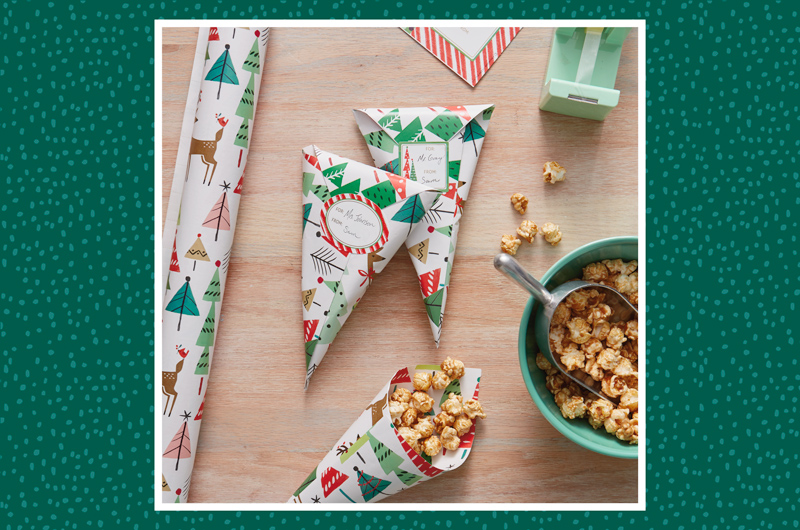
How to wrap Christmas treat snack cones
- Cut a rectangle of wrapping paper twice as wide as it is high.
- Fold it in half to make a square with the design on the outside.
- Put a long piece of double-stick tape along the right edge.
- Pull the top left corner down and curl it under—make a cone by pressing it against the tape.
- Flip it over and fill the cone with holiday munchies.
- Fold the point down over the cone and close it with a self-adhesive gift tag seal.
Pro tips:
- Experiment with the size of your rectangle using printer paper or gift wrap scraps: How big or small should it be to hold the right amount of treats? Once you’re happy with it, use it as a template.
- Speed things up and cut multiple rectangles by stacking your gift wrap and cutting with a metal ruler and craft knife.
- Keep your handwriting neat by filling in “to” and “from” on the seals before you stick them on.
- Get an assembly line going: Fold the paper and add the tape, make the cones, add the treats and seal it shut.
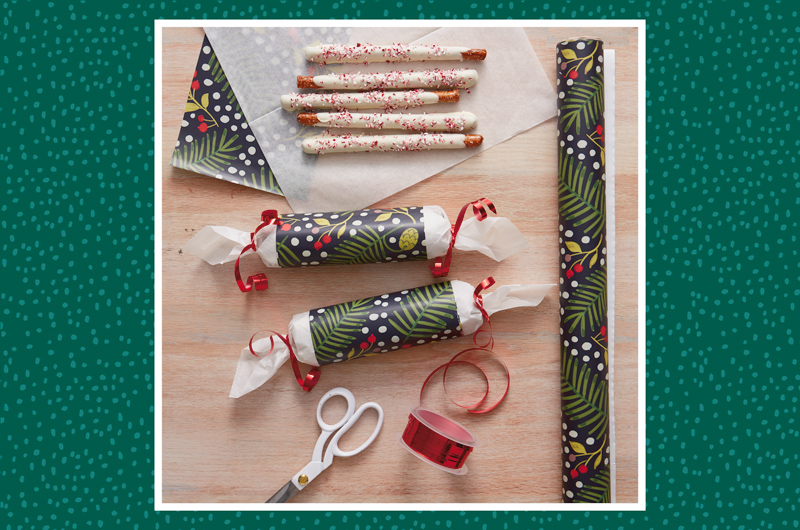
How to wrap Christmas treat twists
- Lay out your snacks diagonally in the center of a piece of waxed paper.
- Make sure the paper is big enough to wrap all the way around the goodies about 1 ½ times, with a few inches of overhang on the sides.
- Beginning at the bottom point, roll your treats toward the top and secure with double-stick tape.
- Tie a short piece of ribbon around each end and curl the ribbon with the edge of a scissor blade.
- Cut a rectangle of wrapping paper long enough to wrap around the treats with a little bit of overlap and a little shorter than the width of the roll.
- Wrap the paper around the roll of treats and secure with double-stick tape.
- Finish it with a gift tag seal, if you’d like!
Pro tips:
- This technique is also perfect for packaging a stack of cookies or crackers. If you have a tough time getting everything to stay in place in the waxed paper, wrap them in plastic wrap first.
- Give your beautifully wrapped snacks as party favors: Use a variety of complementary gift wrap and pile them on a platter or bundle them in a basket.
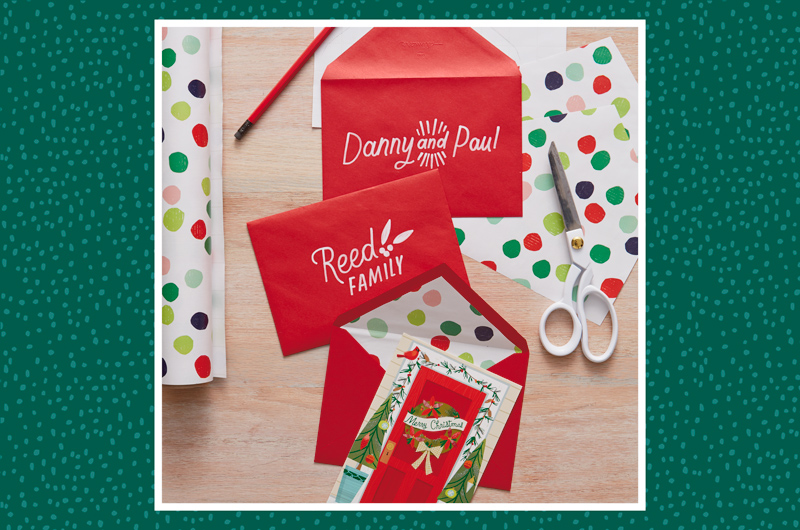
DIY envelope liners
Want to add a special holiday wish, thank you or another Christmas message? Don’t forget the card! Add a liner to complement your treat wrap:
- Open the flap.
- Lay the envelope open and flat on the reverse side of a piece of wrapping paper.
- Trace the shape onto the wrapping paper and cut it out.
- Cut a sliver (one-eighth inch or less) off each side and about one-half inch off the bottom.
- Slip the liner into the envelope, design-side up, and close the envelope to crease the liner.
- Open the envelope and tape (or glue) the liner in place.
Have fun sharing your gorgeous Christmas treats! To see these ideas in action and get lots more tips and tricks, check out our post on How to Wrap Christmas Presents.
Shop Gift Wrap
See allYou may also like
See more-

Calendar Flip Spring Forward: March 2026 Holidays and Observances
Color us excited! From the wearin’ of the green and more sunny fun to colorful Holi festivals and celebrating crayons...
-
Calendar Flip Welcome a New Year: January 2026 Holidays and Observances
HAPPY NEW YEAR! If that hurt your head, you might have celebrated a little too much. When you’re feeling better, we h...
-
Calendar Flip Hello, Love: February 2026 Holidays and Observances
Let’s warm up this cold month with love and connections. From valentine cards to dressing up your pet, this month has...
-
Christmas 3 Christmas gift wrap ideas to match your holiday personality
If you’re anything like me, the holiday season can make you tap into different sides of yourself. Maybe you become th...
-
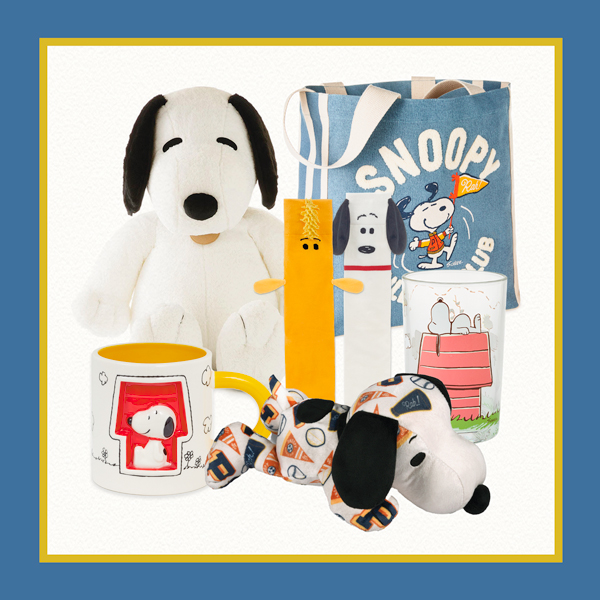
Gifting 60+ Peanuts® Snoopy gifts to help fans channel their favorite beagle
It was a dark and stormy night in the winter of 2015. I was 17 years old, overwhelmed with AP classes, senior-year st...
-
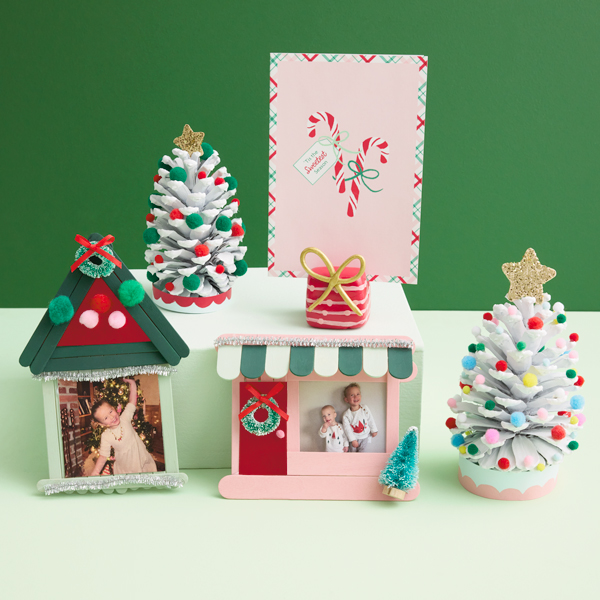
Christmas 3 Christmas kids craft ideas, plus activities for even more easy holiday fun
From decorating the house to baking cookies, the Christmas season gives us so many opportunities to get creative and ...
-
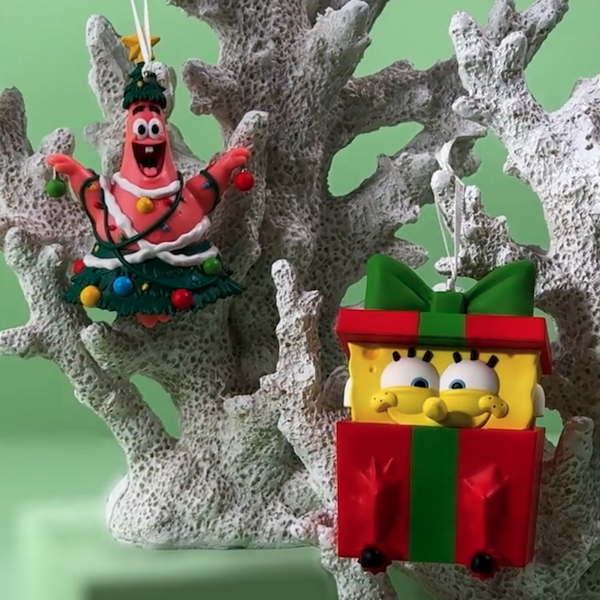
Christmas The best Christmas gift idea: Bikini Bottom BFFs
Got a bestie who's as silly as you? Or one who's there through all of life's storms with a smile? Then we think this ...
-
Christmas Which Disney Pixar character is your favorite? 🤔
Thankfully, with so many beloved Disney Pixar character Keepsake Ornaments, you won't have to choose a favorite this ...
-
Christmas Not having Cher on your tree? As if! 💅
If you're a Millennial, we predict you will be majorly, totally, butt crazy in love with this Clueless Keepsake Ornam...
-
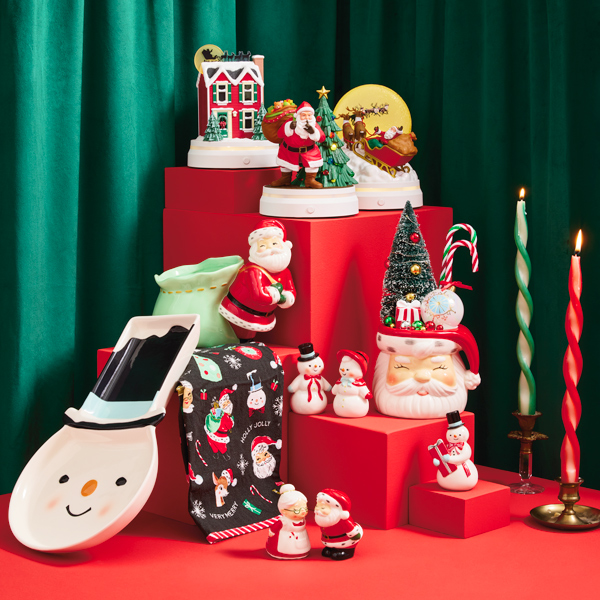
Christmas 20 vintage Christmas ideas to turn up the charm this holiday season
When I think of my perfect Christmas, vintage vibes are always what come to mind first. Santa’s sleigh in a dreamy wi...
-
Christmas 20+ ideas to help you plan your trip to the Hallmark Christmas Experience
Ever wanted to step inside of a picture-perfect Hallmark Christmas movie? Or travel to a place where you could immers...
-
Christmas Sit fireside with the cutest snowfolks around!
A campfire might seem like the least likely place to find a few snowmen hanging out, but if it's cold enough, even th...
-
Christmas With so much magic, we can’t choose a favorite!
Every Keepsake Ornament is magical, but our ornaments with light, sound and music are in a class all their own. From ...
-
Christmas Stocking stuffer ideas for literally everyone on your list
The stocking stuffer struggle is real. By the time you’ve bought your main presents, you feel like you’re all out of ...
-
Christmas You love Keepsake Ornaments…we love rewarding you! 🥳
Collecting Keepsake Ornaments isn't just a hobby for you—it's a passion! And that kind of enthusiasm is something we ...
-
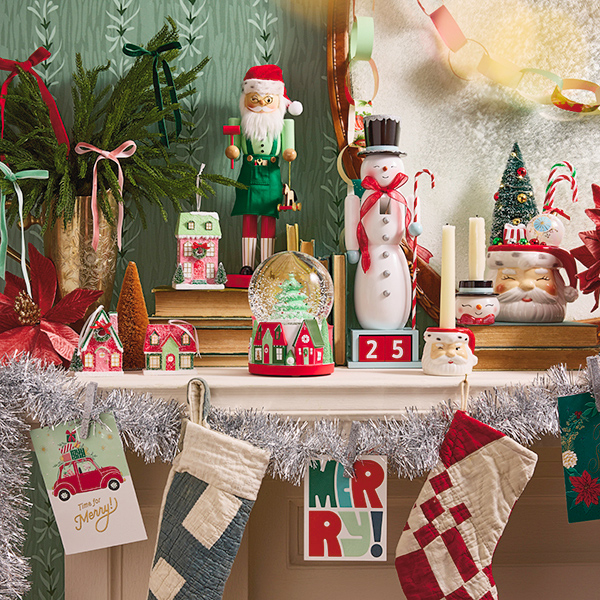
Christmas 60+ Christmas decorating ideas to deck your halls—and every other space!
If you’re searching for Christmas decorating ideas to make all your spaces extra jolly and put you in a merry mood, y...
-
Christmas Dance your way to Christmas morning 🦛🎄
Keep little ones giggling and grooving all holiday break-long with this musical dancing Christmas hippo plush! Does i...
-
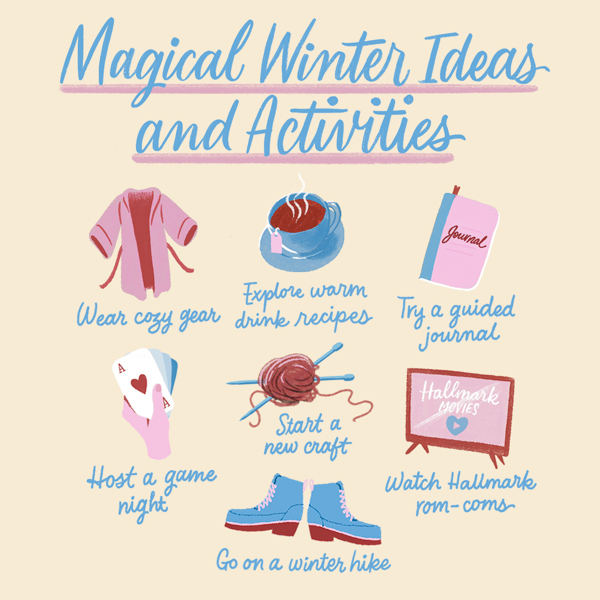
Winter Lean into the Season: winter ideas to make the season bright and extra cozy
There are two types of people in this world: those who love winter and those who’d endure an eternity of wearing wet ...
-
Christmas What happens when you put a Keepsake Artist in front of the camera? 🤔
Keepsake Artists are masters of turning everyday moments into cherished Christmas memories, in the form of beautifull...
-
Christmas Get ready—the Grinch is headed your way for the holidays! 💚
He'll snatch up your boxes. He'll snatch up your bags. He'll rifle through presents, regardless of tags! But one thin...