No-carve pumpkin painting ideas: Our favorite pumpkin decorating tips for fall
If fall had a defining symbol, I have to argue that it would be a pumpkin. Don’t get me wrong, there are other great contenders: apple cider, a beautiful leaf, the coziest hand-knit sweater you can imagine.
But still, none are quite as iconic as the pumpkin when it comes to fall. There’s pumpkin pie, pumpkin-spice lattes, and best of all, pumpkin painting…our favorite autumn activity! We’ve rounded up our best pumpkin painting ideas to get you started. Spoiler alert: They’re all fun and cheap. So let’s grab a paintbrush and craft the night away!
Inspired? Create and share by tagging @HallmarkStores.
First, why no-carve pumpkin painting?
Reason #1: Obviously, they last longer. Which means if you’re ready to start getting in the Halloween spirit the second you flip your calendar to October, you won’t end up with a squishy mess by the time All Hallows Eve actually happens.
Reason #2: We like to paint on the artificial ones because they last pretty much forever, then mix them with gorgeous gourds we find at a farmers market. Humans can easily pick out too-perfect shapes, and mixing up faux pumpkins with real ones makes it harder to spot the difference.
Reason #3: Fake painted squash isn’t nearly as attractive to pesky, ravenous squirrels.
Reason #4: It’s the ultimate easy art project for kids! Whether you’re a parent who needs a pre-trick-or-treating activity or a teacher wanting something fun for the class Halloween party, pumpkin painting is a great choice.
Speaking of kiddos, we’ve got tons of ideas to make fall their favorite season. If you’re celebrating Halloween, make it extra special for them with these sweet-as-candy ideas! Or if you just can’t get enough of all things pumpkin, check out these adorable pumpkin treat bags for a festive surprise.
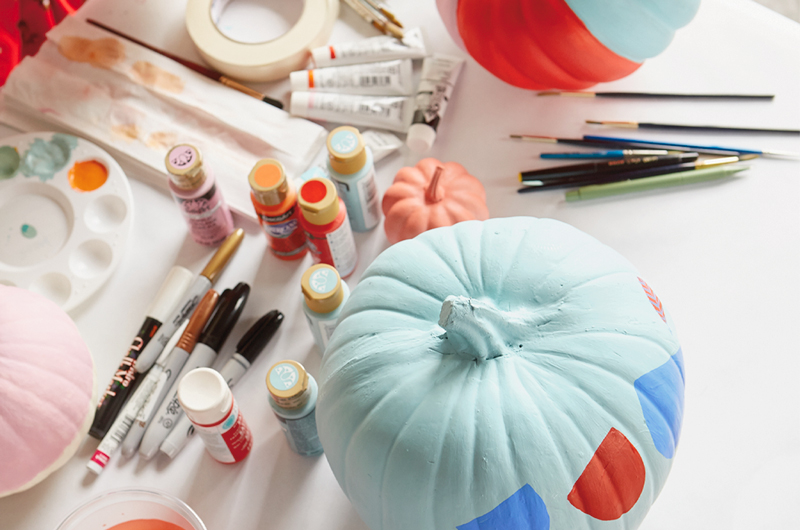
Step 1: Grab your pumpkin painting supplies
What you’ll need:
- Real and/or artificial pumpkins in a variety of sizes, shapes and colors
- Different shades of matte spray paint
- Acrylic paint for painting designs
- Paint primer
- Smocks/aprons if you don’t want paint stains
- Brushes (different sizes and shapes)
- Permanent markers
- Metallic paint pens
- Glitter paint or pens
- Paint palettes or paper plates
- Masking tape
- Bowls or cups for water
- Newsprint or butcher paper (to cover tables)
- Halloween candy (for snacking 😉)
Step 2: Prepare your pumpkin decorating plan
The perfect time to experiment with different vibes is before you start painting. And while we’re all for freestyling your gourd-geous pumpkins, if you want a more cohesive look, we’ve got tips to help!
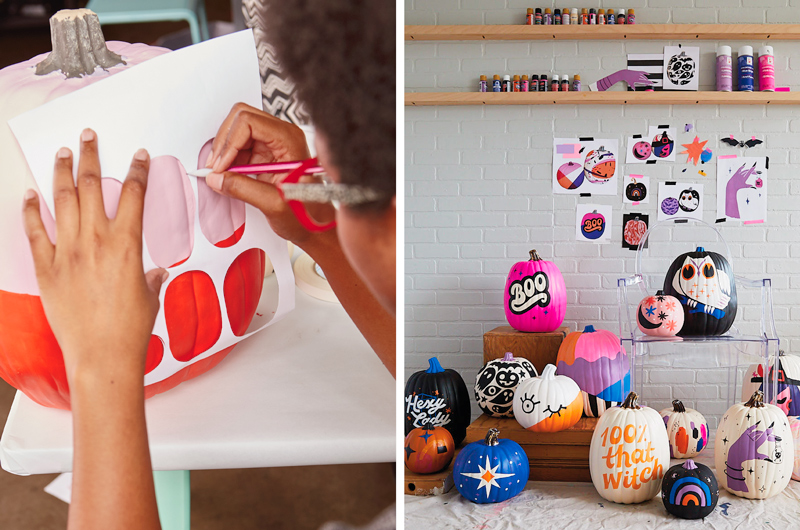
Start off with a mood board and color palette that matches your style, interesting trends or your idea of the perfect Halloween front porch.
You could do a ’70s disco vibe with ALL the sparkles. Perhaps A DIY vintage look with upcycled materials and perfectly imperfect details (like paper and macramé attachments). Or something traditional with black, orange and playful splashes of neon.
Step 3: Use a sketch or stencil
Sketch your design right onto your pumpkin before you begin painting so you can make sure the scale is right. You might have to erase and start over a few times to get it just right, and that’s totally okay!
If you want to go high-tech and you have access to a laptop, digital tablet and a projector, try these tips:
- Take a picture of your pumpkin and use a digital tablet to draw designs onto the photo. This helps a ton with perfecting your design and scale.
- Once you’ve figured out your approach, project and trace your drawing onto the pumpkin.
- Finally, test your paints to check how many coats you’ll need for your desired shade. Paint on the back or bottom of the pumpkin where no one will see, paint and wipe off, or just plan to paint over the test. Spraying your pumpkin with a primer also works wonders.
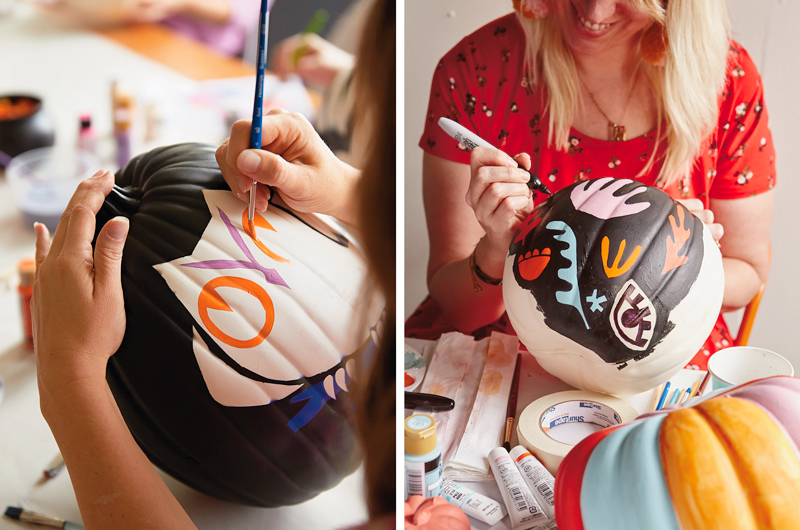
Step 4: PAINT, finally!
You’ve got a plan and your pumpkins are officially primed and prepped for some color. Make them flawless with our painting secrets below:
- Grab your pumpkin by the stem and use that to rotate it and paint from different angles as you make your way around.
- If you don’t like how something turns out, paint over it or start over on the back side of the pumpkin.
- For more controlled linework or shapes, use a colored Sharpie. Or if you’re looking for something expressive and bold, try acrylic paint and a thick brush!
- Some craft paints are not very pigmented and require multiple coats. Using heavier body acrylics or adding a little heavy body white acrylic paint helps this a little. (“Heavy body” or “high viscosity” paints have a thicker consistency.)
- If you’re using plastic pumpkins, prime them with matte primer or white spray paint. This makes the colors look brighter, helps the acrylic paint stick better and ultimately saves you a few coats of paint.
- Spray large areas with spray paint. It looks cleaner and you won’t have to worry about messy brush stroke marks.
- Premix or pre-pour your paint beforehand so you’re not deciding on colors while you’re painting. And always mix more of a unique color than you think you will need—you don’t want to run out halfway through your pumpkin.
- Also, don’t be scared to do a double coat—it might need it.
Step 5: Show ’em off!
After all your hard work, these beauties deserve some admiration! The most obvious place to display them is the front porch, but don’t forget to use plastic ones or spray real ones with spray paint to stymie squirrels. There are so many other great places to show off your pretty pumpkins:
- A windowsill (especially if you live in an apartment)
- Arranged around your fireplace or on the mantel
- As a centerpiece on your dining table
- On your desk at work
- In a styled vignette on a bookshelf
- Lining that awkward space on top of your kitchen cabinets
- In the corner of a staircase landing
- Piled on a bedside table in a kiddo’s room
- On top of the fridge
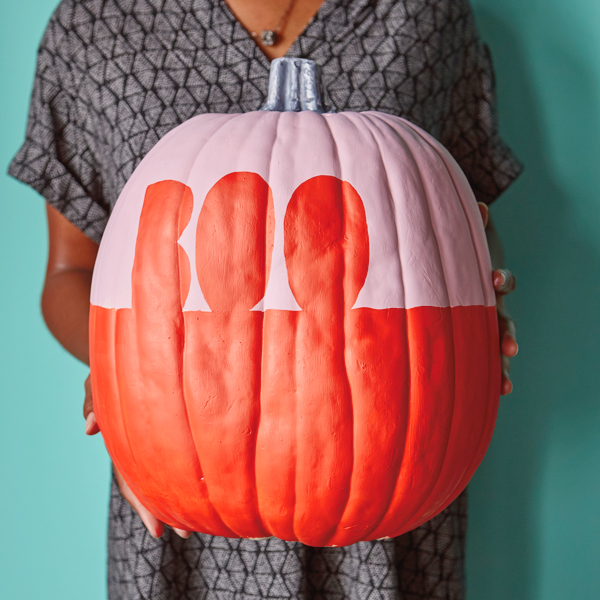
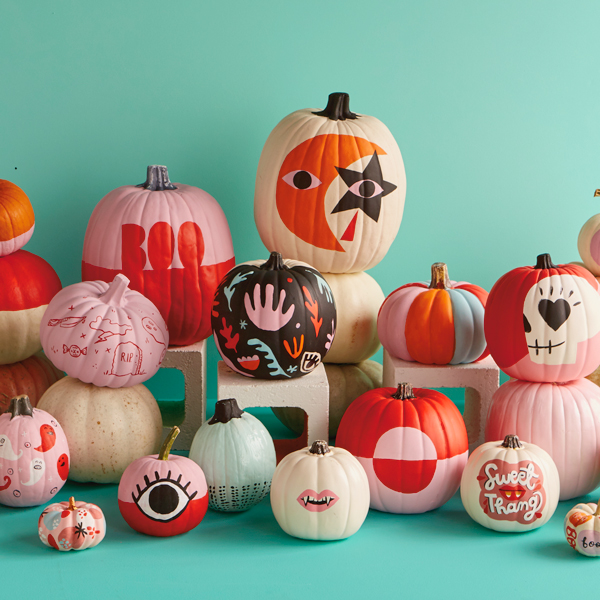
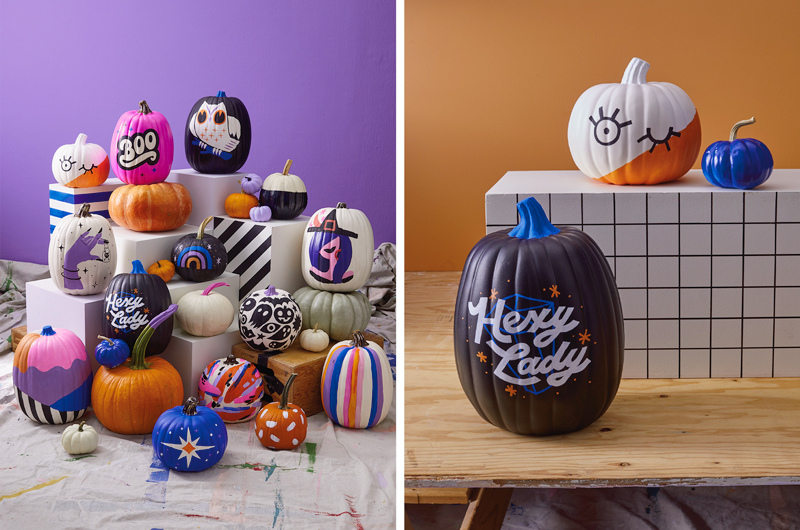
We love easy-peasy color blocking (with a boo-tiful twist this time).
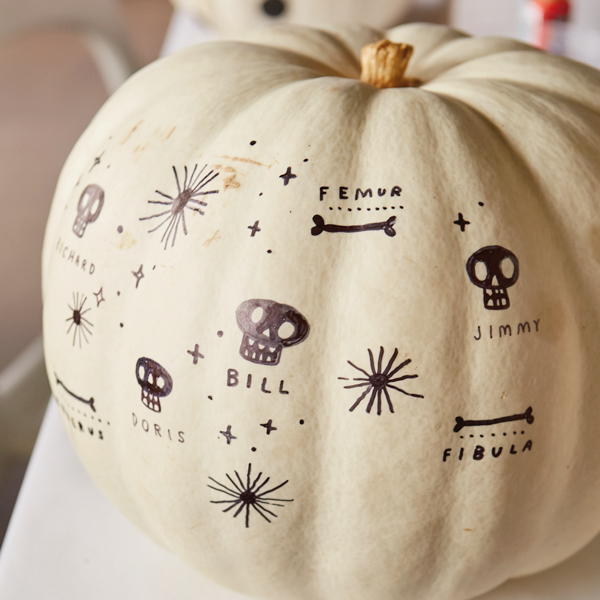
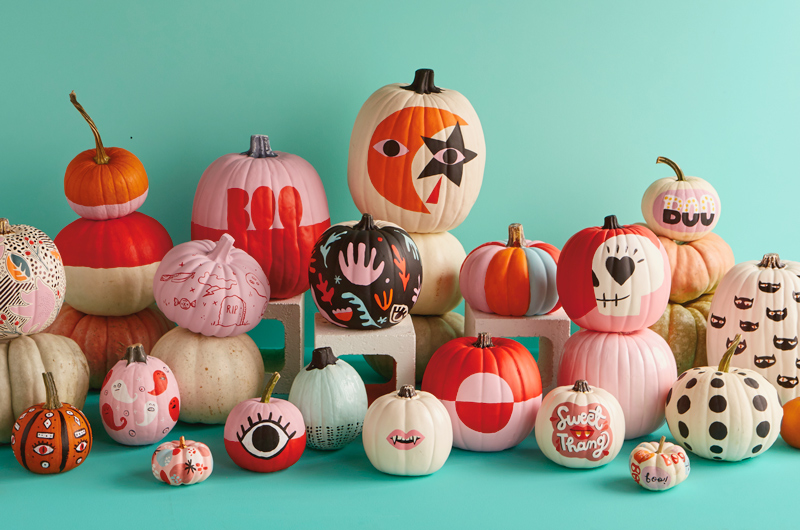
Little doodles like these with a permanent marker are creepy-cute.
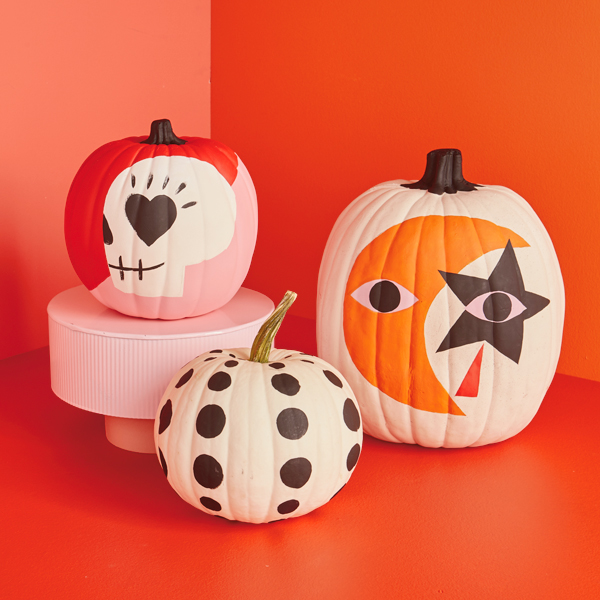
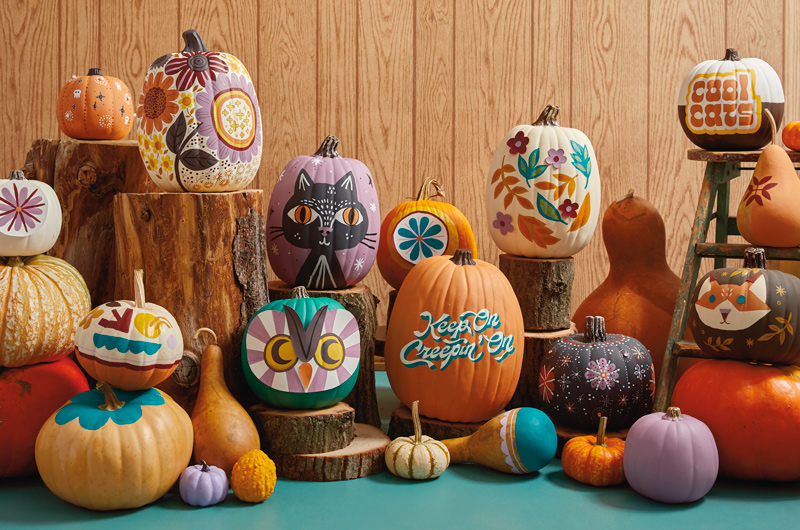
Whimsical graphic illustrations/icons that fit the occasion are always a good choice. Think witches, classic monsters and ghouls, or your fave candies.

Puns + pumpkin painting = yes, please! Practice some fun lettering with these quotes:
- Boo-yah!
- Candy crazy
- Hello gourd-geous!
- Too ghoul for you
- Where’s my broom?
- Oh my gourd!
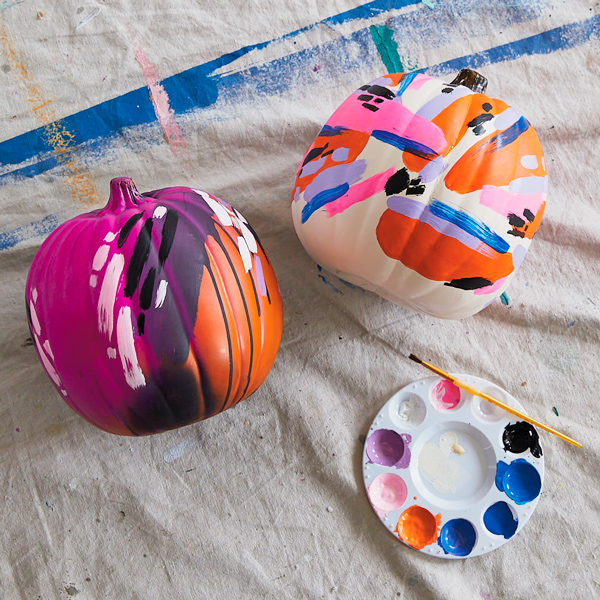
Go wild with abstract brushstrokes using different colors and brush sizes.
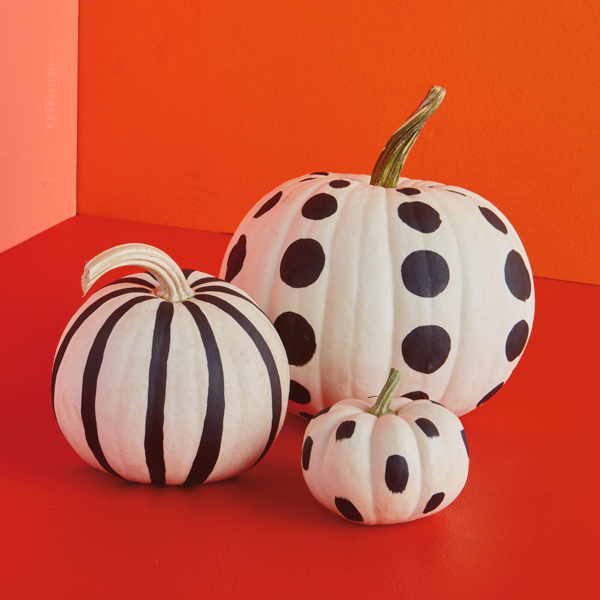
Polka dots and stripes never go out of style. Experiment with different colors. Make some dots small and some Franken-sized. Leave some stripes straight and others wiggly. Just have fun with it!

Channel vintage vibes with some retro florals and crochet embellishments.
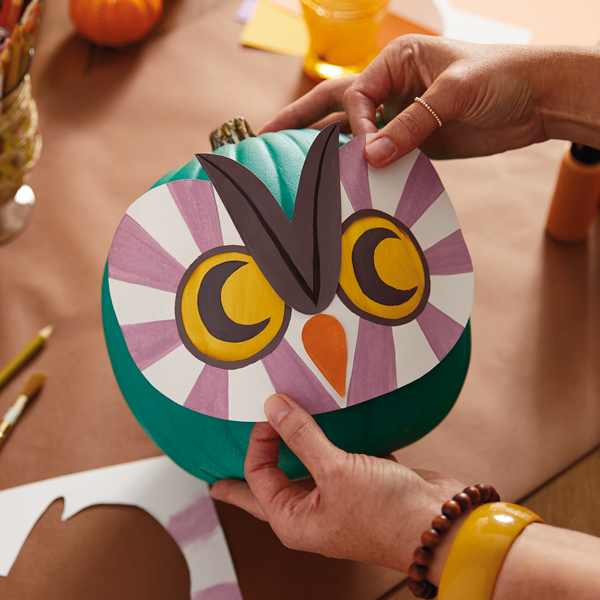
If you’re a perfectionist, we’re looking at you for this idea. Practice painting on paper first, then cut out your best design and glue it directly onto your pumpkin. No mess, no mishaps, and you get to look in the mirror and say “Picasso WHO?” 😎
If you need us, we’ll be snacking on some pumpkin seeds and having fun with these pumpkin painting ideas. Cheers to welcoming all your new pumpkins into the world, and happy crafting, friends! 🎃
Craving more fall content? Don’t miss out on these gems:
Shop Fall
See allYou may also like
See more-
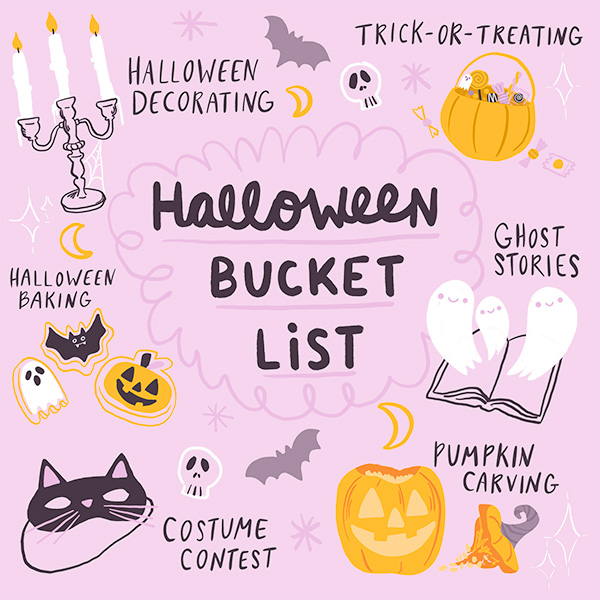
Halloween Your Halloween bucket list: fun, cozy and creative things to do all October long
It’s no surprise that Halloween is a favorite for many. It’s a season filled with pumpkin carving, crisp breezes and ...
-
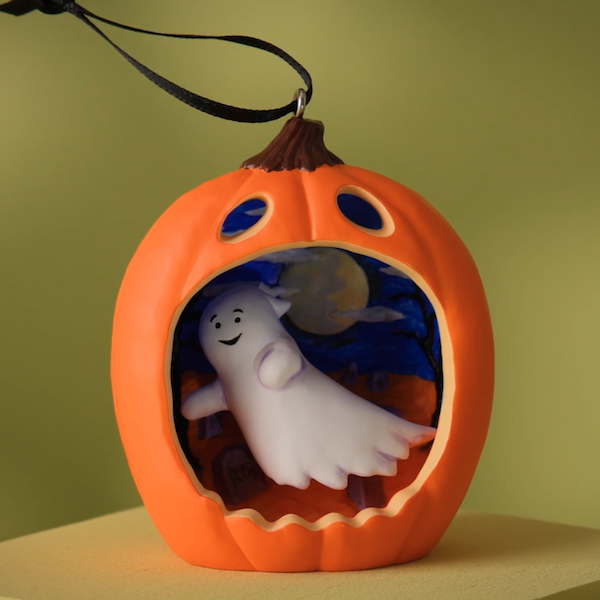
Keepsake Ornaments Add some Halloween glee to your tree! 🎃
From sassy cats to friendly ghosts, vintage vampires to mischievous kittens, we have lots of options if you're lookin...
-
Mahogany You do it all with so much grace
I was sitting in a coffee shop the other morning, when a woman walked up to me. She looked at me and touched my arm a...
-
Halloween More than a night: The trends shaping Halloween 2026
For years, Halloween has been celebrated on a single night. But all of that’s changing. From frightfully fun activiti...
-
DaySpring God’s answers might just be hidden in the ordinary
I wasn't your average 17-year-old dreaming about weekends at the mall or sleepovers with friends. Instead, I was cons...
-
Mahogany The joy of movement
As I've gotten older, I've learned that wellness isn't just about exercise. It's about feeling good, living well and ...
-

DaySpring How to start each day feeling renewed by grace
Amid the demands of daily life, carving out time for spiritual nourishment can indeed be a challenge. However, center...
-

Keepsake Ornaments Complete your collection!
Class is in session with Defense Against the Dark Arts professor Gilderoy Lockhart™. 🪶 ✨ Complete your Harry Potter a...
-
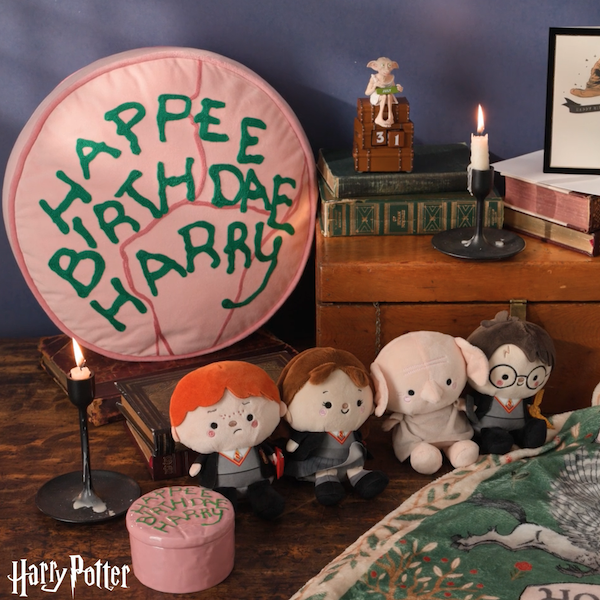
Gifting Happee Birthdae, Harry!
Celebrate the birthday of the Boy Who Lived with this fun collection of Harry Potter gifts! From cozy blankets perfec...
-
Halloween Witchy Halloween party ideas: Fun crafts and activities for a magical night in
Witch-themed parties have always delighted Halloween fans. They offer hosts and partygoers alike the chance to intera...
-
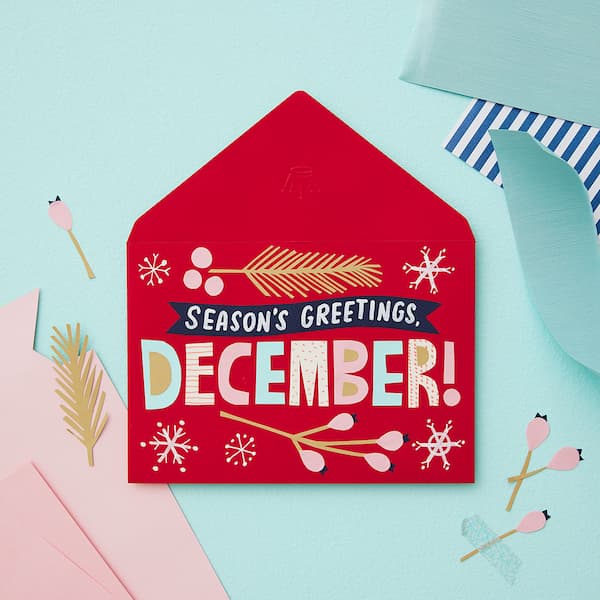
Calendar Flip Share More Moments: December 2026 Holidays and Observances
Whichever holidays you celebrate, whatever your traditions and whoever you call family, December is a month full of m...
-
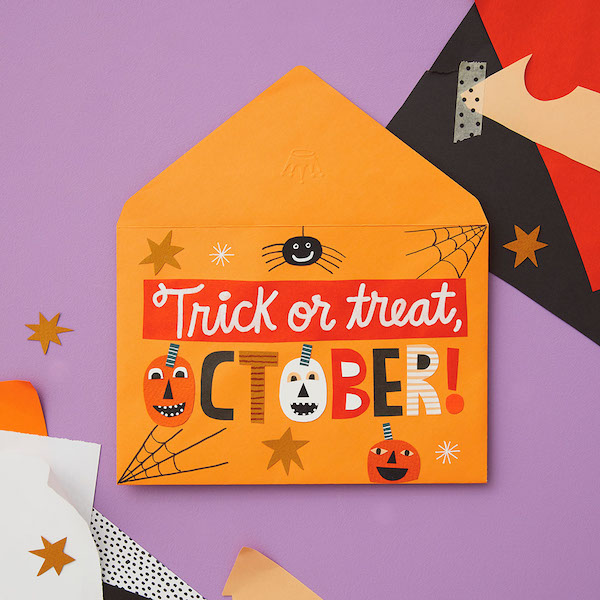
Calendar Flip Hey, Pumpkin! October 2026 Holidays and Observances
Get info, ideas and inspiration for October holidays and observances, including free sharable quotes and digital wall...
-
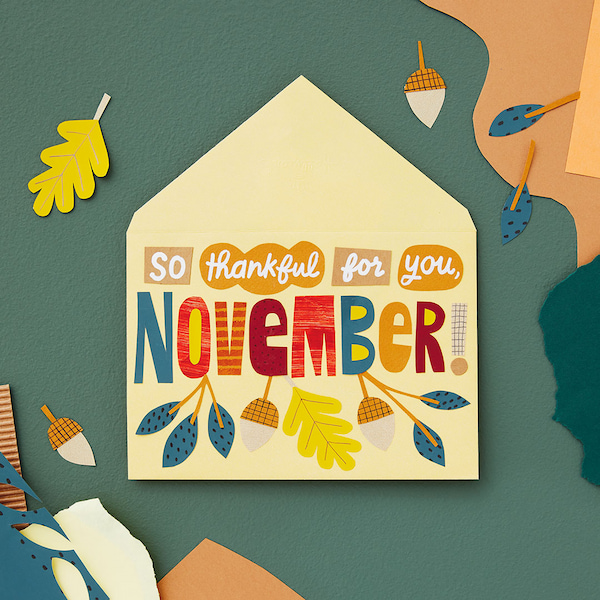
Calendar Flip Share joy, give thanks: November 2026 Holidays and Observances
Get info, ideas and inspiration for November holidays and observances.
-
DaySpring The secret to praying when you don't know how to pray
I open the closet door in a room that is not my own. I put packages of diapers on the top shelf, rearranging and rest...
-
Mahogany Every woman has a hair story
I always take a selfie as soon as I get in the chair at my hair appointment. Most women take photos after, but it’s t...
-

Keepsake Ornaments An epic adventure for your tree 🧙🏻♂️
Relive some of your favorite moments from The Lord of the Rings: The Fellowship of the Ring™ with this Keepsake Ornam...
-

Keepsake Ornaments What a great little tree! 🎶🎄
This little tree has a LOT going for it. And just like the one in "A Charlie Brown Christmas," this Peanuts® ShowTopp...
-
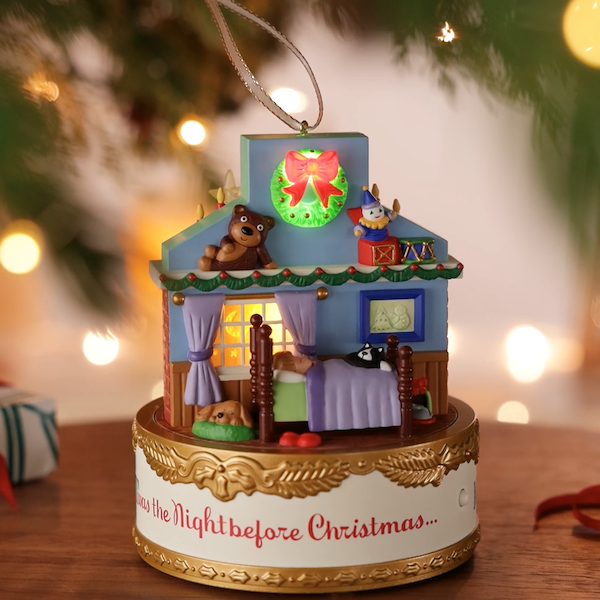
Keepsake Ornaments Childhood nostalgia incoming! 🥰
This incredible Keepsake Ornament depicting scenes from the classic poem, "A Visit from St. Nicholas," will take you ...
-
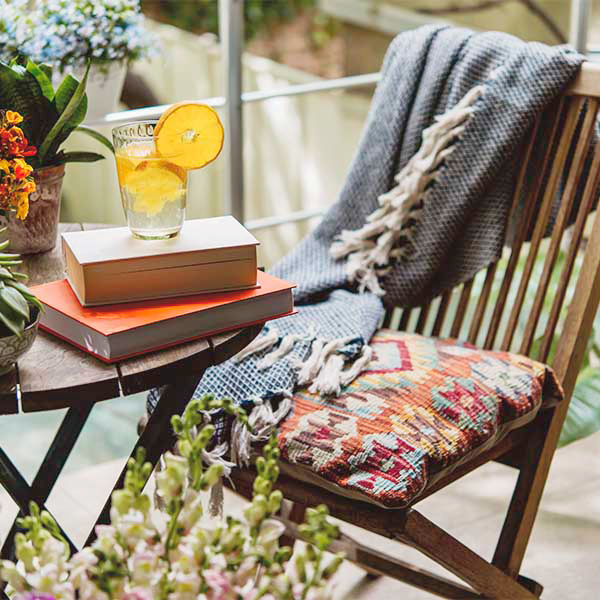
DaySpring Six Scriptures for spiritual rest this summer
A recipe for a relaxing summer afternoon: the sun’s warming rays, a cool drink, something good to read, a comfortable...
-

Keepsake Ornaments A carousel fit for a princess 👸
A Disney Princess, that is! Cinderella, Jasmine and Ariel are riding in high style on this gorgeous, gilded carousel...
