Holiday Mail Art: 5 Ways to Decorate Christmas Card Envelopes
Holiday mail art is the best: A beautifully decorated Christmas card envelope is a gift. But a long card list might make addressing your envelopes seem like a daunting task instead of a glorious way to spend the evening. So we asked Hallmark artists to come up with easy ways to create hand-lettered envelopes that won’t take you all season long.
Here are five different gorgeous, easy ways to make everyone on your list feel like your very favorite person. And we’ve added bonus tips—the easiest way to add an envelope liner and some DIY confetti ideas.
Inspired? Create and share by tagging @HallmarkStores.
Holiday Mail Art with DIY Stamps
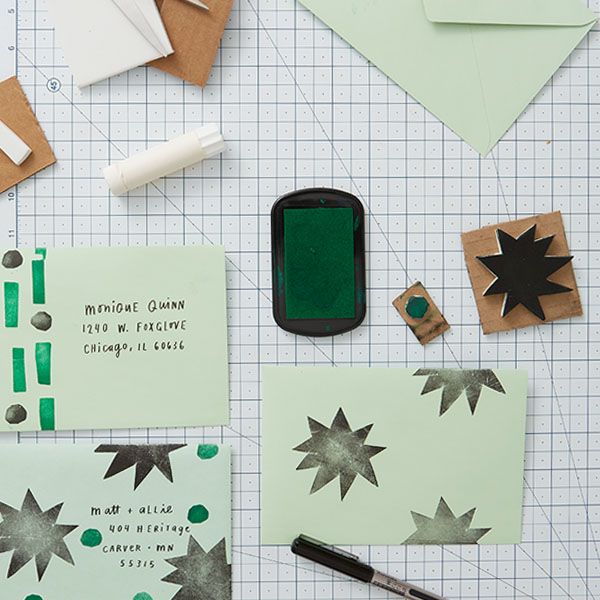
Supplies for making stamps
- Craft foam sheet
- Scrap pieces of cardboard
- Scissors
- Glue
- Crayola brush markers
- Archival ink pad in two colors (or ink brayer and paint)
- Scrap paper or butcher paper (to protect your work surface)
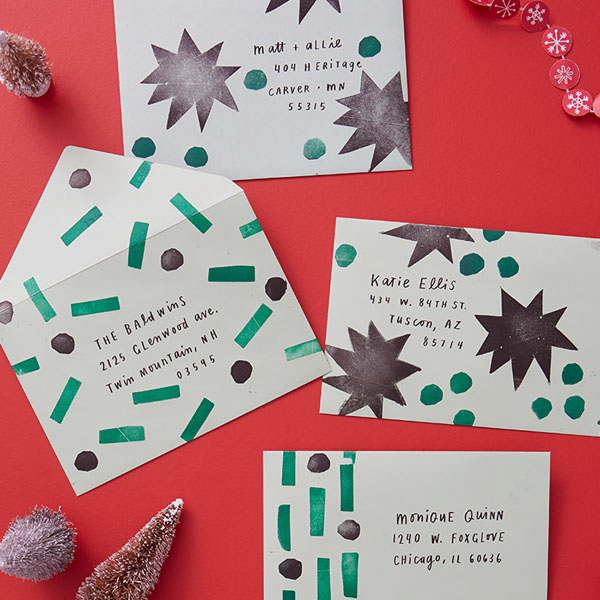
How to stamp envelopes
- Cut simple shapes from the craft foam—try stars or starbursts, circles or blocks.
- Glue the foam shape onto a slightly larger scrap of cardboard.
- Press your stamp onto the ink pad (or use a brayer to apply paint). Practice pressing the stamps on a scrap sheet of paper to get the right amount of pressure and to try different designs.
- Open and flatten the envelope and stamp your designs. Make sure to leave room for the recipient’s name and address on the front and your own return address in the upper left or on the back.
- Let your envelopes dry completely before you address them.
Cut Paper Christmas Mail Art
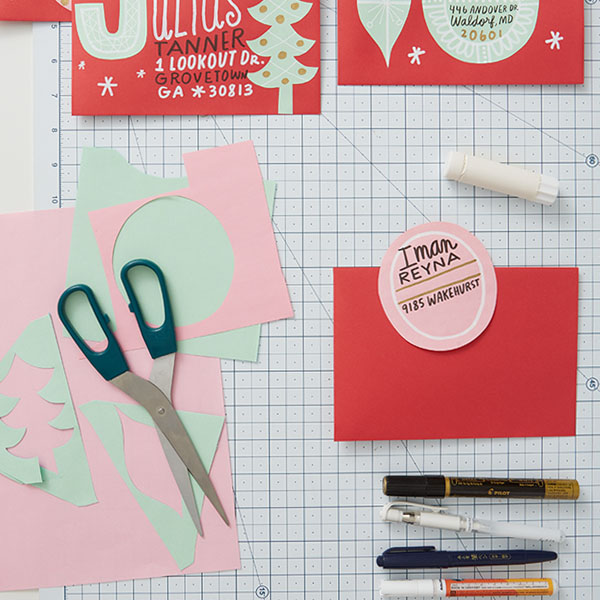
Supplies for cut paper designs
- Scraps of colored paper or leftover gift wrap
- Scissors
- Glue stick
- Crayola brush markers
- Crayola metallic markers or paint markers
- White paint marker or Crayola silver glitter marker
- White gel pen
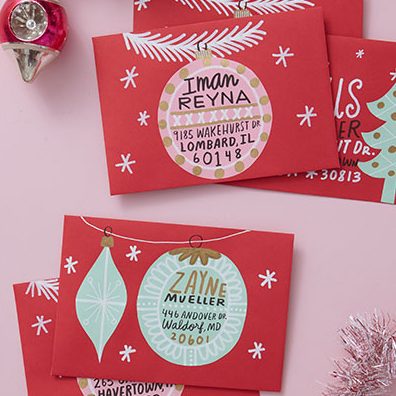
How to make cut paper envelope designs
- Cut a super-simple shape from the paper. We made different ornament shapes and trees and tried a few first initials.
- Lay your cut paper out on the envelope to figure out your design.
- If you’re going to write or draw on the paper, do that before you glue it down—that way if you mess up, you don’t ruin the envelope.
- Use the white paint or silver glitter marker to draw simple designs—branches, stars, garland strings—on your envelope.
- Glue down your cut paper then add the address. Don’t forget to put your return address in the upper left or on the back flap.
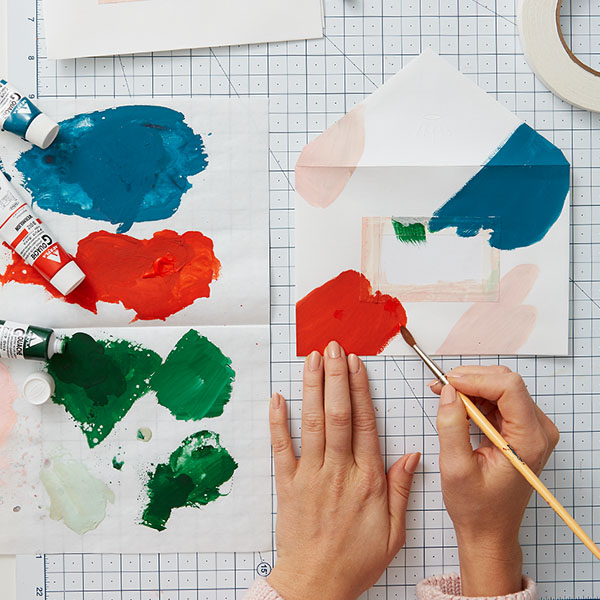
Hand-Painted Holiday Mail Art
Supplies for hand-painted envelopes
- Crayola acrylic paint (we are big believers in a limited color palette—choose 3 colors and use white paint to make lighter shades)
- Paintbrush
- Artist masking tape (“low-tack” means it’s less sticky and won’t rip paper)
- Scissors
- Crayola brush markers
- Scrap card stock or paper
How to make hand-painted mail art
To leave the perfect space for an address:
- Cut a square or rectangle from your scrap piece big enough to write the address. Use the masking tape to stick it to the envelope.
- Paint swatches of color on the envelope—try abstract shapes, swashes or blocks of color, squiggles and lines and dots.
- If you’re going to layer colors, make sure you let one dry before adding another.
- When it’s all completely dry, pull off the tape and paper scrap and add the address.
- With the right pen, you can write the address on a dry swash of color.
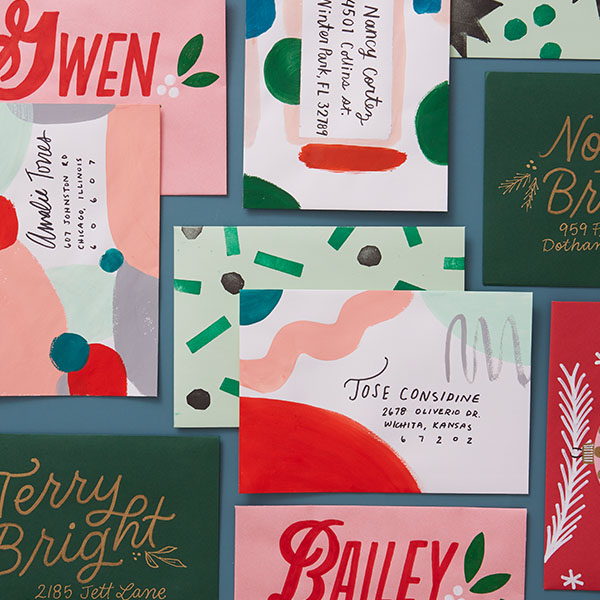
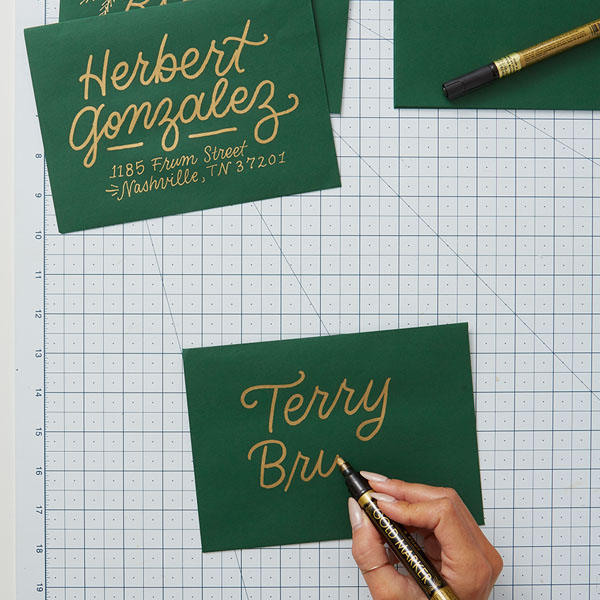
Bold Lettered Envelope Art
Supplies for hand-lettered envelopes
- Crayola Gold Metallic paint markers with bullet-shaped tips—not chiseled or angled—to make lines with a consistent weight (that’s called monoline lettering) or Metallic Markers
- Crayola Signature Metallic Outline Paint Markers & Project Glitter Markers or paint markers in white, red and green (or another fun, limited color palette)
- Pencil
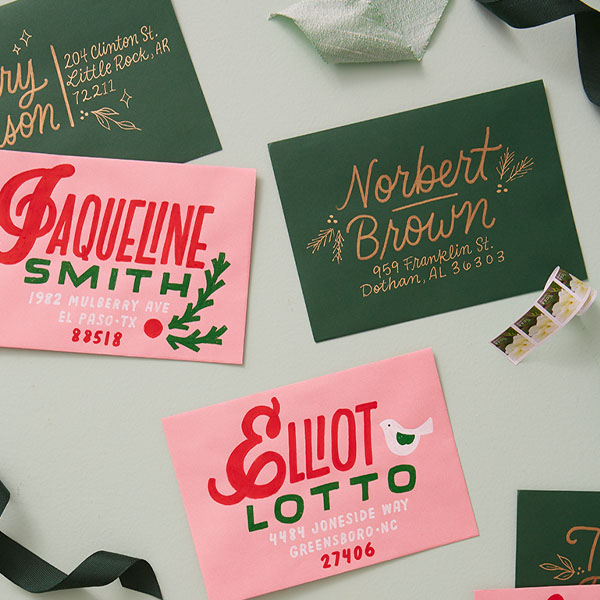
How to create envelopes with bold lettering
- Before you start, lightly sketch out the name and address—and maybe any other designs you want to add. It’s easy to draw pine and holly branches and berries, stars and diamonds, accent marks and simple doves.
- Make the name the star—go big and bold, but don’t forget to leave room for the address. (Unless you’re hand-delivering a card! Then the name can be super huge.)
- Let each color dry before adding the next.
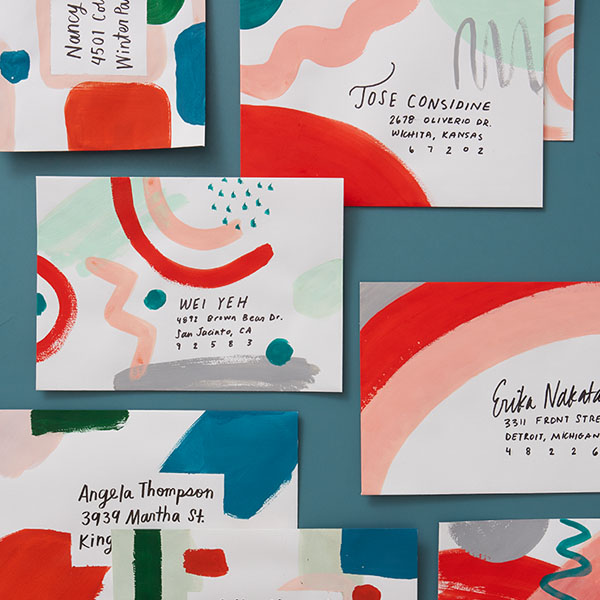
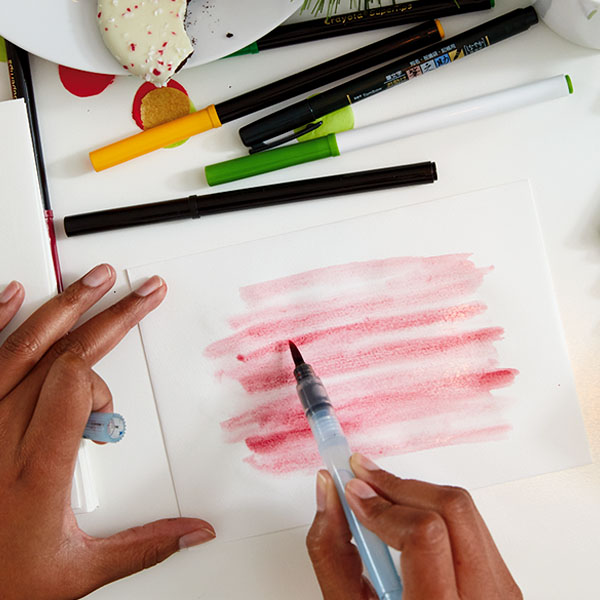
Easy Painted Envelope Backgrounds
Supplies for painted backgrounds
- Crayola Brush Markers or acrylic paint and brushes
- Crayola permanent markers (for addressing)
- Scrap paper
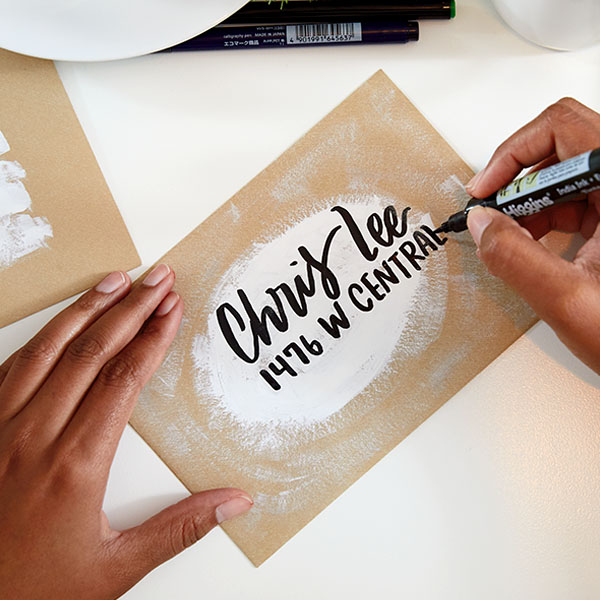
How to paint backgrounds to make addresses stand out
- Play around with techniques and designs—like translucent washes or snowy circles—on scrap paper or extra envelopes. Test the markers you’ll use for addresses on your backgrounds once they dry.
- Slide a piece of paper into your envelope before you paint to prevent bleed-through.
- Paint designs on your envelopes and let them dry.
- Once you’re absolutely positively certain they’re dry, add the addresses with permanent markers.
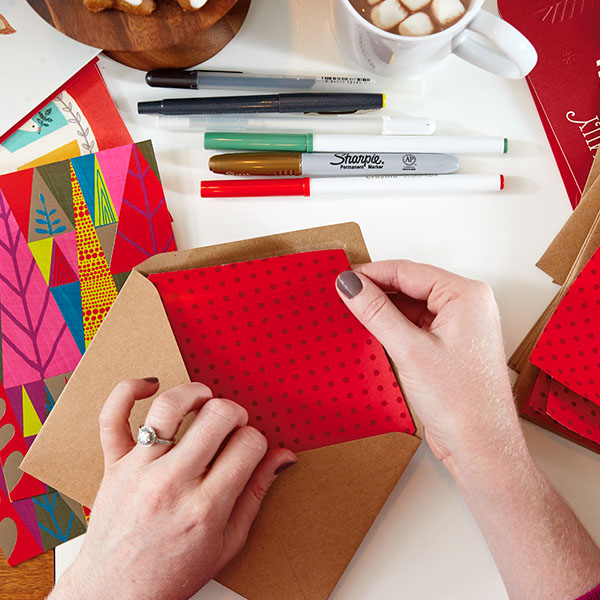
Bonus Tip: Wrapping Paper Envelope Liners
Supplies for wrapping paper envelope liners
- Envelopes
- Wrapping paper
- Ruler
- Scissors or craft knife
- Glue stick
- Optional: Chipboard (cereal boxes are perfect) or poster board for templates
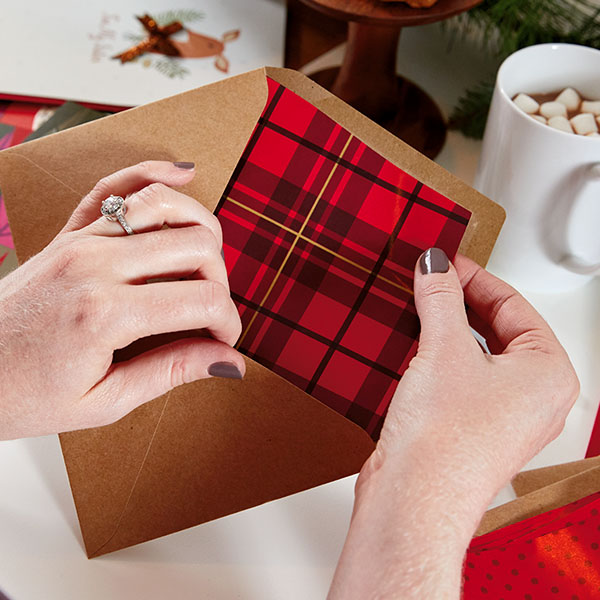
How to add envelope liners
If you’re just doing a few liners, follow the directions below. If you decide to make a whole bunch, make a template using chipboard or poster board (first three steps). Then trace the template onto the wrapping paper and follow the last two steps.
- Open the flap of an envelope and lay it open and flat on the reverse side of a piece of wrapping paper.
- Trace the envelope shape onto the wrapping paper and cut it out.
- Cut a sliver (1/8″ or less) off each side and about 1/2″ off the bottom.
- Slip the liner into the envelope, design up, and close the envelope, creasing the liner.
- Open the envelope and glue the liner in place.

Another Bonus Tip: Christmas Card-fetti
What’s a Christmas card party without confetti? We much prefer the giant kind, cut with paper punches from tissue paper. (Find the easiest DIY tips here.) Sprinkle a few pieces inside a card or use a glue stick to decorate the envelope. Circles are classic and perfect…but snowflakes or trees or other holiday icons would also be pretty great, too.
NOTE: All envelopes shown are decorated with made-up names and addresses so we don’t violate anyone’s privacy.
Shop Christmas
See allYou may also like
See more-
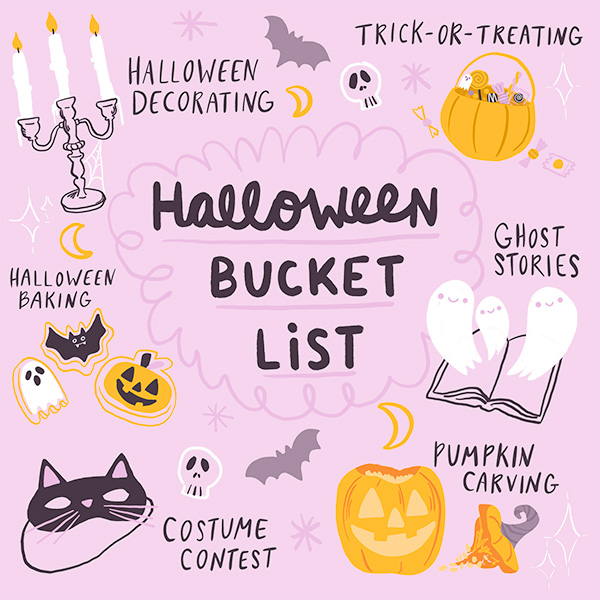
Halloween Your Halloween bucket list: fun, cozy and creative things to do all October long
It’s no surprise that Halloween is a favorite for many. It’s a season filled with pumpkin carving, crisp breezes and ...
-
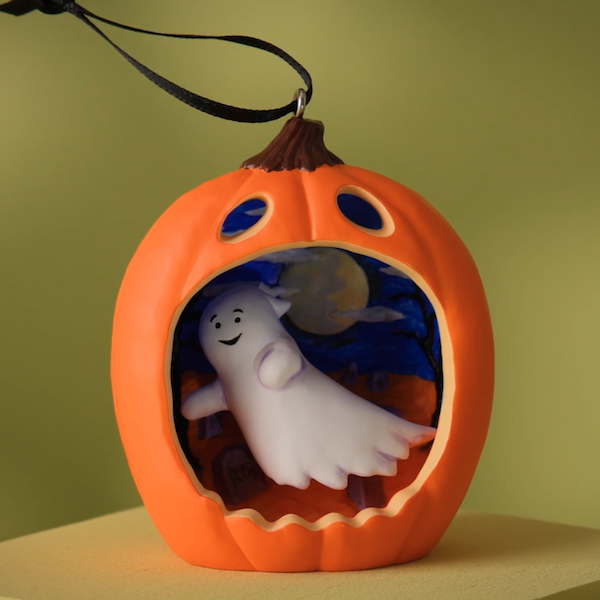
Keepsake Ornaments Add some Halloween glee to your tree! 🎃
From sassy cats to friendly ghosts, vintage vampires to mischievous kittens, we have lots of options if you're lookin...
-
Mahogany You do it all with so much grace
I was sitting in a coffee shop the other morning, when a woman walked up to me. She looked at me and touched my arm a...
-
Halloween More than a night: The trends shaping Halloween 2026
For years, Halloween has been celebrated on a single night. But all of that’s changing. From frightfully fun activiti...
-
DaySpring God’s answers might just be hidden in the ordinary
I wasn't your average 17-year-old dreaming about weekends at the mall or sleepovers with friends. Instead, I was cons...
-
Mahogany The joy of movement
As I've gotten older, I've learned that wellness isn't just about exercise. It's about feeling good, living well and ...
-

DaySpring How to start each day feeling renewed by grace
Amid the demands of daily life, carving out time for spiritual nourishment can indeed be a challenge. However, center...
-
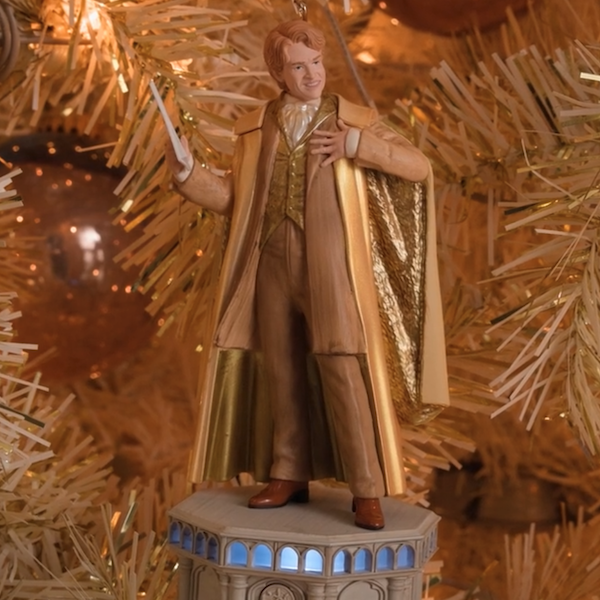
Keepsake Ornaments Complete your collection!
Class is in session with Defense Against the Dark Arts professor Gilderoy Lockhart™. 🪶 ✨ Complete your Harry Potter a...
-
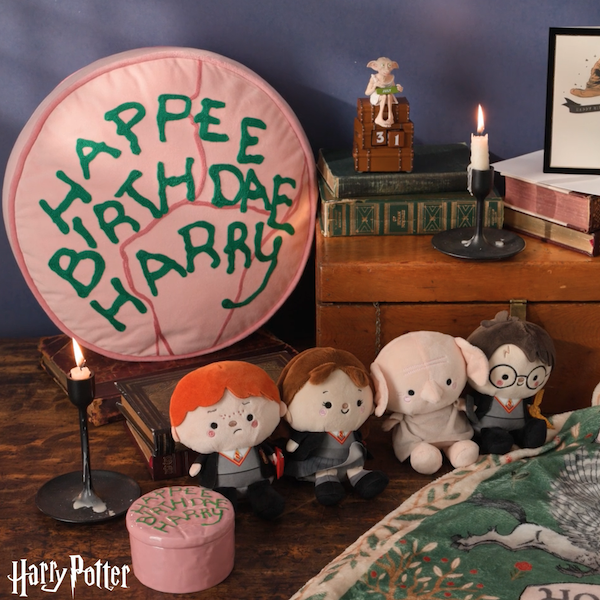
Gifting Happee Birthdae, Harry!
Celebrate the birthday of the Boy Who Lived with this fun collection of Harry Potter gifts! From cozy blankets perfec...
-
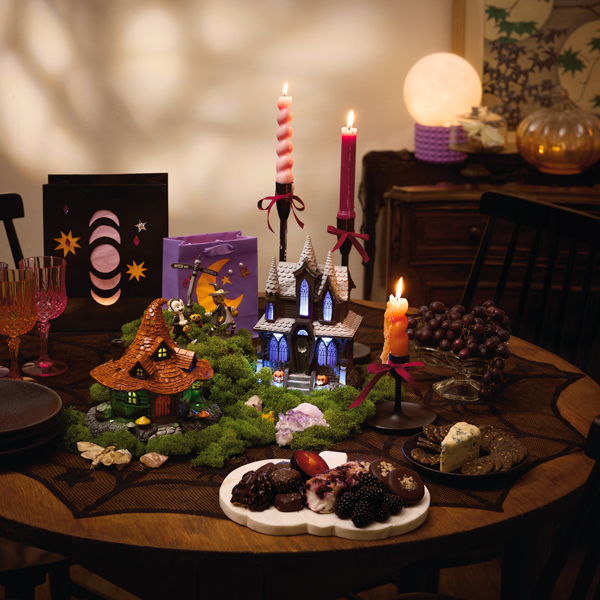
Halloween Witchy Halloween party ideas: Fun crafts and activities for a magical night in
Witch-themed parties have always delighted Halloween fans. They offer hosts and partygoers alike the chance to intera...
-
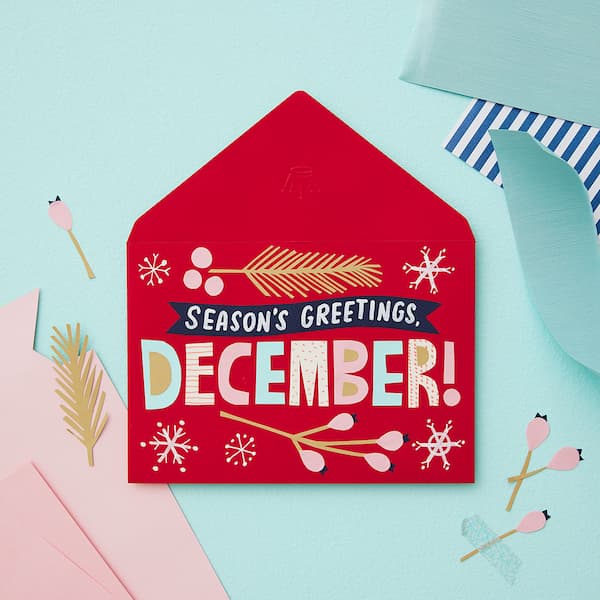
Calendar Flip Share More Moments: December 2026 Holidays and Observances
Whichever holidays you celebrate, whatever your traditions and whoever you call family, December is a month full of m...
-
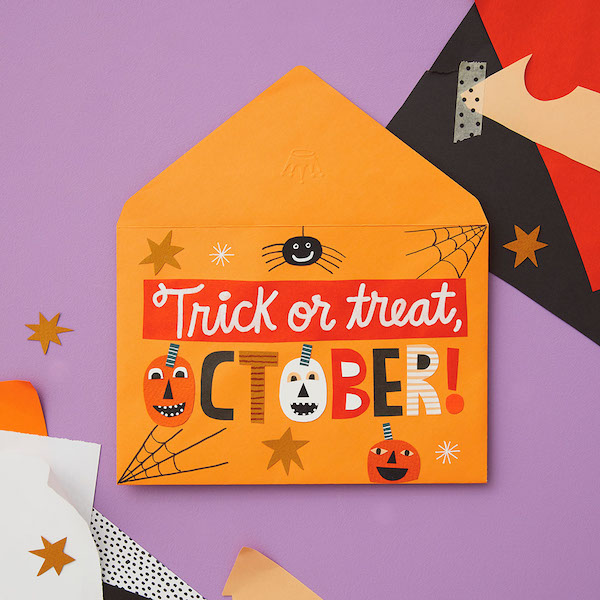
Calendar Flip Hey, Pumpkin! October 2026 Holidays and Observances
Get info, ideas and inspiration for October holidays and observances, including free sharable quotes and digital wall...
-
Calendar Flip Share joy, give thanks: November 2026 Holidays and Observances
Get info, ideas and inspiration for November holidays and observances.
-
DaySpring The secret to praying when you don't know how to pray
I open the closet door in a room that is not my own. I put packages of diapers on the top shelf, rearranging and rest...
-
Mahogany Every woman has a hair story
I always take a selfie as soon as I get in the chair at my hair appointment. Most women take photos after, but it’s t...
-

Keepsake Ornaments An epic adventure for your tree 🧙🏻♂️
Relive some of your favorite moments from The Lord of the Rings: The Fellowship of the Ring™ with this Keepsake Ornam...
-

Keepsake Ornaments What a great little tree! 🎶🎄
This little tree has a LOT going for it. And just like the one in "A Charlie Brown Christmas," this Peanuts® ShowTopp...
-
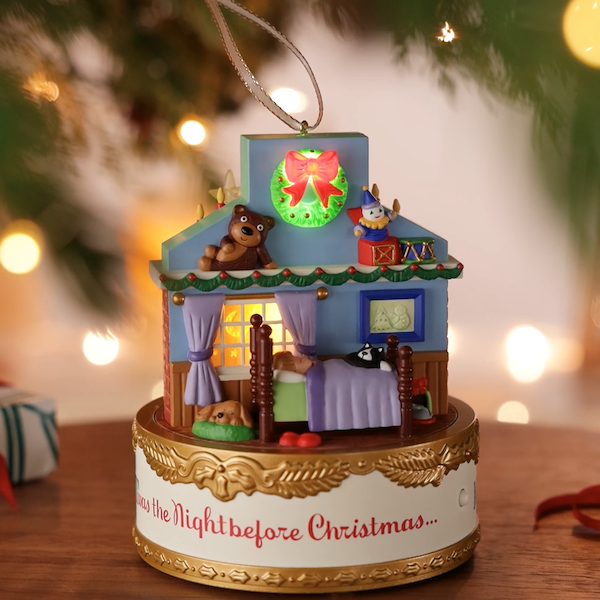
Keepsake Ornaments Childhood nostalgia incoming! 🥰
This incredible Keepsake Ornament depicting scenes from the classic poem, "A Visit from St. Nicholas," will take you ...
-
DaySpring Six Scriptures for spiritual rest this summer
A recipe for a relaxing summer afternoon: the sun’s warming rays, a cool drink, something good to read, a comfortable...
-

Keepsake Ornaments A carousel fit for a princess 👸
A Disney Princess, that is! Cinderella, Jasmine and Ariel are riding in high style on this gorgeous, gilded carousel...
