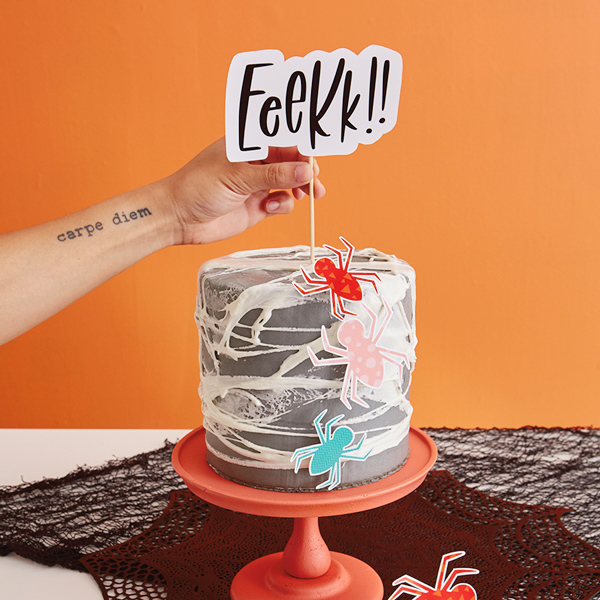
Itsy-bitsy spiderweb cake
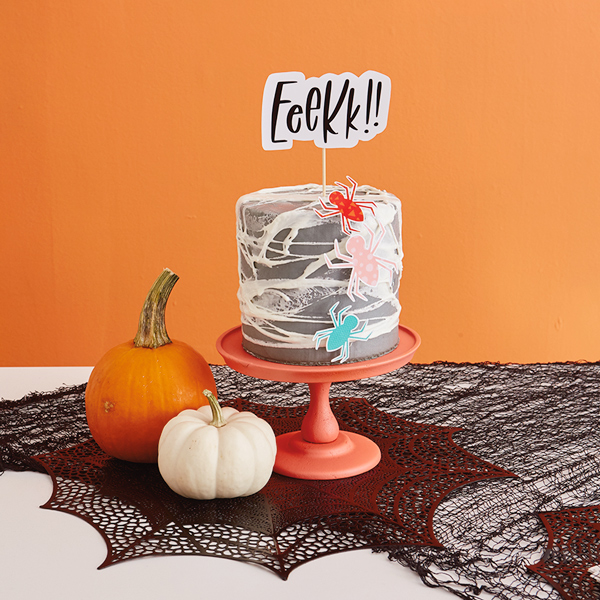
The kids get candy. But you—the fabulous passer-outer of treats—deserve something more grown up. Something fancier. Something more delicious. You deserve a spiderweb cake enrobed in buttercream frosting, slathered in marshmallow cobwebs and finished with our free downloadable cake toppers.
Bake it yourself or grab a plain cake at a bakery and just do the fun part, then serve it up with a little spiked cider. Happy Halloween to you.
Inspired? Create and share by tagging @HallmarkStores.
How to Make a Spiderweb Cake
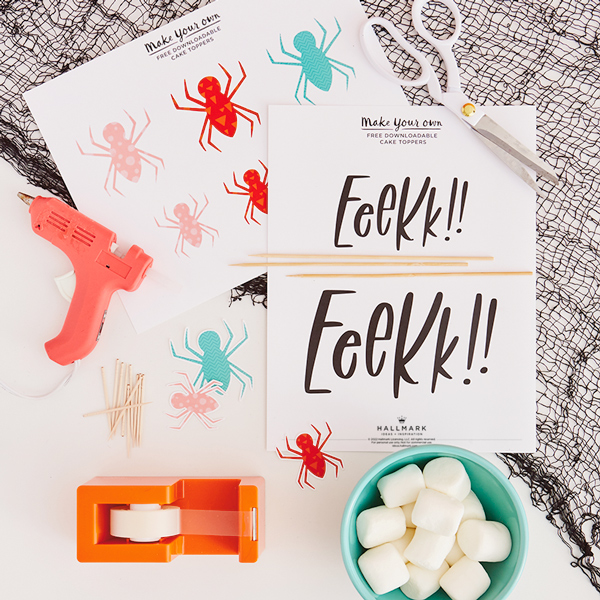
What you’ll need:
• Free spider cake topper printable, printed on card stock
• Wooden skewers
• Hot glue gun and glue
• Clear tape
• Scissors or craft knife
• 8-13 large marshmallows
• Microwave-safe bowl
• Spoon
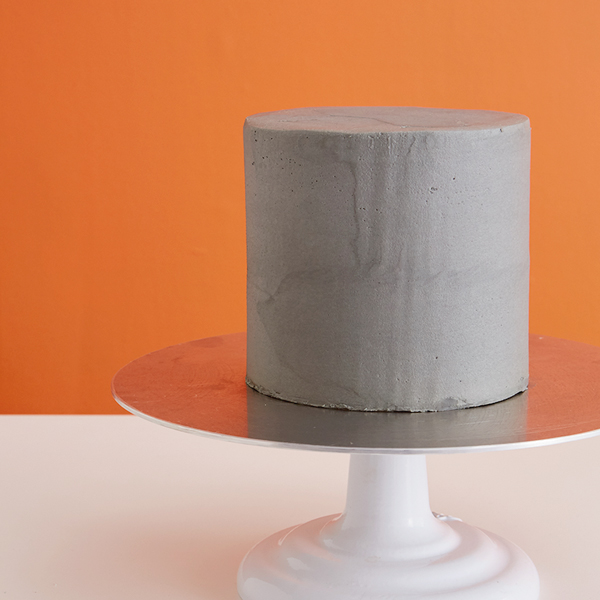
Start with a layer cake covered in fondant or smooth buttercream that has been allowed to “crust.” We used gray frosting on a six-inch cake, but a white web on a white cake is gorgeous, and white on black is classic.
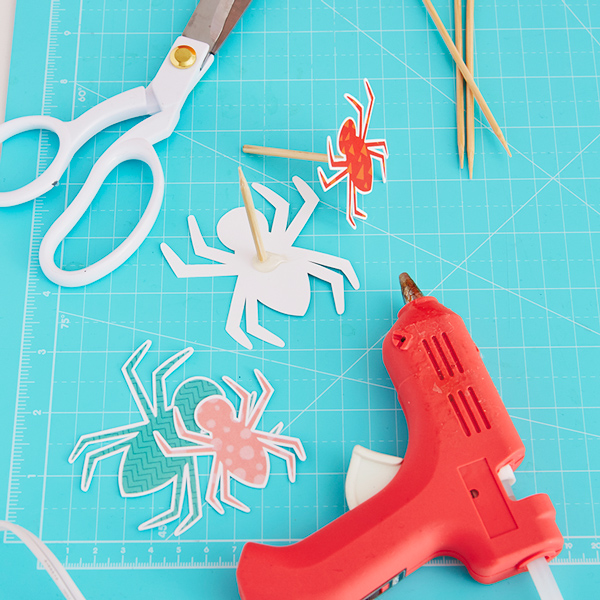
Step 1: Get your toppers ready
Cut out the spiders and “Eeekk!!” lettering.
Use tape to stick a skewer to the back fo the “Eeekk!!”
Put a spider face down, and use the glue gun to put a blob of glue in the center. Stand a skewer up in the glue, flat side down, and hold it until the glue cools and sets. Repeat with as many spiders as you want on your cake.
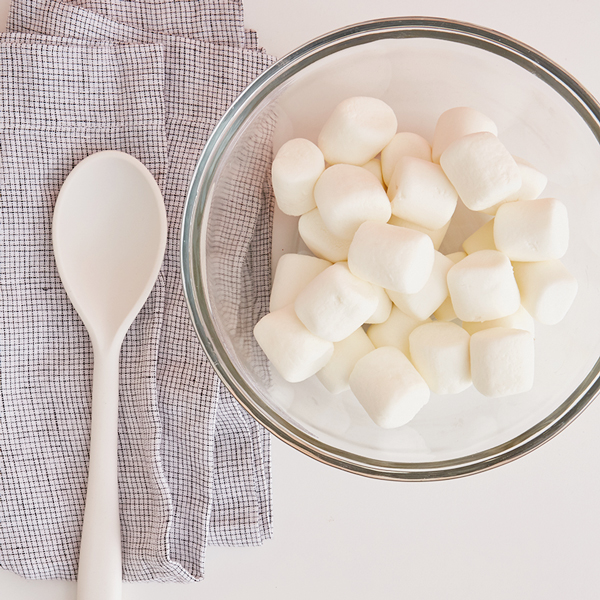
Step 2: Melt the marshmallows
Put the marshmallows in a bowl and pop in the microwave for about 30 seconds.
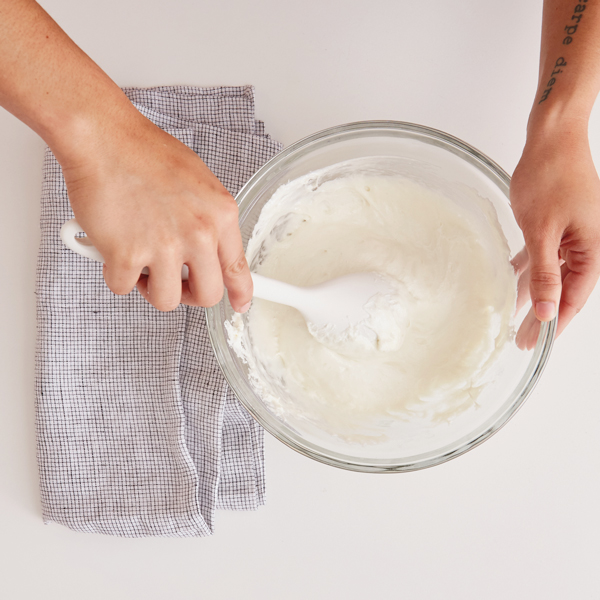
Stir until they make a lovely, melty mess. (If you need to, nuke them a little bit more 5-10 seconds at a time. Don’t overdo it!)
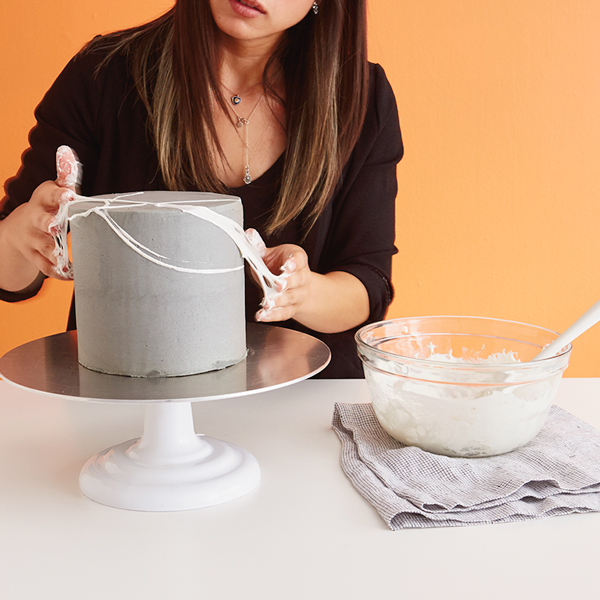
Step 3: Cover the cake in cobwebs
Once the marshmallows have cooled enough to touch, pull out a blob and stretch it between your fingers. Pull it apart until it’s stringy and drape it over the cake.
(If you want to see how it looks before you commit the marshmallow to the cake, you can always try it on parchment first.)
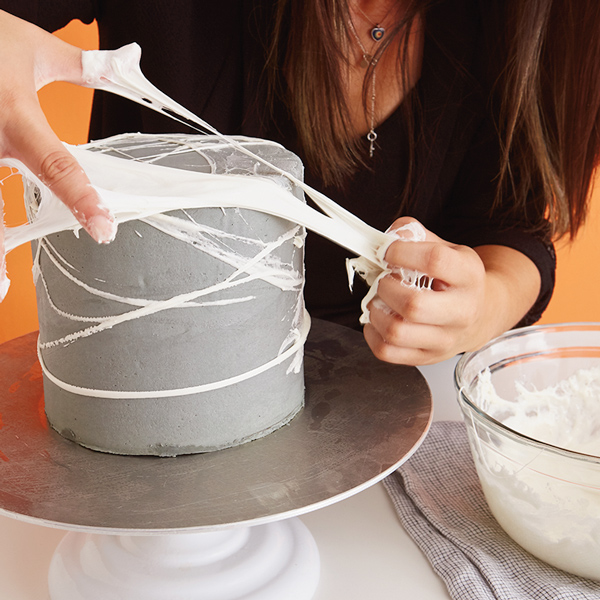
Keep going. You can do thin strands, thick blobs, disciplined wrapping or tangled weaving. This is your web.
Step 4: Add the toppers
Once you’re satisfied with your creation, add the toppers—leave a little room between the spider and the cake for a 3D effect.
We taped our extra spiders to toothpicks and popped them into some cupcakes.
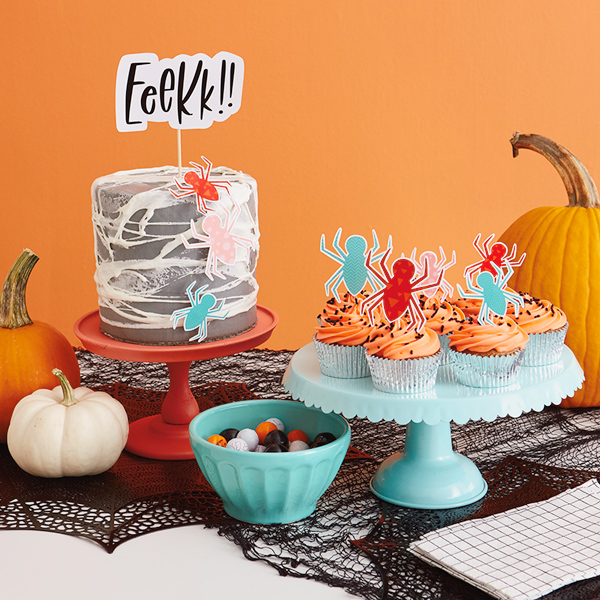
That’s it! Your creepy, crawly, spiderweb cake is ready for Instagramming and eating. No tricks, all treats for you!
Shop Halloween
See allYou may also like
See more-
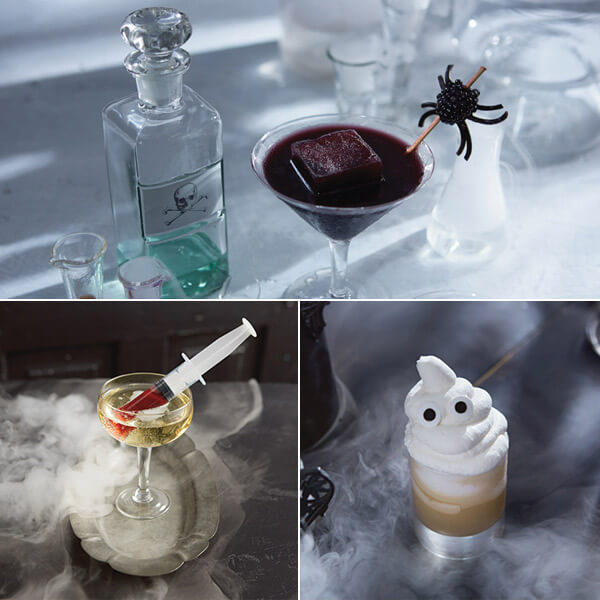
Halloween Creep out your Halloween cocktails
Time to gather together for some frightfully good fun this Halloween. And while you’re greeting your ghosts and guest...
-
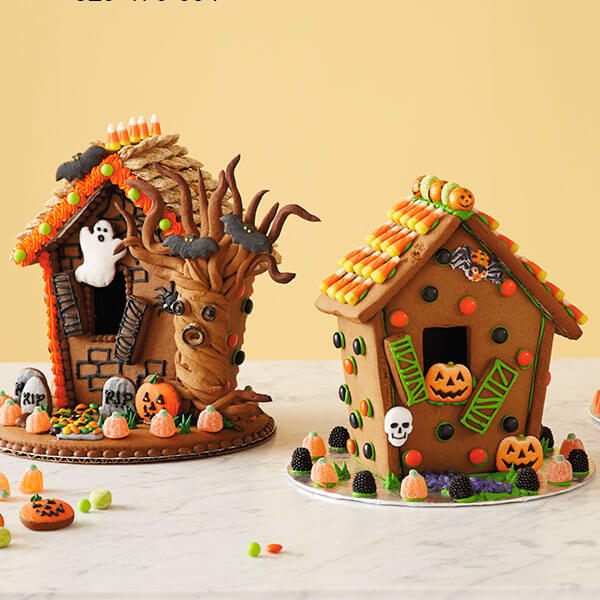
Halloween Bake a scary-good Halloween gingerbread house...if you dare!
With a few ingredients and easy-to-follow instructions, your crew can construct this goose bumps–worthy Halloween gin...
-
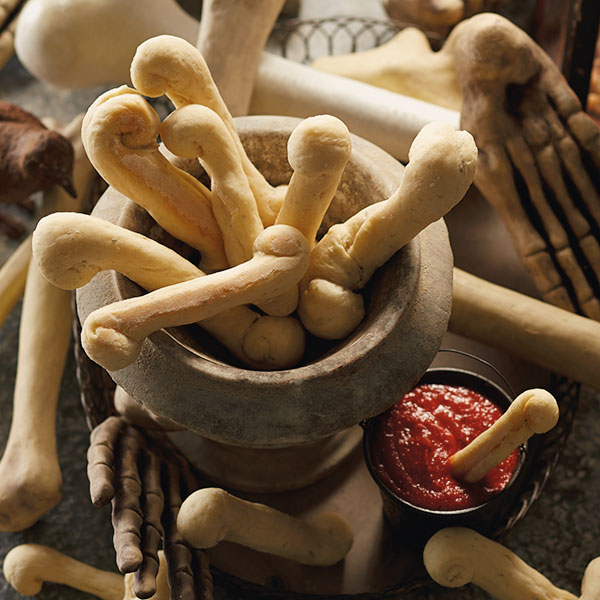
Appetizer & Snacks Halloween bone breadsticks
These Halloween bone breadsticks are a great example of taking an everyday favorite and reimagining it as a creepy Ha...
-
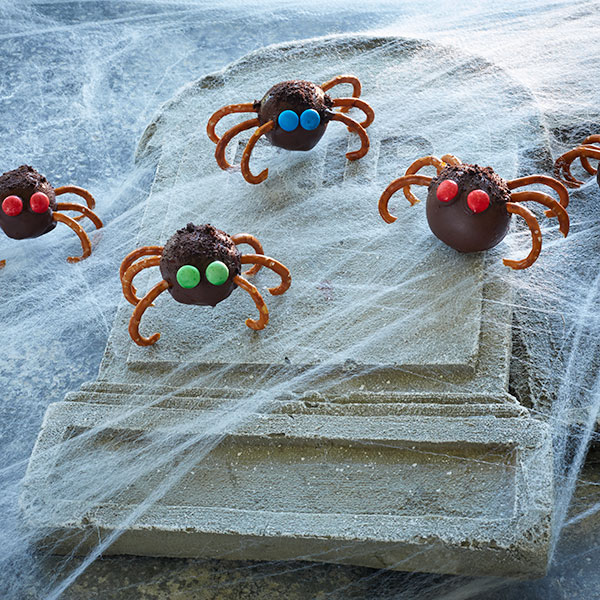
Dessert Peanut butter spiders
Looking for a fun, creative and creepy treat for your loved ones this Halloween? Look no further. Our peanut butter s...
-
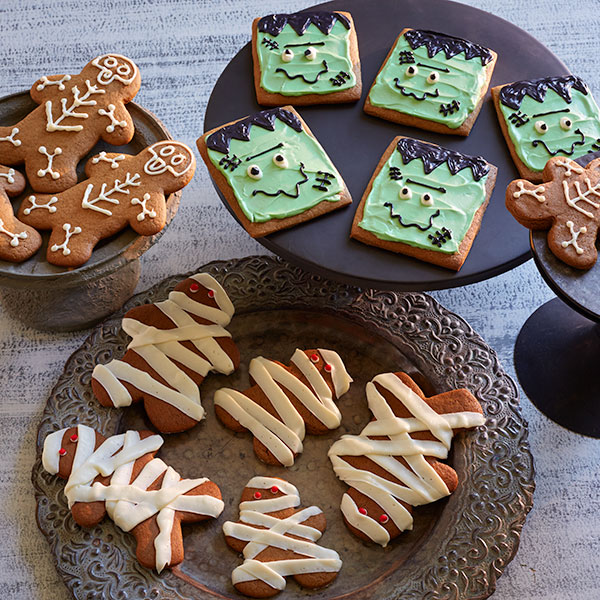
Dessert Halloween gingerbread cookies
Gingerbread cookie dough from the grocery store can make all three of these monster-themed Halloween gingerbread cook...
-
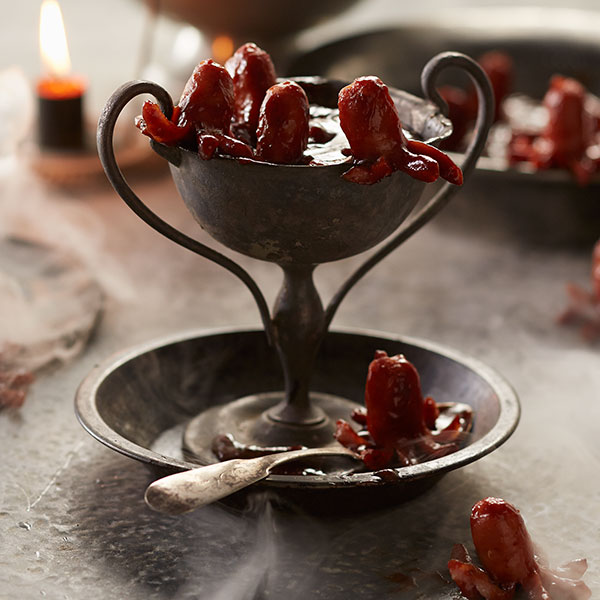
Appetizer & Snacks Halloween little smokies
Little smokies in barbecue sauce are a hit at any party, and these Halloween little smokies are perfect for Halloween...
-
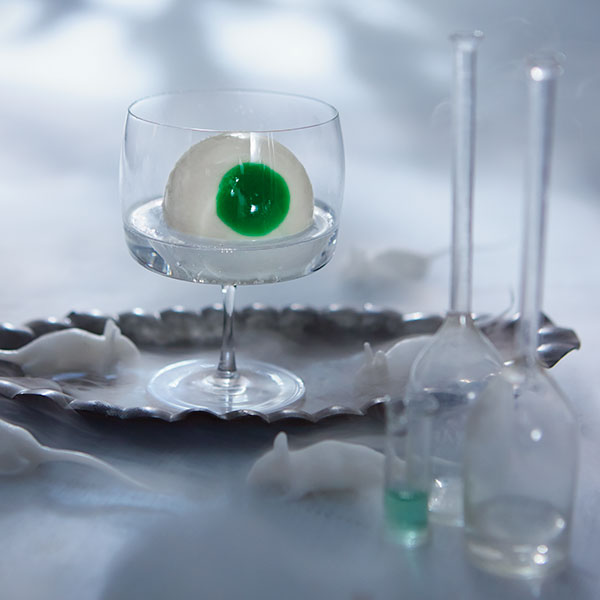
Drinks Vodka eyeball highball
This vodka eyeball highball is the drink that watches your every move. The squishy garnish is made with gelatin disso...
-
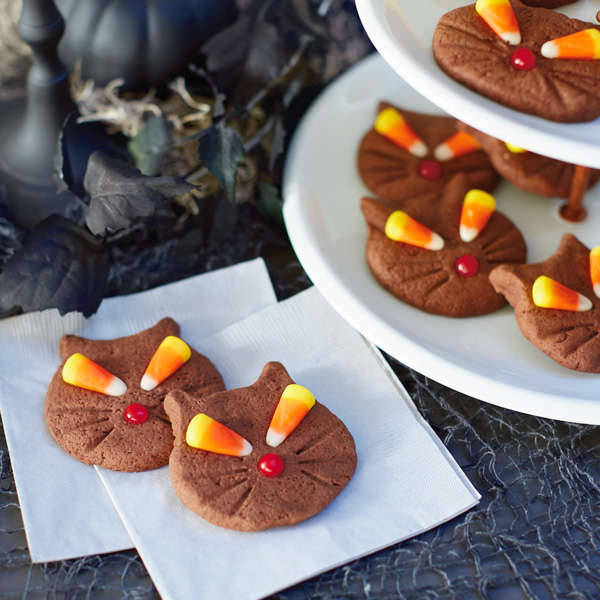
Dessert Cat cookies
Cat cookies are just like their feline counterparts: sweet and cute with a little bit of attitude. Bring these cute b...
-
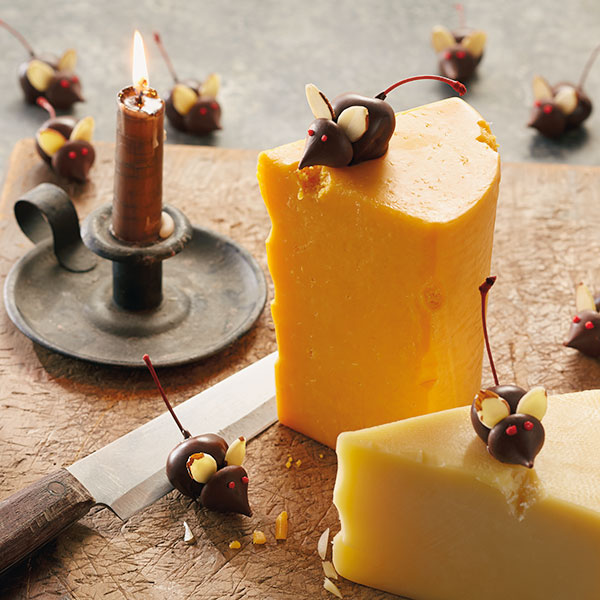
Dessert Halloween chocolate-covered cherry mice
Don't judge Halloween desserts by their size. These Halloween chocolate-covered cherry mice may quickly become your f...
-
Halloween DIY witch broom Halloween treat bag
Nothing beats an elevated but easy Halloween treat bag—especially if you can make it as cute as this one! Inspired by...
-

Recipes “Cookies and Scream” Halloween popcorn
If there’s one holiday that begs for themed food, it’s Halloween. Think about it—we’re all running around, dressed as...
-
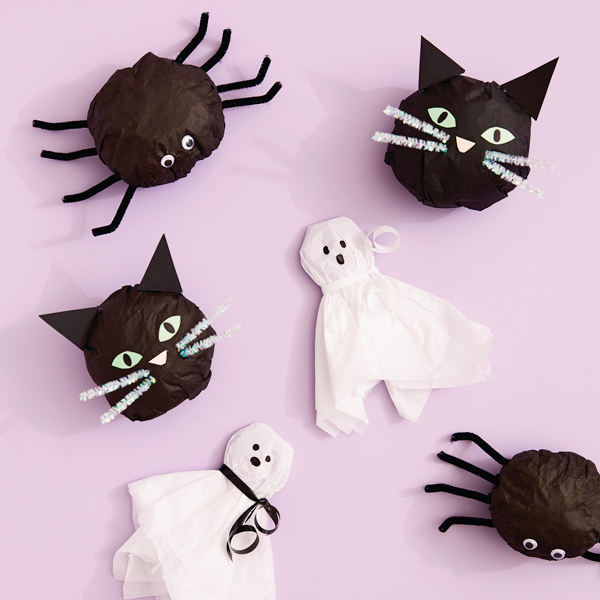
Halloween Scary easy tissue paper treat bags for Halloween
Ghosts, spiders and cats, oh my! Most of us wouldn’t want to come across any of these any day, let alone Halloween. B...
-
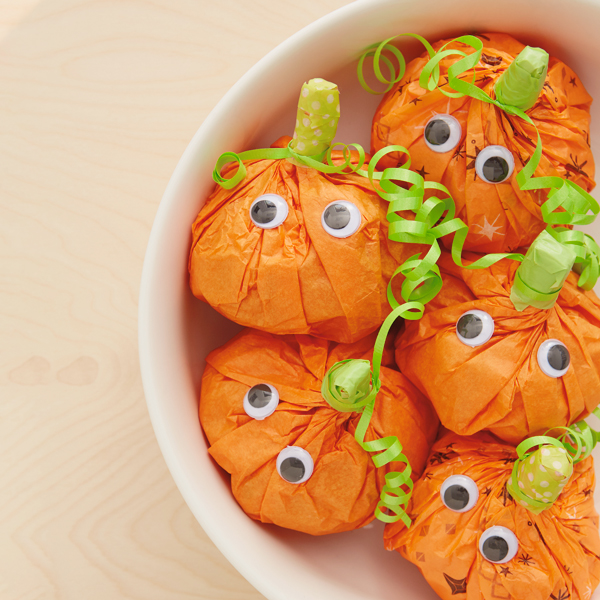
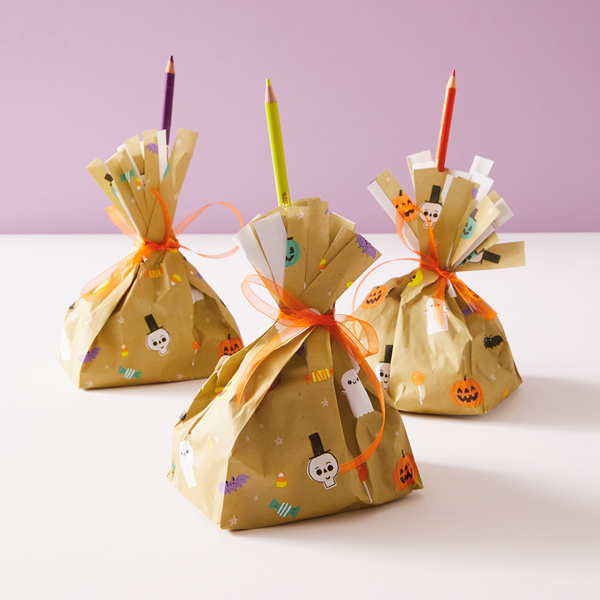
Halloween Sweet and easy DIY pumpkin surprise treat bags
This sweet Halloween project is all treats, no tricks. With just a few simple craft supplies, you can m...
-
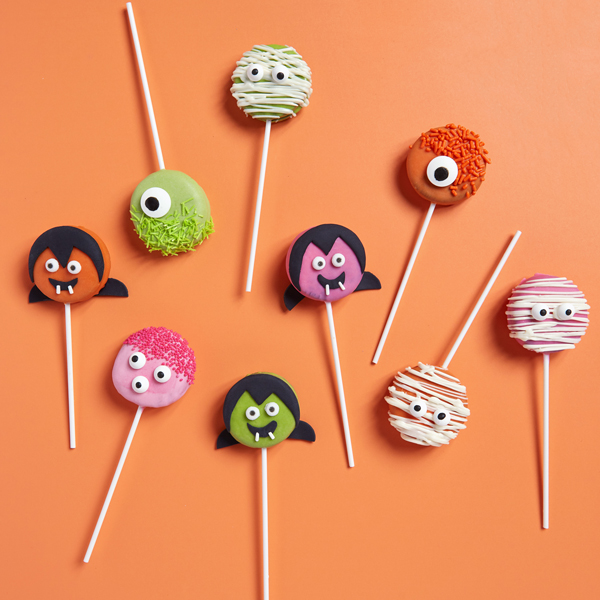
Halloween Play with Your Food: Halloween Cookie Pops
Put together the perfect treats to top off goodie bags or care packages for your kids and grandkids...
-
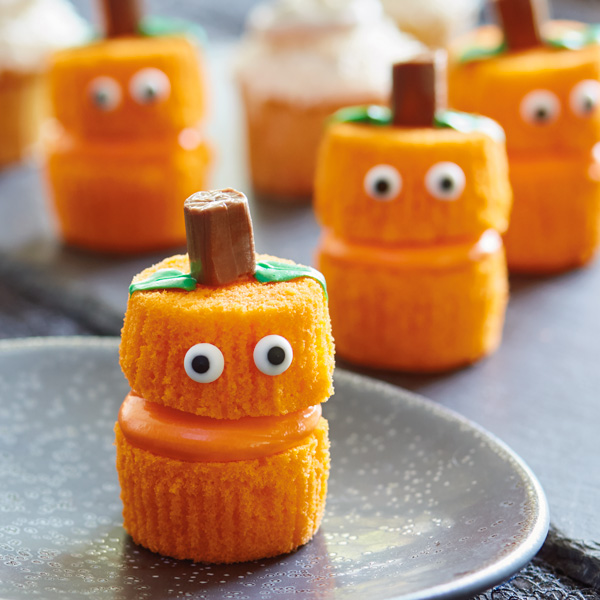
Dessert Jack O’Lantern Cupcakes
Jack O’Lantern Cupcakes will get your kiddos giggling with their funny faces. This easy Halloween cupcake decorati...
-
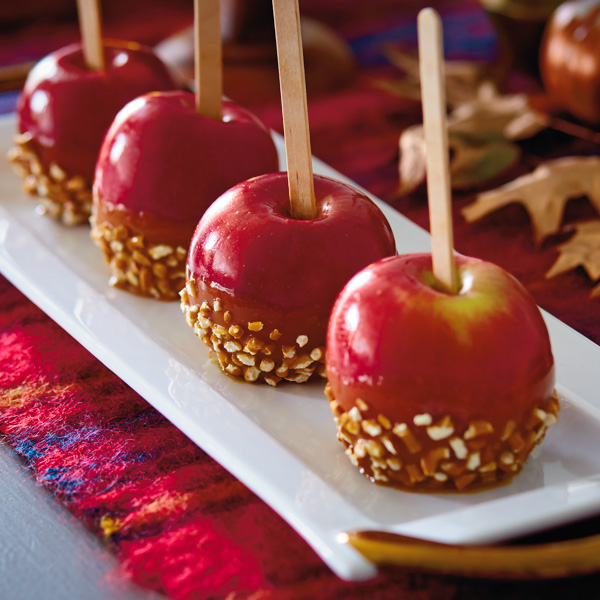
Dessert Sweet and Salty Caramel Apples with Pretzel Bottoms
Sweet and Salty Caramel Apples with Pretzel Bottoms add a satisfying crunch to a favorite fall recipe. It just tak...
-
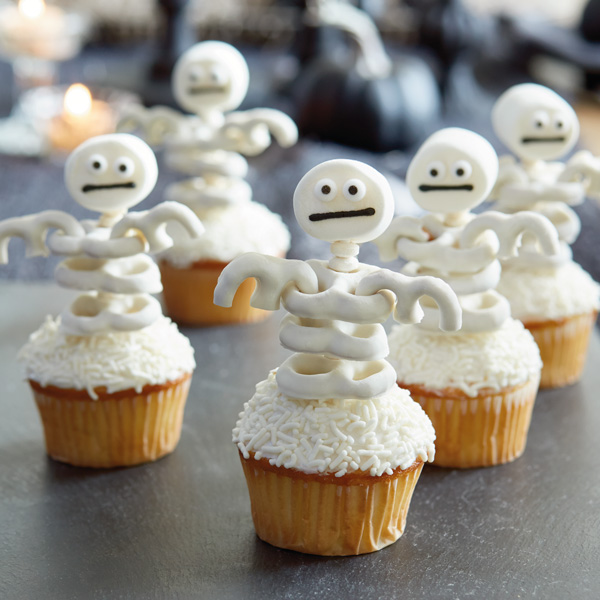
Dessert Skeleton Cupcakes
Skeleton Cupcakes pair easy DIY toppers with home-baked or store-bought cupcakes. The skeletons are made of yogurt...
-
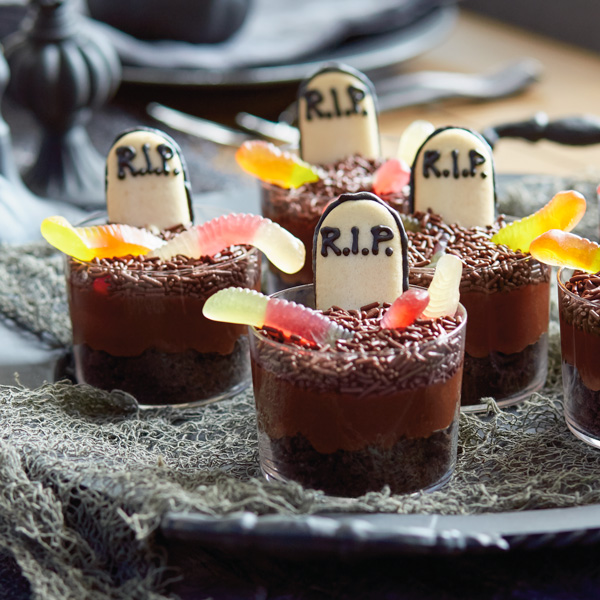
Dessert Graveyard Pudding Cups
Graveyard Pudding Cups put a Halloween-y spin on the classic kids’ “dirt and worms” treat. This Halloween dessert ...
-
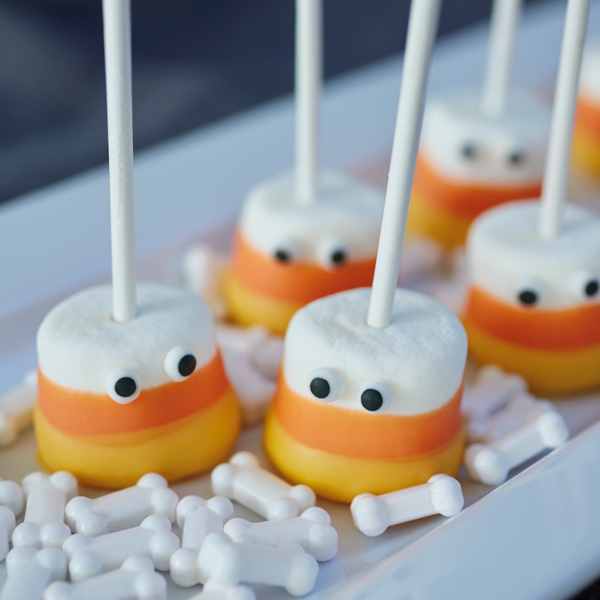
Dessert Candy Corn Marshmallows
Candy Corn Marshmallows are significantly less divisive than their namesake—because who doesn’t like candy-covered...
-
Appetizer & Snacks Pretzowls chocolate-covered pretzels
Our Pretzowls Halloween treat recipe will have everyone hooting with delight! You can't go wrong with a recipe tha...
