
We're sorry
There was an error adding this product to your cart. Please close this window and try again.
Inspired? Create and share by tagging @Hallmark.
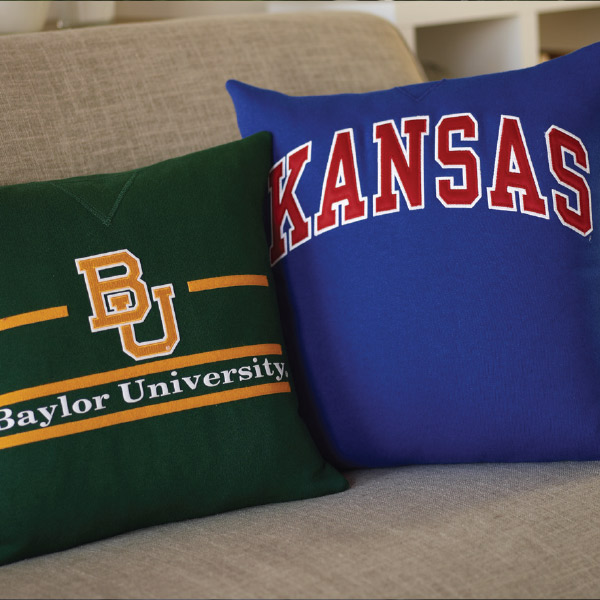
Start by cutting the jersey in half along the sides so that you have 2 pieces, a front and a back.
Now, create a frame from your cardboard/paper by cutting out the center to about an inch from the outside. Place the paper frame on the front piece of the jersey to center the design. Trace around the outside of the frame onto the jersey front in washable marker to give yourself cutting lines. Do the same process to the back piece of the jersey. Cut out the squares along the lines. NOTE: If your front design is close to the neck of the jersey, you’ll need to add a piece of fabric behind the neck opening so there won’t be a gap when you sew your pillow together. Once you’ve drawn your squares, you can use a piece from the leftover fabric to fill the gap. Cut a piece slightly larger than the neck hole from the excess fabric. Place this “patch” piece behind the neck opening, both right sides facing up, and pin. Sew the patch on.

Place both the jersey front square and the jersey back square right sides together and pin all the edges. Sew along the edges with seam allowance of about ½ inch. Leave a 6- to 8-inch opening along 1 side.
Turn it inside out and gently stuff the pillow form into the opening. Then slipstitch the opening closed.
Tip: If you’d like the thrill of the pillow, without the agony of the work, you can find websites that do it for you—all you need is a jersey or T-shirt to mail them and some money to pay for it, and you’re good to go. Touchdown!

A brand new card collection, just in time for spring! With new Paper Wonder Build-a-Bouquet cards, you can put togeth...
What do scavenger hunts have to do with the holidays? More than you might think. A lot of the best things about the s...

Color us excited! From the wearin’ of the green and more sunny fun to colorful Holi festivals and celebrating crayons...
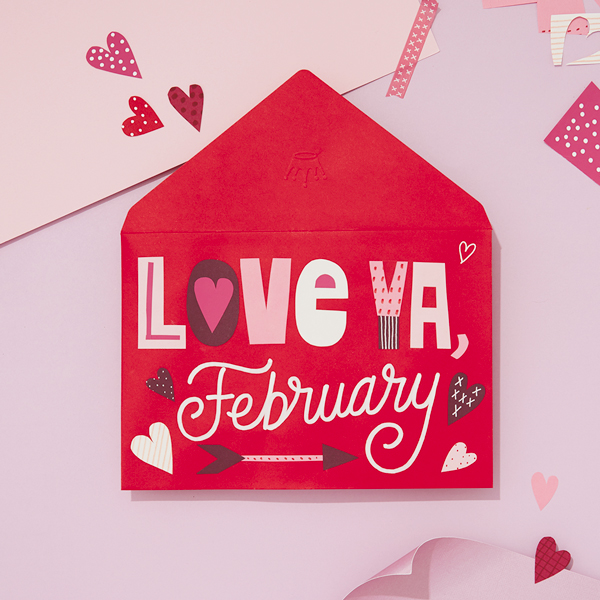
Let’s warm up this cold month with love and connections. From valentine cards to dressing up your pet, this month has...
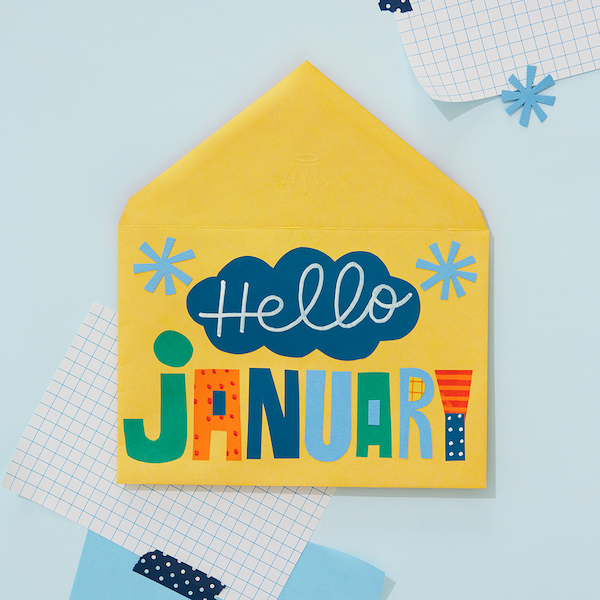
HAPPY NEW YEAR! If that hurt your head, you might have celebrated a little too much. When you’re feeling better, we h...

Check out the final three Keepsake Ornament releases of the year! Available at the ‘Tis The Season event, happening f...
A new year brings us new hopes, dreams, plans and the always-aspirational New Year’s resolutions. But it also brings ...

Have birthdays become ho-hum? Need to add some spice to your spice cake? Some dazzle to your devil’s food? We’ve g...

Here’s to lasting love! From still-newlyweds toasting with wine glasses they opened on their wedding day a year ago t...

Put your Disney love on display with this decked-out house featuring Mickey Mouse and Friends. It makes a perfect gif...

Searching for the perfect gift for that special Peanuts fan in your life? Hallmark Gold Crown stores and Hallmark.com...

Snoopy loves a hot holiday beverage...can you tell? Just lift the lid on this adorable mug to hear your favorite beag...

We don't know about you, but we think this singing, dancing Valentine's Day plush is bear-y sweet! If you're hoping t...
If you're looking for new white elephant ideas, you've come to the right place. Whether you're hosting a party or loo...

Epic stories. Iconic characters. All ready to share the spotlight on your tree this Christmas season! Whether you wan...

Get in losers, we’re going shopping for iconic ornaments! They make the perfect gift for your girl gang, cool mom and...

Bring Princess Leia’s iconic scene to your tree with this Funko POP! ornament. It’s the perfect Christmas gift for St...

Fans of Sonic the Hedgehog™ will love this epic ornament with lights, sound and motion. Speed over to your Hallmark.c...
It can be hard to express how grateful you are to the caregivers in your life. Often, these are the people who quietl...
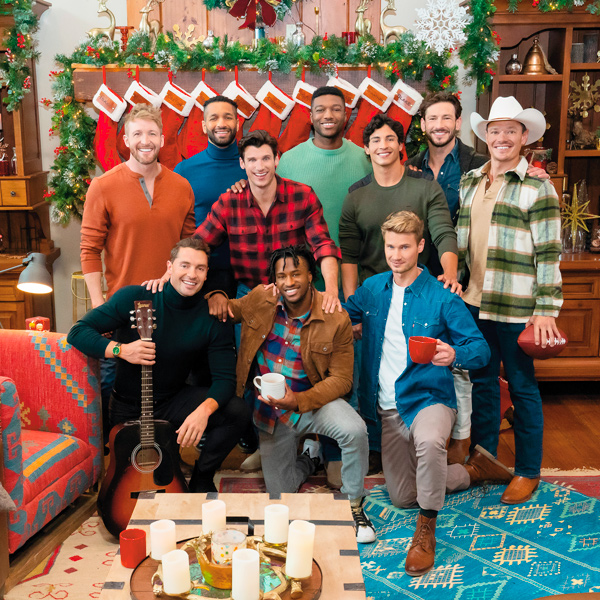
Hallmark star Jonathan Bennett knows what it takes to become Mr. Christmas and his new show “Finding Mr. Christmas” p...