We're sorry
There was an error adding this product to your cart. Please close this window and try again.
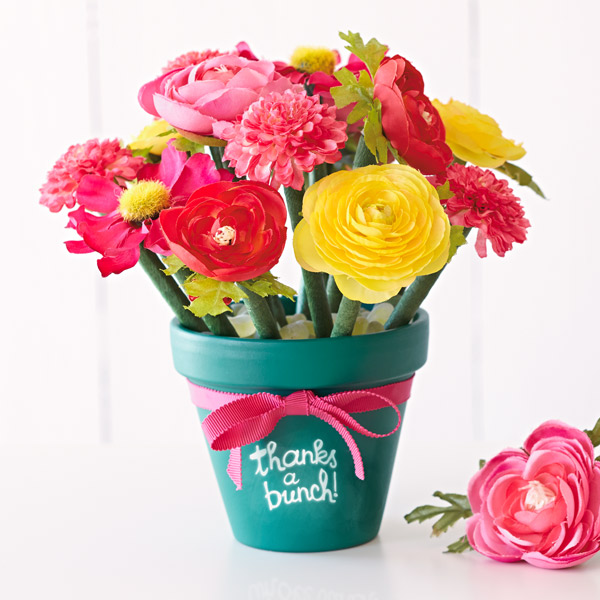
Inspired? Create and share by tagging @hallmarkstores.
Paint a clay pot with chalkboard paint and set aside to dry. Apply 2 to 3 coats as necessary. Brainstorm with your kids to come up with a "thank-you" message to write on the pot later. Here are a few ideas to get you started: Thanks a bunch, thanks for helping me learn and grow, thanks a latte (fill the clay pot with coffee beans to hold the pens), you're my #1 pick!
Remove the little caps on the non-writing ends of the pens. If they don’t just pop off, use your craft knife to cut off the plastic tops.
Cut the stem of each flower bloom to about ½ to 1 inch—enough that you’ll be able to insert the stem inside the pen cylinder easily.
Add some glue to the stem and insert it into the pen cylinder. Let dry.
Wrap the pen with floral tape, starting at the writing end of the pen. Stretch the tape gently as you wrap and overlap your wrapping so none of the pen shows through the tape. Wrap all the way up the pen, secure with a few tight wraps and cut off the end of the tape. You can use a bit of glue to secure the end of the tape to prevent future unraveling (optional).
Create more pens following steps 3 through 5 until you’ve created your bouquet. (We made about a dozen with smallish flowers for a 4-inch pot.)
To add a little greenery to some of the pens (optional), cut several leaves off the silk flower stems and glue the leaf stems to the pens slightly below the flower blooms. Let dry. Wrap around the base of each leaf stem with extra floral tape to further secure it to the pen.
Wrap your ribbon around the rim of the pot and tie in a bow; secure ribbon to pot with glue.
Write the message to your teacher on the outside of the pot with chalk. Use hair spray to adhere the chalk (optional).
Fill your pot with coffee beans or other filler to hold the pens in place.
Arrange your flower pens into a bouquet in the pot and give it to your teacher.

Hey! Heard the one about Hallmark inventing Valentine’s Day? Welp, we didn’t. But I’m thinking we got that rep becaus...

Need a little motivation? Coach Snoopy and the rest of the Peanuts gang are here to inspire all kinds of spring fun t...
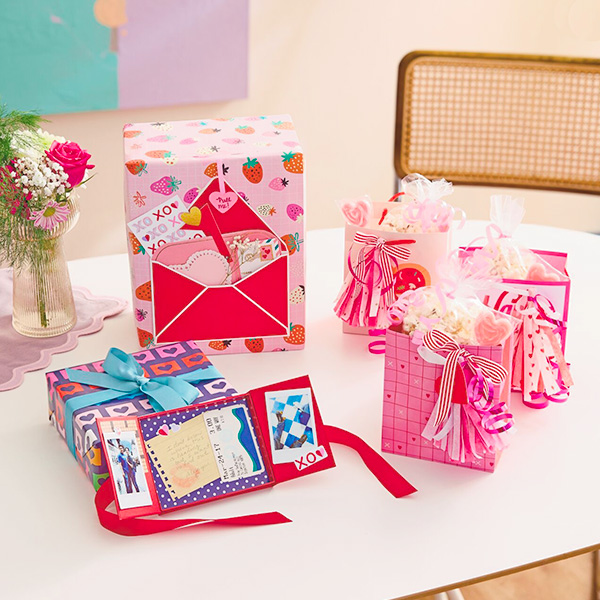
There are a select few times a year that we go all out for our favorite people: Their birthdays. The holidays. And if...

Maybe he's not into going out on Valentine's Day. Or maybe she'd rather watch sci-fi movies than a rom-com. If either...

In junior high, I made a giant Valentine’s Day collage for my first girlfriend. She loved it. Was it amazing or dorky...

At Hallmark we have Valentine’s Day cards for everyone you love to laugh with: your significant other, your friends, ...
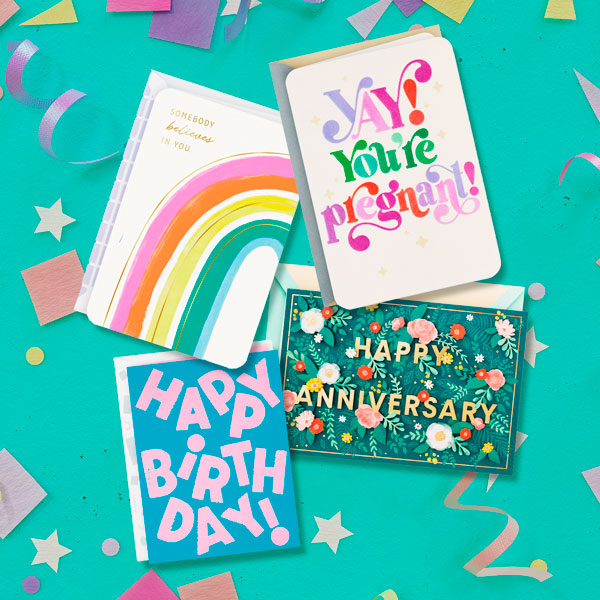
I don’t know a person on this earth who doesn’t love a good semi-annual sale. In fact, I know several people who keep...
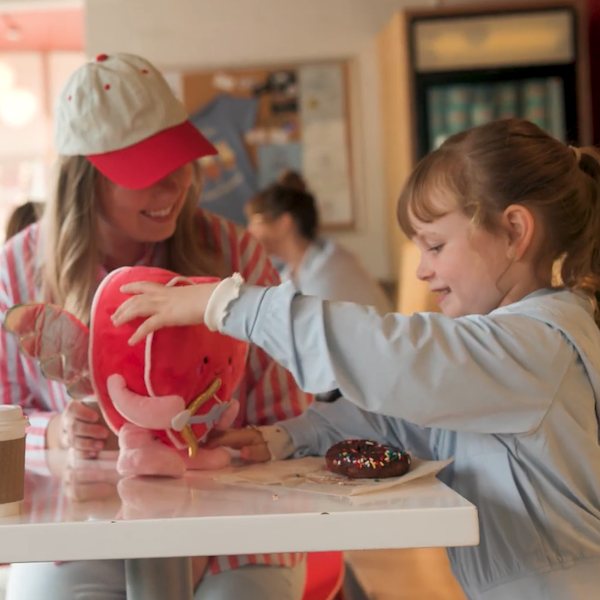
Nothing lights up a little one's face like letting them know just how much they're loved. Okay...except for when they...
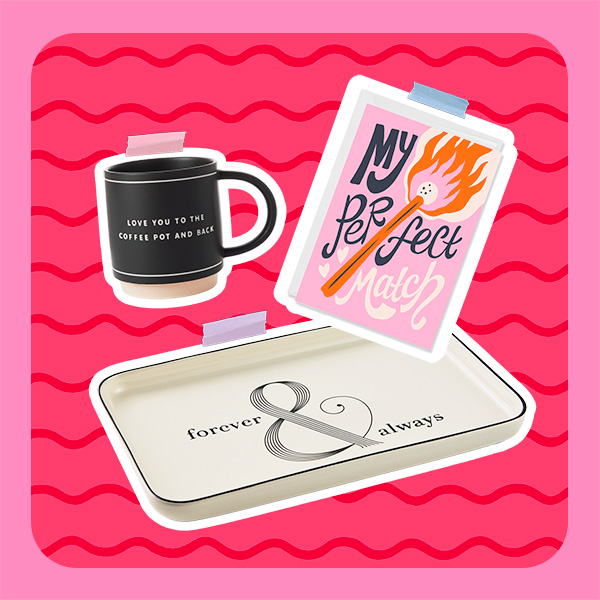
Who’s ready for Valentine’s Day?! 🥰 We absolutely love this holiday and can’t think of a more perfect time to shower ...

Color us excited! From the wearin’ of the green and more sunny fun to colorful Holi festivals and celebrating crayons...
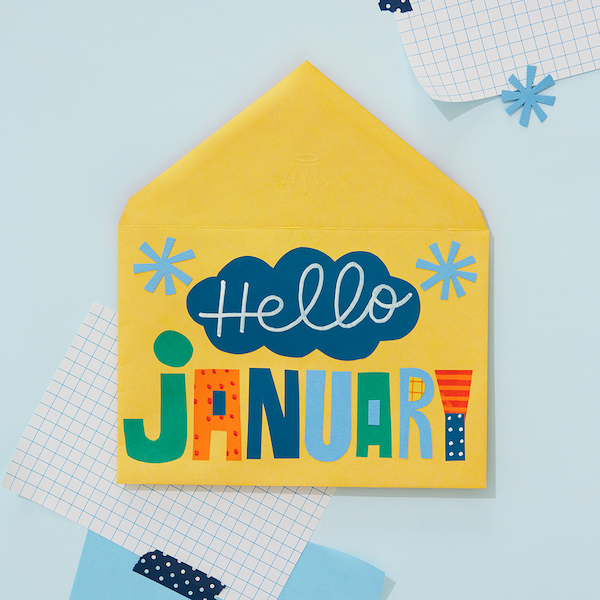
HAPPY NEW YEAR! If that hurt your head, you might have celebrated a little too much. When you’re feeling better, we h...

Let’s warm up this cold month with love and connections. From valentine cards to dressing up your pet, this month has...
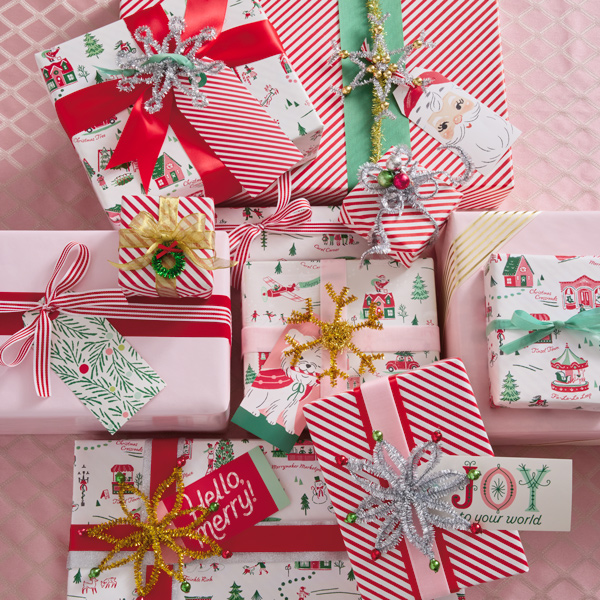
If you’re anything like me, the holiday season can make you tap into different sides of yourself. Maybe you become th...

It was a dark and stormy night in the winter of 2015. I was 17 years old, overwhelmed with AP classes, senior-year st...
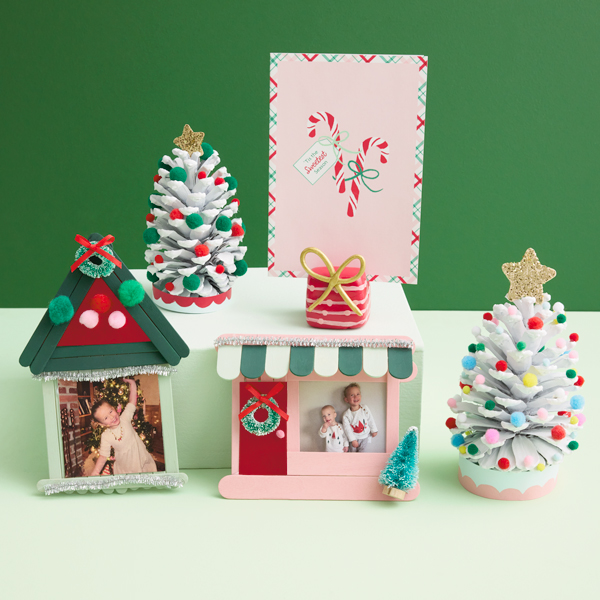
From decorating the house to baking cookies, the Christmas season gives us so many opportunities to get creative and ...
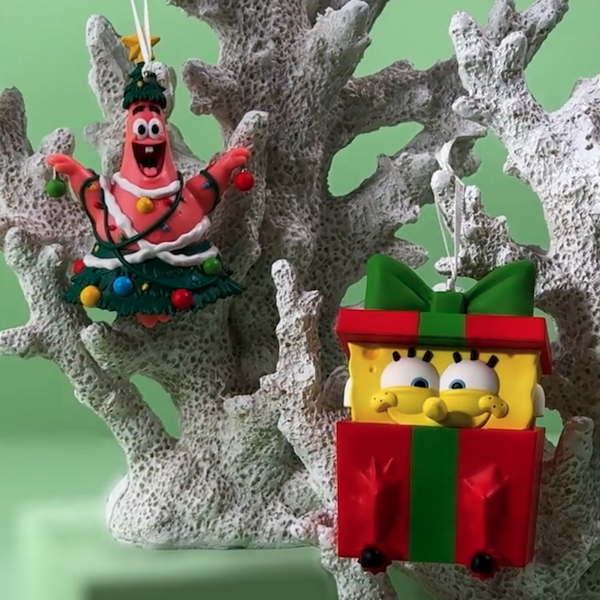
Got a bestie who's as silly as you? Or one who's there through all of life's storms with a smile? Then we think this ...

Thankfully, with so many beloved Disney Pixar character Keepsake Ornaments, you won't have to choose a favorite this ...

If you're a Millennial, we predict you will be majorly, totally, butt crazy in love with this Clueless Keepsake Ornam...
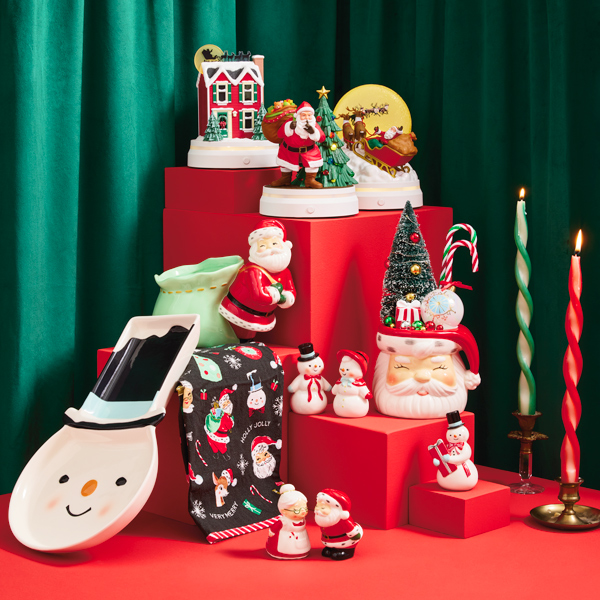
When I think of my perfect Christmas, vintage vibes are always what come to mind first. Santa’s sleigh in a dreamy wi...

Ever wanted to step inside of a picture-perfect Hallmark Christmas movie? Or travel to a place where you could immers...