We found
suggestions

Inspired? Create and share by tagging @HallmarkStores.
Even as an adult, it’s fun to give your mom a handmade gift to celebrate her on Mother’s Day, her birthday or just because. Block printing—also called rubber stamping and linocut printing—is a simple way to add a colorful personal touch to always-useful tea-towels and bandanas.
Even better: You can use the stamp you make to create multiples, like bandanas in different colors or a monogrammed set of tea towels. Hallmark designers made a batch to show us how it’s done.
Even Easier DIY Towels
We’ve simplified the whole process with Tea Towel Handprint Kits. You’ll get everything you need to add your family’s handprints to cute towels (on purpose and in cute colors instead of dirt for once).
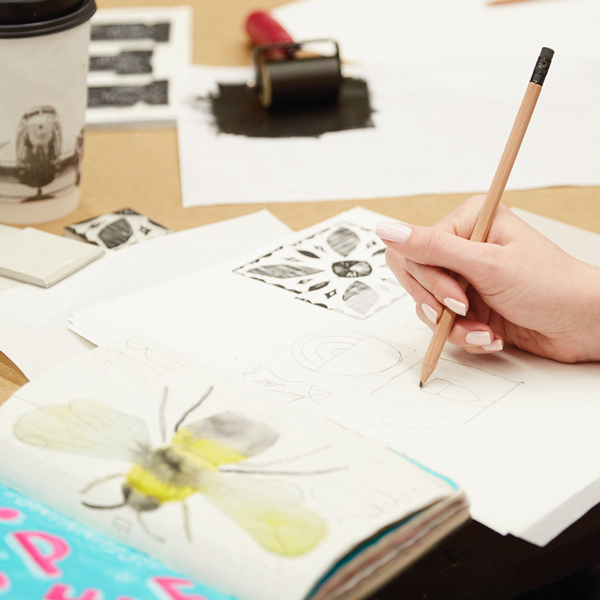
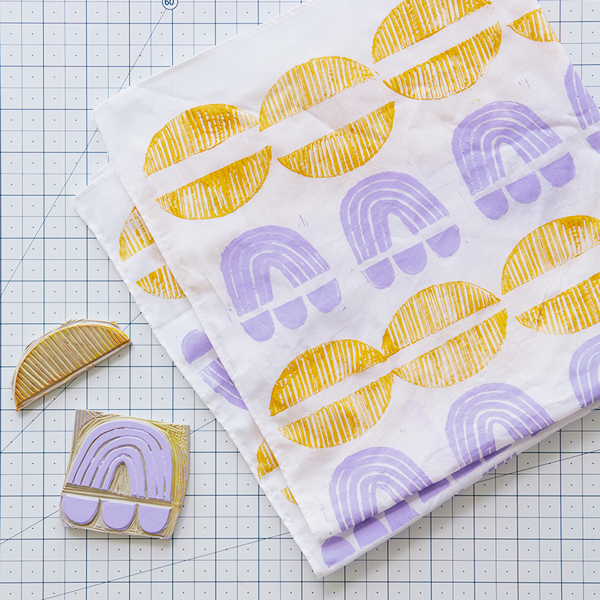
Make some 2” squares on your tracing paper and sketch some simple designs: Try flowers, hearts, rainbows, flowers, stars leaves, geometric shapes or letters.
When you like your sketch, go over it with the pencil again, pressing down harder. Then flip the tracing paper over, sketch side down, on a piece of the linoleum block and rub over the lines with your pencil so the lead on the transfers to the rubber.
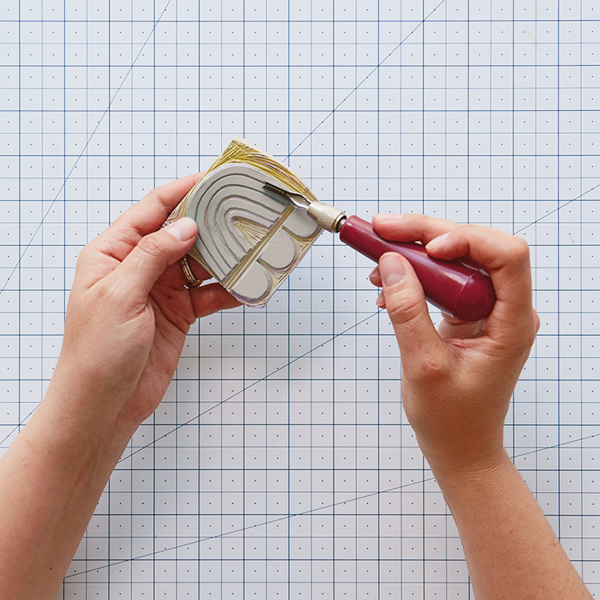
Use the cutting tools to carve out the rubber where you don’t want color. Try the larger cutting tools to carve out bigger spaces and smaller ones to get close to the shapes you’re going to leave.
When you’re hollowing out your stamp, don’t worry about being perfect. Block printing looks great when backgrounds have little bits of color where you left some rubber.
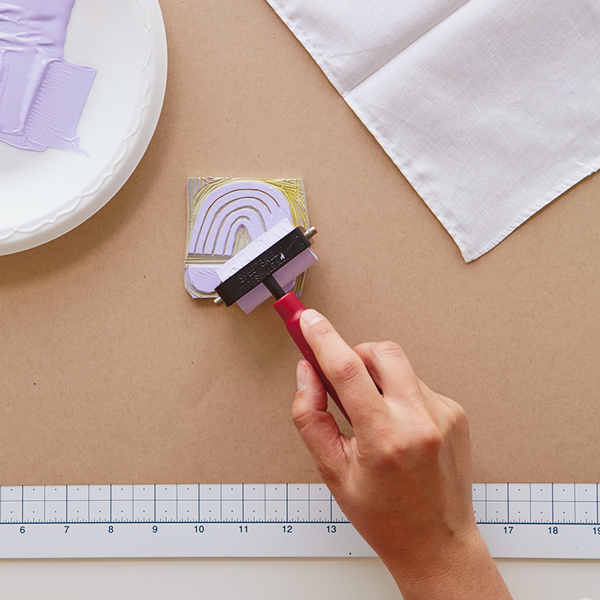
Your stamp is ready! Squirt a little fabric paint on to a paper plate and roll the brayer until it’s completely—but thinly—covered. If you’re using a foam brush, don’t overload it.
Before you block print on the towel or bandana, practice stamping on plain paper or scrap fabric to see how much paint coverage you’ll need and how you want to space your design. You can also wipe off the stamp and cut out more rubber if you need to.
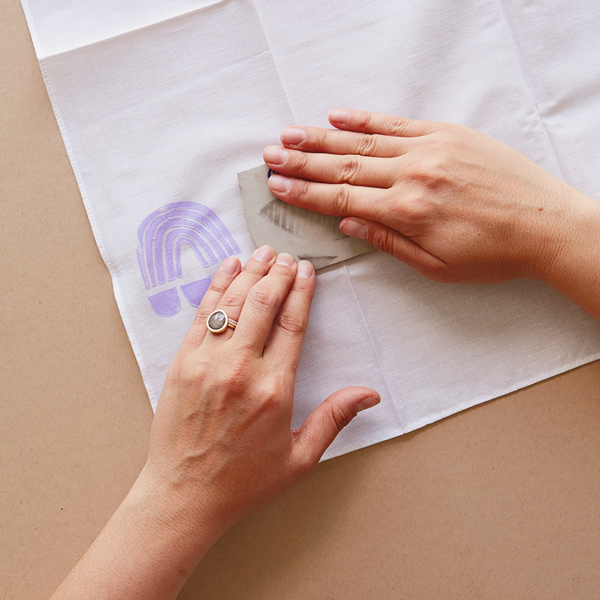
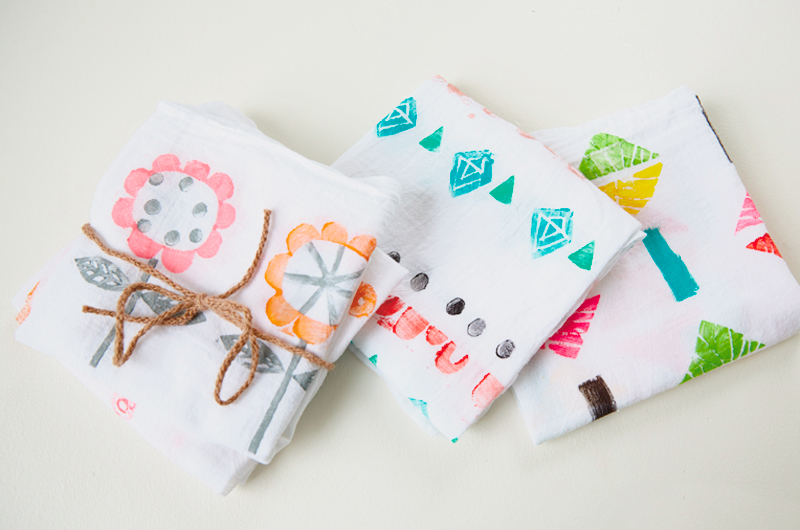
To print, carefully press the stamp on to the fabric and lift it off slowly. If you’re stamping more than once, apply more paint each time.
Here are some different ways to make different designs with the same stamp:
Or add another stamp with a new color for lots more options!
Let your design dry while you make more. Why stop at just one? When you finish, follow the instructions on the fabric paint to make sure it sets permanently.
Now they’re ready to give as gifts and use to wrap presents. Ideas on that below!
Ways to give your block print gifts
You can give your linocut bandanas and tea towels in approximately a gazillion ways. Here are a few we love.
Tie together a set of color-coordinated towels, napkins or bandanas
Wrap up a box of chocolates, a book or two, or a homemade treat
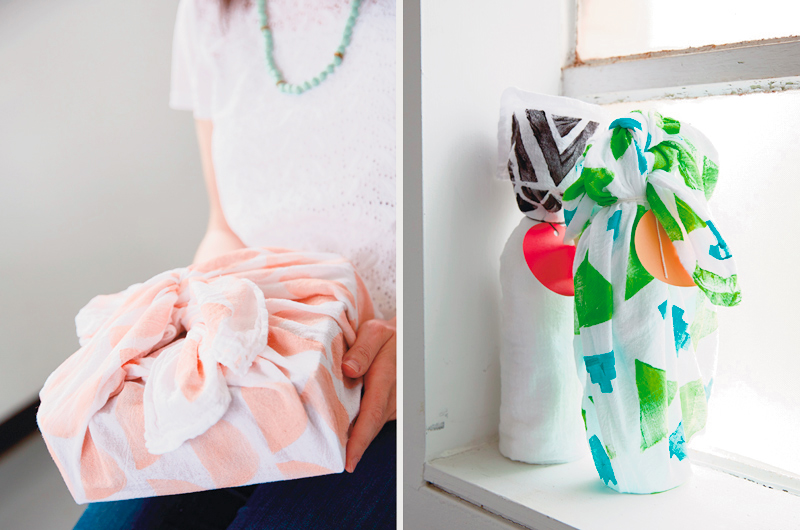
Give a bottle of her favorite beverage
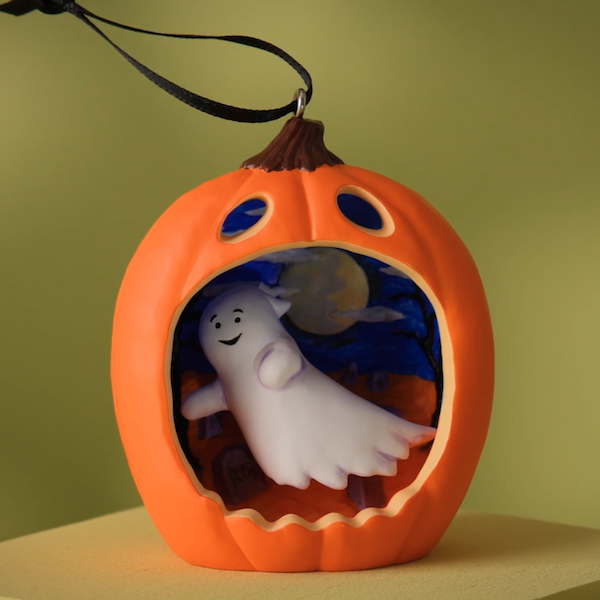
It’s no surprise that Halloween is a favorite for many. It’s a season filled with pumpkin carving, crisp breezes and ...
From sassy cats to friendly ghosts, vintage vampires to mischievous kittens, we have lots of options if you're lookin...
I was sitting in a coffee shop the other morning, when a woman walked up to me. She looked at me and touched my arm a...
For years, Halloween has been celebrated on a single night. But all of that’s changing. From frightfully fun activiti...
I wasn't your average 17-year-old dreaming about weekends at the mall or sleepovers with friends. Instead, I was cons...
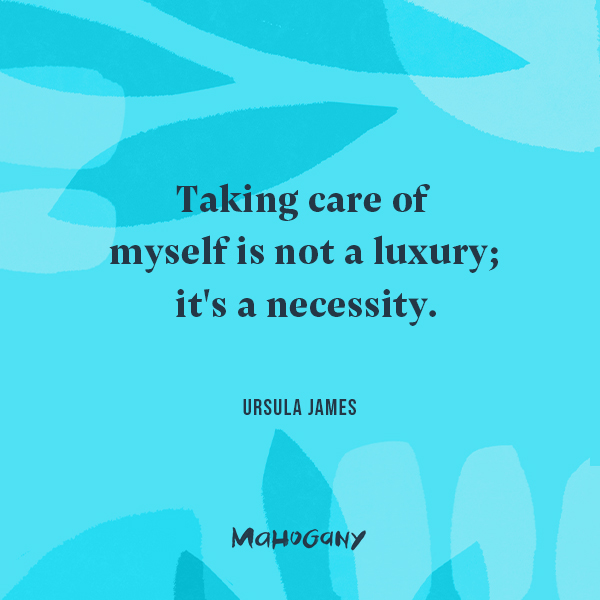
As I've gotten older, I've learned that wellness isn't just about exercise. It's about feeling good, living well and ...
Amid the demands of daily life, carving out time for spiritual nourishment can indeed be a challenge. However, center...
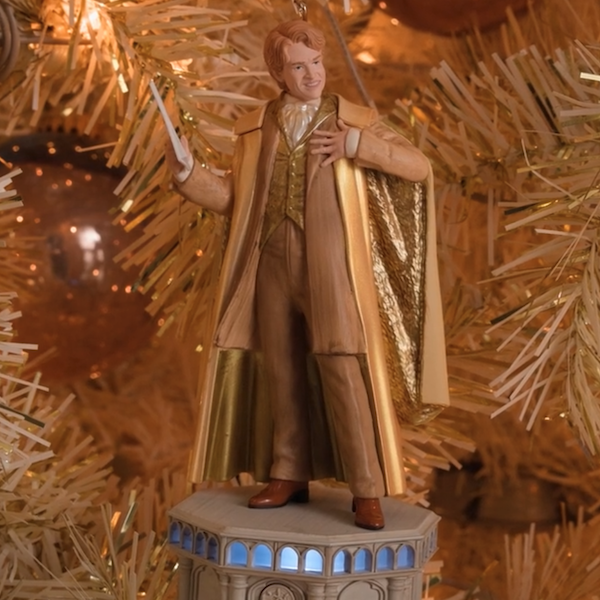
Class is in session with Defense Against the Dark Arts professor Gilderoy Lockhart™. 🪶 ✨ Complete your Harry Potter a...
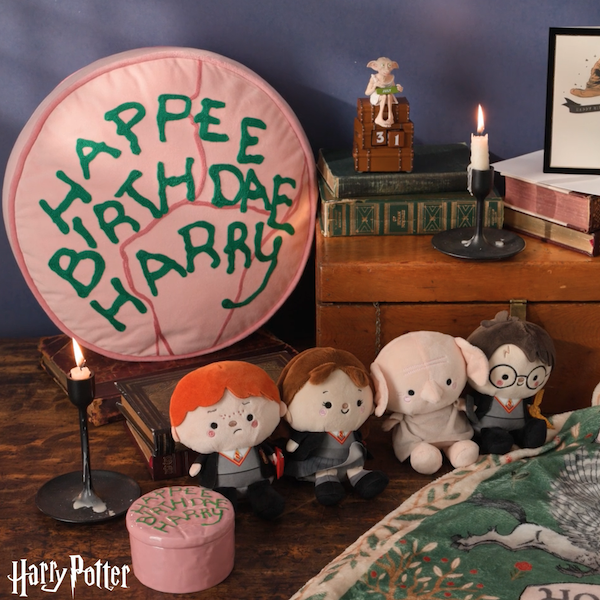
Celebrate the birthday of the Boy Who Lived with this fun collection of Harry Potter gifts! From cozy blankets perfec...
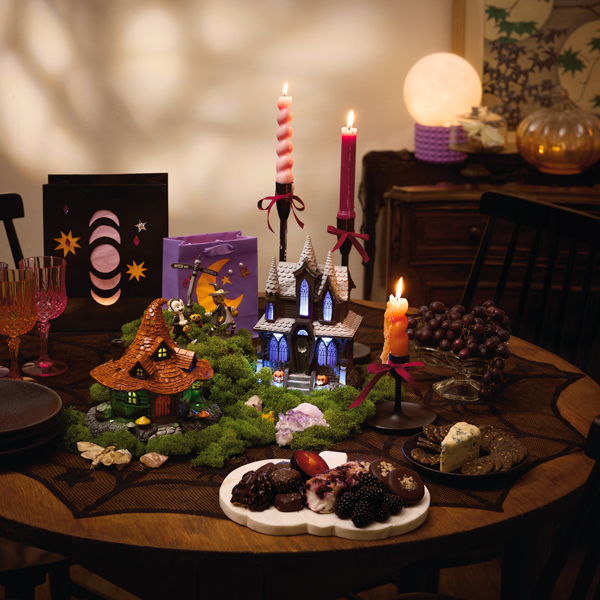
Witch-themed parties have always delighted Halloween fans. They offer hosts and partygoers alike the chance to intera...
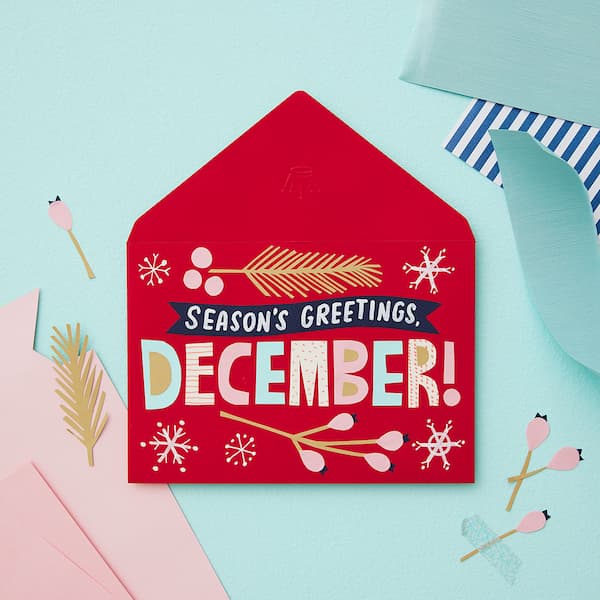
Whichever holidays you celebrate, whatever your traditions and whoever you call family, December is a month full of m...
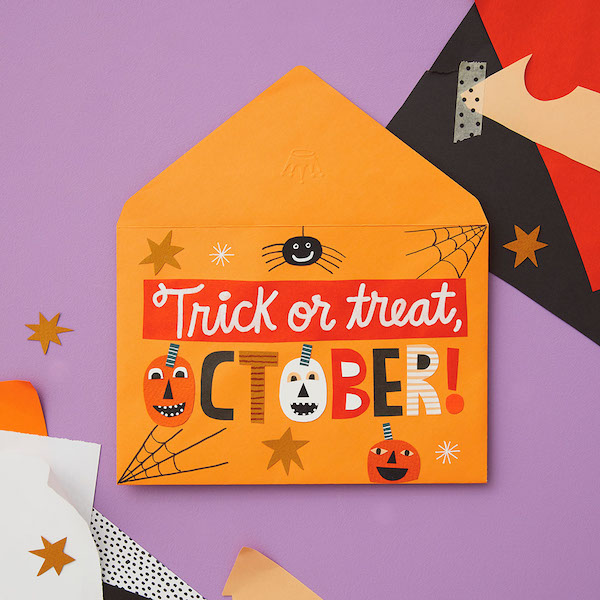
Get info, ideas and inspiration for October holidays and observances, including free sharable quotes and digital wall...
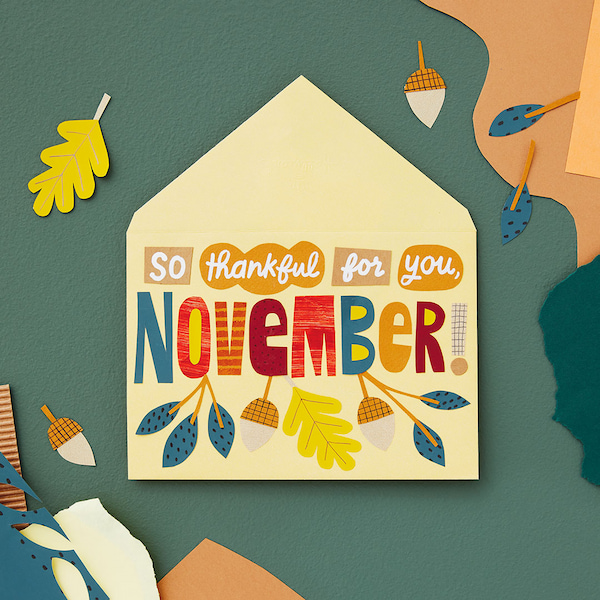
Get info, ideas and inspiration for November holidays and observances.
I open the closet door in a room that is not my own. I put packages of diapers on the top shelf, rearranging and rest...
I always take a selfie as soon as I get in the chair at my hair appointment. Most women take photos after, but it’s t...

Relive some of your favorite moments from The Lord of the Rings: The Fellowship of the Ring™ with this Keepsake Ornam...

This little tree has a LOT going for it. And just like the one in "A Charlie Brown Christmas," this Peanuts® ShowTopp...
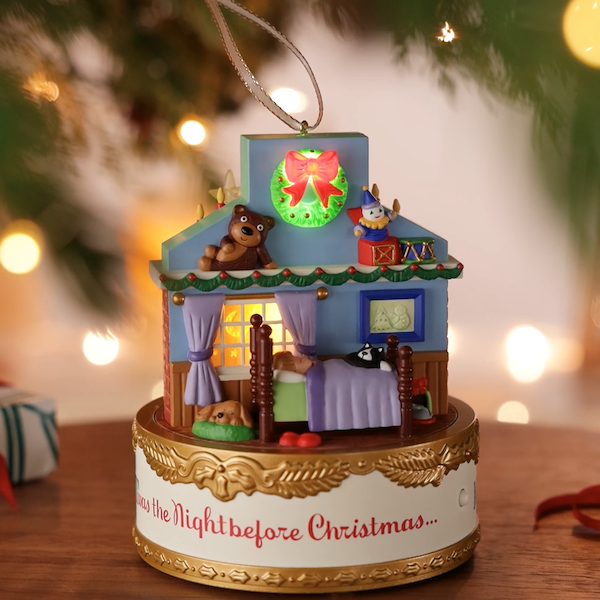
This incredible Keepsake Ornament depicting scenes from the classic poem, "A Visit from St. Nicholas," will take you ...
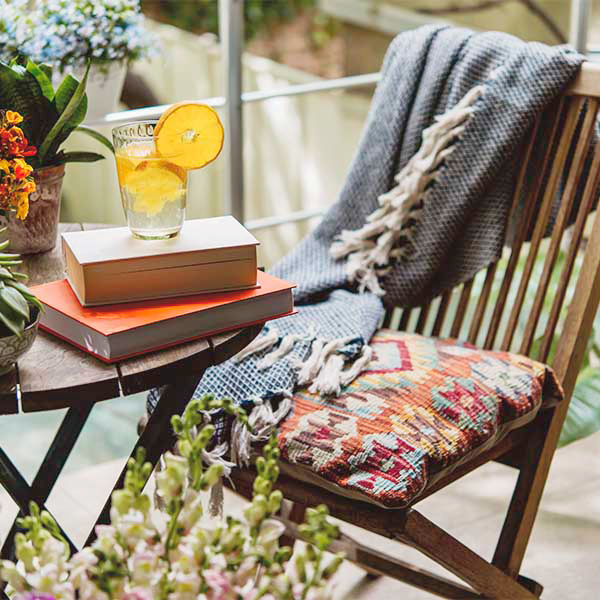
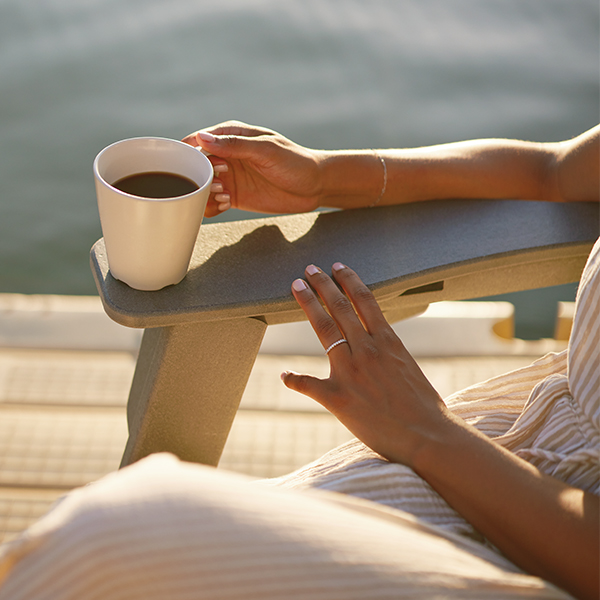
A recipe for a relaxing summer afternoon: the sun’s warming rays, a cool drink, something good to read, a comfortable...

A Disney Princess, that is! Cinderella, Jasmine and Ariel are riding in high style on this gorgeous, gilded carousel...
