We found
suggestions
Inspired? Create and share by tagging @hallmarkstores.
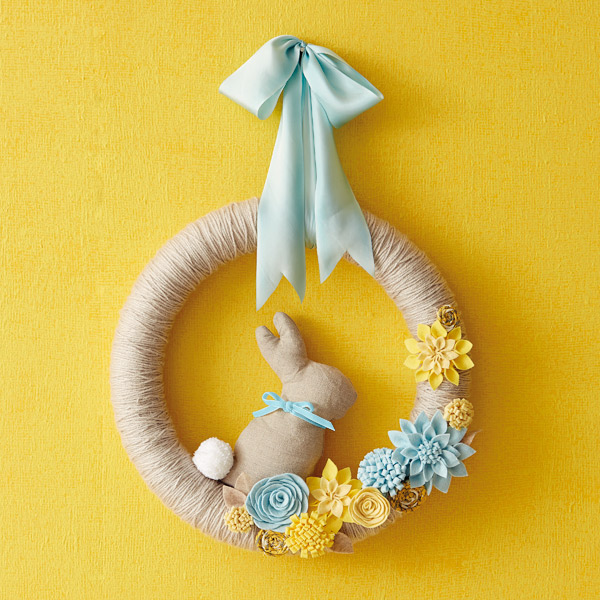
You’ll start with your foam wreath form, and yarn. Start on what will become the back side of your wreath and add a strip of double-sided tape. Tie the tail of your yarn around the wreath tightly. This will keep it from sliding around while you wrap your wreath.
Continue to wrap your yarn around and around the wreath form, making sure to leave no foam showing. Tip: You can use more than one color of yarn to make stripes around your wreath. Wrap evenly around the entire wreath form. When you get to the end, tie it off with another snug knot.
Add your felt flowers, as many as you’d like, in whatever configuration you choose. The instructions for each type of flower are included below and in the printable flower template.
An optional bunny template is also included. To make the bunny, print and cut out the template, place on fabric folded right sides together, and cut out the 2 fabric pieces. Sew fabric pieces together using a standard ¼-inch inseam. Allow a space along the bottom for turning and stuffing. Clip curves, especially around ears for easier turning. Turn right side out. Stuff bunny and hand stitch opening closed. Attach the bunny with a line of hot glue along bottom of wreath, behind flowers.
Print provided templates and use scissors to cut felt pieces to size around the border. Tip: For bigger flowers, just make length longer, and then when you roll up the flower, it will get larger.
Fold in half (where the dotted line as shown) and run a bead of hot glue down the long side and press together.
Run another bead of hot glue along the bottom edge and roll flower closed.
Print provided templates and use scissors to cut felt pieces to size. Tip: The sharper the scissors, the easier it will be to cut through felt.
Drop a bead of hot glue at the fold line of each petal and fold petal in half, pressing together to give the petals their shape.
Start with the large petals and glue down evenly around the edge of the backer piece. Then layer the medium petals down. Finish by adding the layer of the small petals.
Print provided template and use scissors to cut felt pieces to size around the border. Two sizes are provided so you can add variety to your project. For fuller roses, cut out additional petals using the section of the templates indicated with a dotted line.
Start at the center and run small drops of hot glue around the straight edge, roll tightly and hold for a few seconds while the glue dries.
Print the provided templates, then use scissors to cut out leaf shapes from your felt. Use the leaves around your flowers to fill in areas and add a special touch. Tip: Use pinking shears for a fun look.
Cut strips of your favorite fabrics 1 inch wide and 8 inch long. Tip: Pattern fabrics or stripes are fun for this, because they look totally diff erent after being twisted.
Start at one end and begin twisting your fabric strip. Tip: Try to tuck in the raw edges as you go for a more finished look. Every inch or so drop a bead of hot glue to hold your twist together. Continue to twist your fabric and glue down to the edge of the previously glued part. A circle will begin to form. Tip: The bigger you want your rosette, the longer the piece of fabric you can use.
When you get to the end, take the last tail of fabric and tuck around the back. Glue end down to the ‘wrong’ side of your rosette.

Being a woman with a dream is exhausting. We live in a world that’s obsessed with the rise and grind narrative, and i...

Walking through one hard thing is difficult. Walking through multiple simultaneous struggles can feel crushing. That ...

If you’ve ever watched fireworks, then you know how mesmerizing the view can be. Each tiny light makes its way into t...
I don’t know a person on this earth who doesn’t love a good semi-annual sale. In fact, I know several people who keep...

Dinner is over and it’s time for cleanup. Piling dishes into the sink, I pause to stare out the kitchen window and dr...

Is it hot enough for you? Well, we’re here to add some extra sizzle. It’s time to flip the calendar page, check ou...

Fall brings cooler nights, cute sweaters, homecoming games and tailgate parties. It’s time to flip the calendar page,...
Get ready for friends, family and fireworks—and break out the red, white and blue for Independence Day. It’s time ...

As a Black woman, I sometimes feel like society wants us to be forlorn and sad, as if we aren't deserving of letting ...
It's easy to make a Christmas card list, choose your cards, and sign, seal and mail them on time with our very best t...

Ever wanted to step inside of a picture-perfect Hallmark Christmas movie? Or travel to a place where you could immers...

Kids LOVE getting to express themselves—especially when it comes to their rooms. And when it comes to Christmas-lovin...
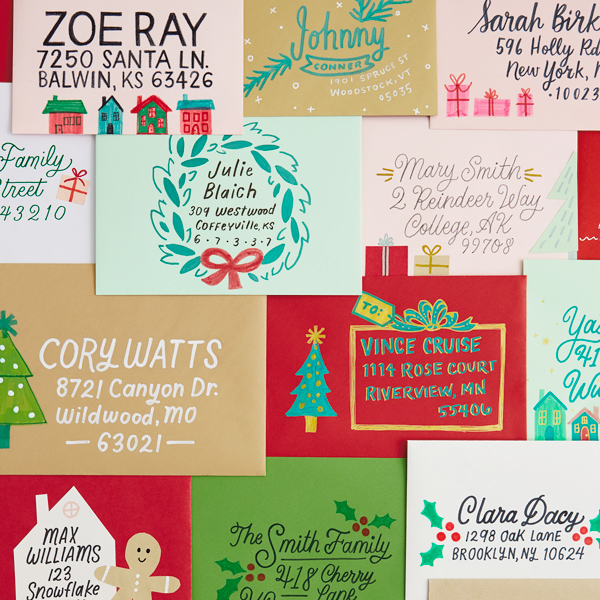
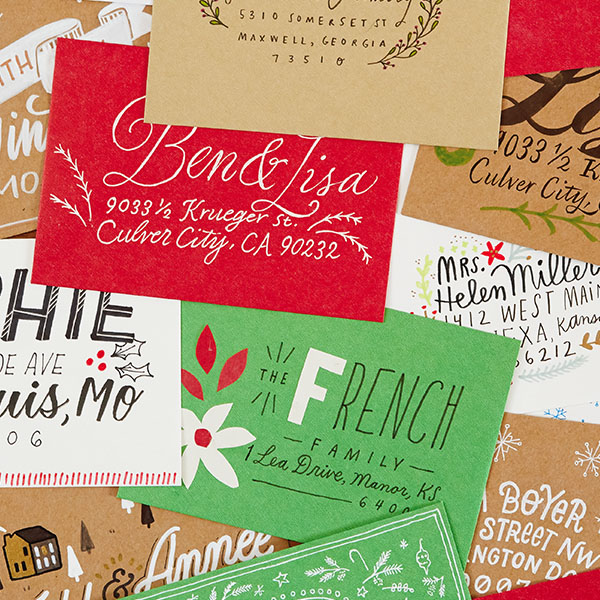
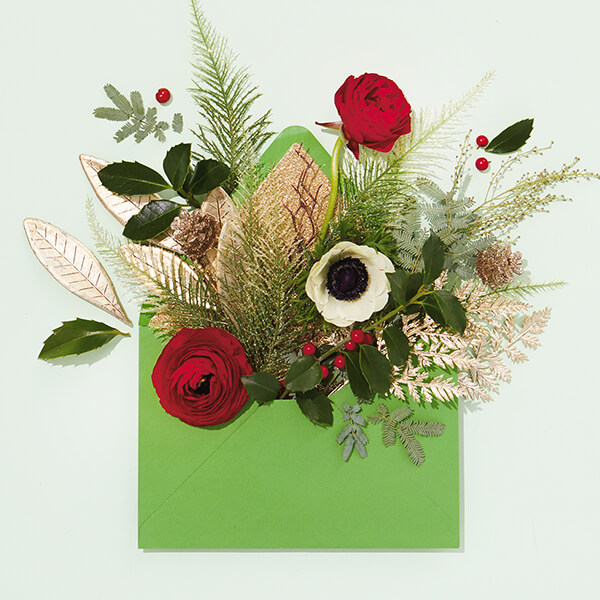
Part of the fun of sending Christmas cards is making pretty envelopes. That’s why our creative team came up with an e...

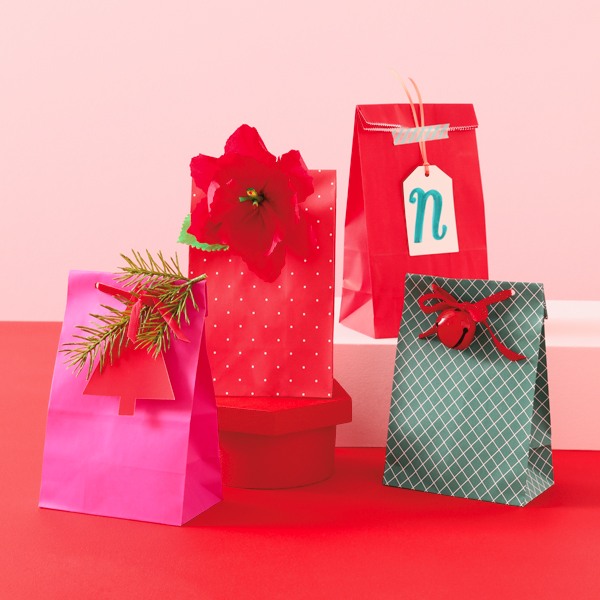
The stocking stuffer struggle is real. By the time you’ve bought your main presents, you feel like you’re all out of ...
If you're looking for new white elephant ideas, you've come to the right place. Whether you're hosting a party or loo...
On an ordinary December day, on what would’ve been our oldest daughter’s 29th birthday, our pipes backed up, flooding...
Giving gifts is one of my favorite things to do. And during the holidays, there are lots of opportunities to give! Th...
Get sample messages, tips and watch our new video guide to write the perfect Christmas card.