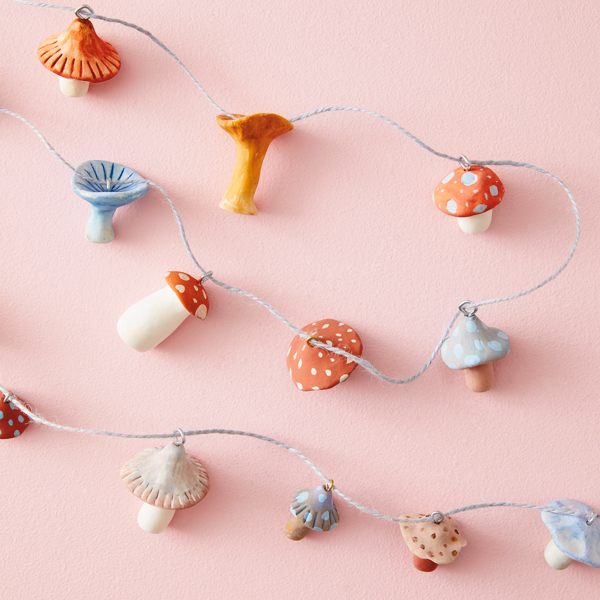
Easy spring decor idea: DIY mushroom garland
Maybe the kids need a craft to keep busy during all those spring showers. Or maybe you’re looking for a new spring decor idea to bring the good vibes inside.
Either way, this adorable DIY mushroom garland is perfect to decorate for spring (or an excuse to hang cute mushrooms everywhere).
Inspired? Create and share by tagging @HallmarkStores.
How to make a DIY mushroom garland
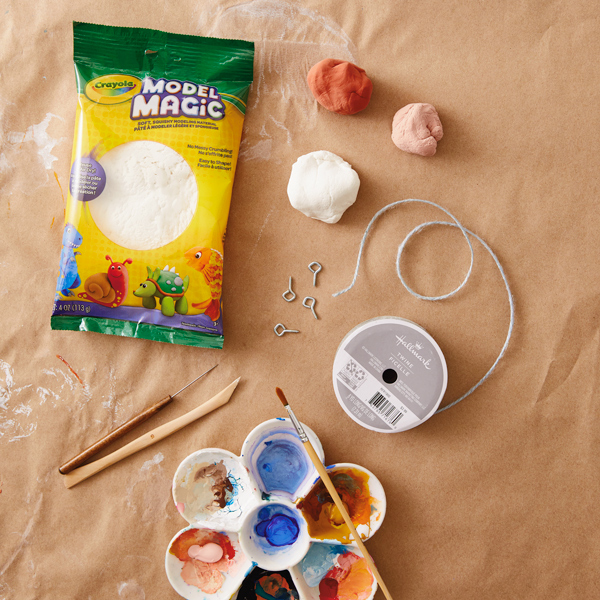
Here’s what you’ll need:
- Crayola® Model Magic (we used white, terra cotta and bisque colors)
- Clay modeling tools
- Small jump rings
- Twine or ribbon
- Craft paint
- Paintbrush

Step 1: Mold your mushrooms
Use the Model Magic to shape the mushrooms. Have fun and get creative with different shapes and sizes for the mushroom stems and caps.
To make the mushrooms look more realistic, we used traditional clay tools to add details like mushroom gills.
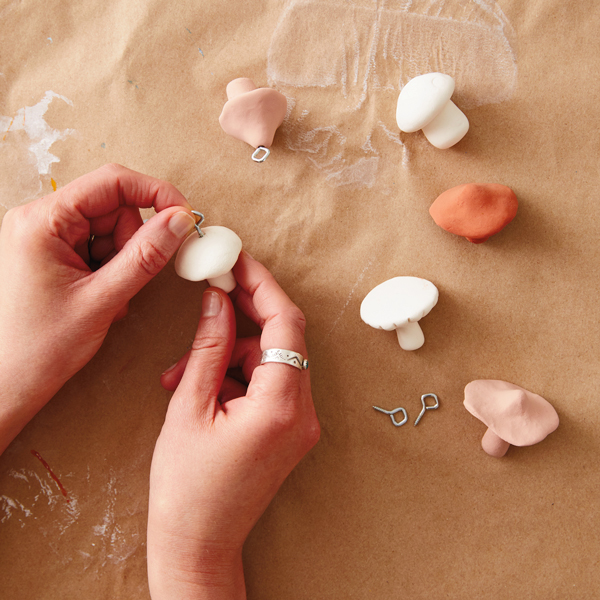
Step 2: Put a ring on it
Once your mushrooms are shaped to your liking, twist a jump ring into the top of each one. This will help us string them together for the garland later.
Leave your Model Magic mushrooms out to dry overnight.
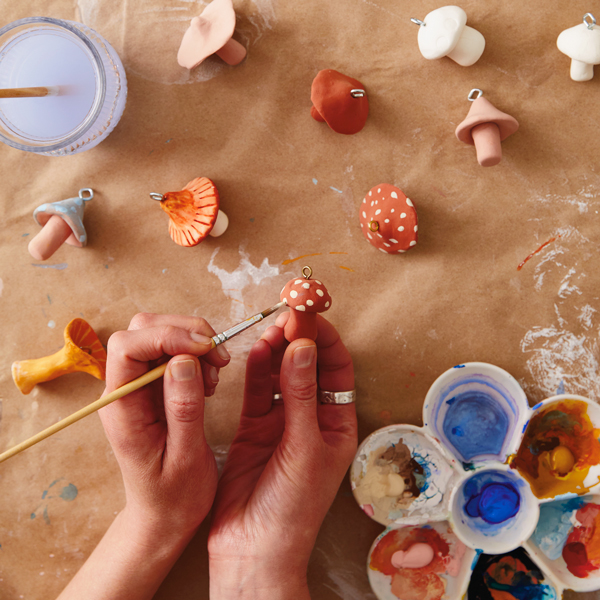
Step 3: Add some color
Once your mushrooms are fully dry, use some craft paint to give them color. We went with different shades of red, gold and blue, but use whichever hues are calling your name.
For a more detailed look, we also added a few white dots on top of some random mushrooms. Wait a few hours for the paint to dry before the next step.
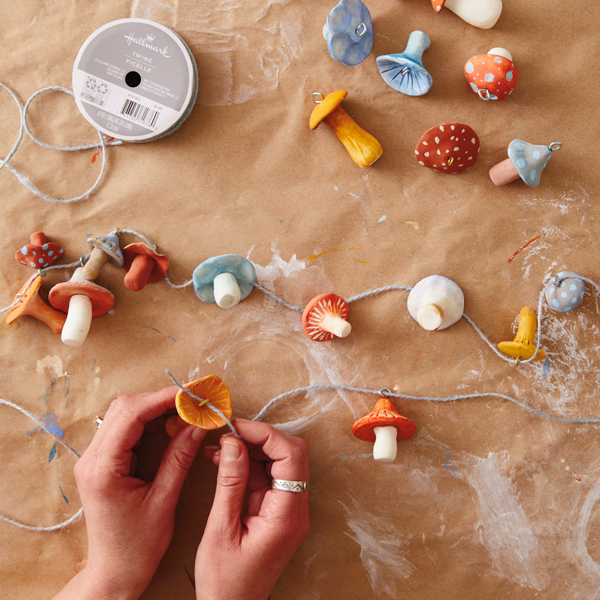
Step 4: Make your mushroom garland
Once the paint has dried, string the mushrooms together using twine or ribbon.
Tip: To keep them from sliding around on the string, you can tie a knot around the jump ring. This will hold them in place when you hang up your garland.

Now you’ve got your own piece of spring magic to marvel at! Hang it in the living room, a bedroom or anywhere that could use some fun earthy vibes. We’re partial to the idea of an indoor spring picnic party.
Looking for even more spring inspo? See our ideas here:
Shop Spring
See allYou may also like
See more-
Mahogany The joy of movement
As I've gotten older, I've learned that wellness isn't just about exercise. It's about feeling good, living well and ...
-

DaySpring How to start each day feeling renewed by grace
Amid the demands of daily life, carving out time for spiritual nourishment can indeed be a challenge. However, center...
-

Keepsake Ornaments Complete your collection!
Class is in session with Defense Against the Dark Arts professor Gilderoy Lockhart™. 🪶 ✨ Complete your Harry Potter a...
-
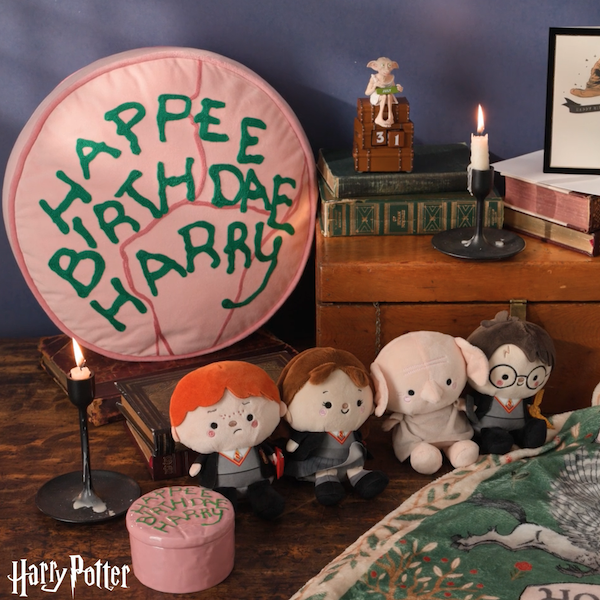
Gifting Happee Birthdae, Harry!
Celebrate the birthday of the Boy Who Lived with this fun collection of Harry Potter gifts! From cozy blankets perfec...
-
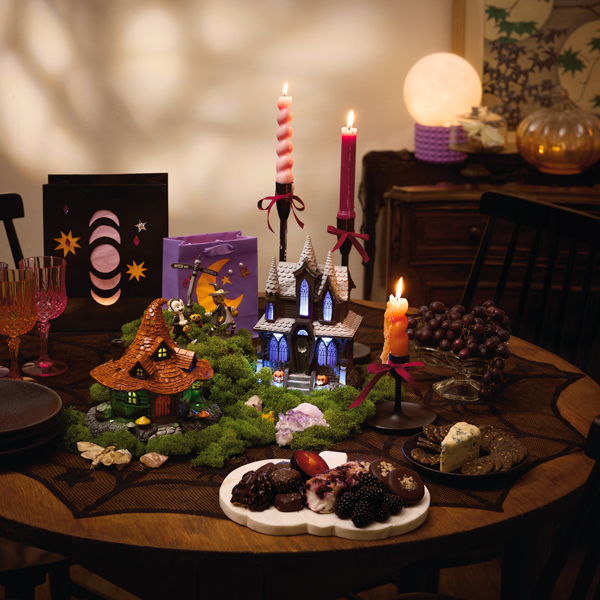
Halloween Witchy Halloween party ideas: Fun crafts and activities for a magical night in
Witch-themed parties have always delighted Halloween fans. They offer hosts and partygoers alike the chance to intera...
-
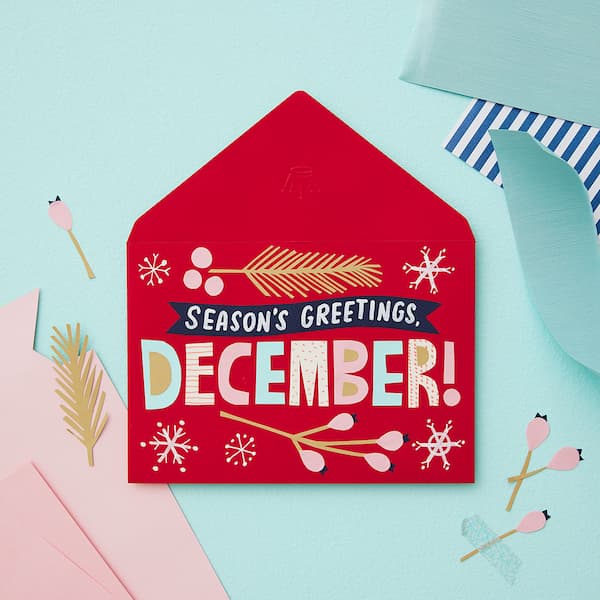
Calendar Flip Share More Moments: December 2026 Holidays and Observances
Whichever holidays you celebrate, whatever your traditions and whoever you call family, December is a month full of m...
-
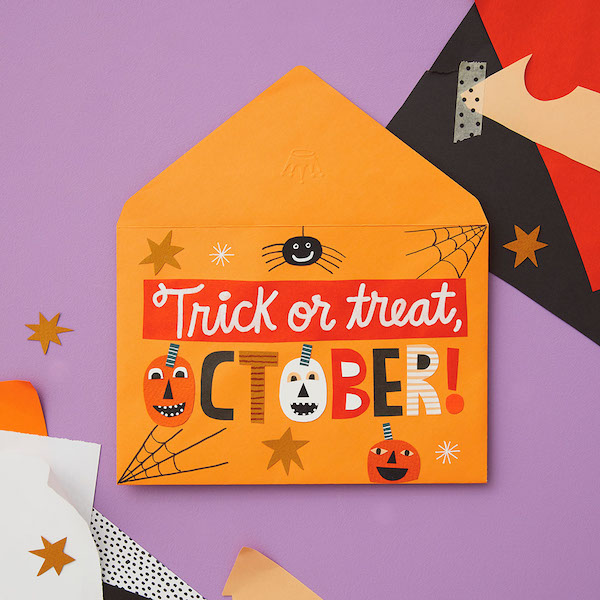
Calendar Flip Hey, Pumpkin! October 2026 Holidays and Observances
Get info, ideas and inspiration for October holidays and observances, including free sharable quotes and digital wall...
-
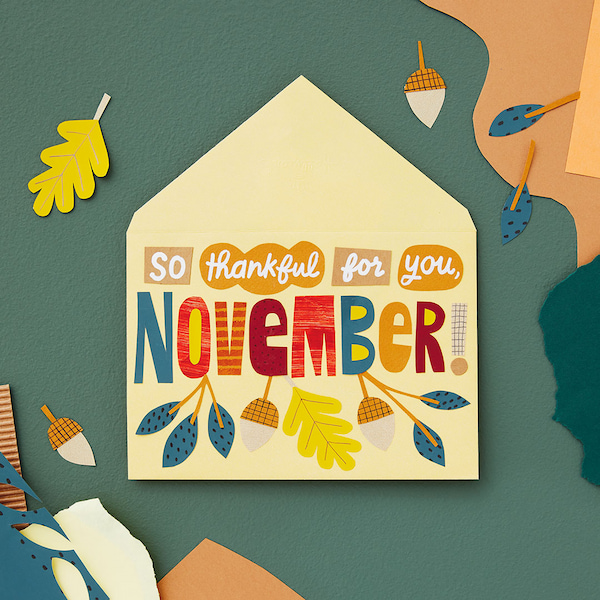
Calendar Flip Share joy, give thanks: November 2026 Holidays and Observances
Get info, ideas and inspiration for November holidays and observances.
-
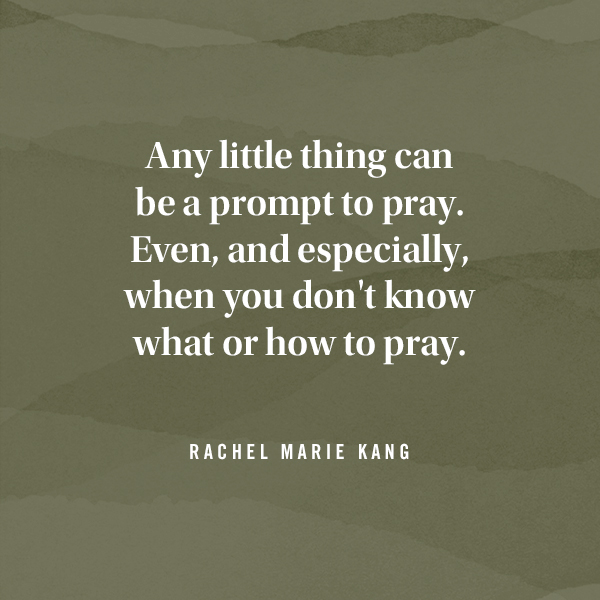
DaySpring The secret to praying when you don't know how to pray
I open the closet door in a room that is not my own. I put packages of diapers on the top shelf, rearranging and rest...
-
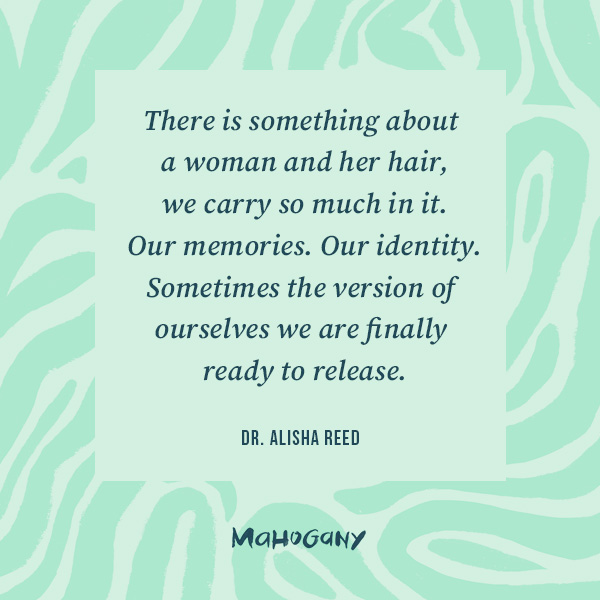
Mahogany Every woman has a hair story
I always take a selfie as soon as I get in the chair at my hair appointment. Most women take photos after, but it’s t...
-
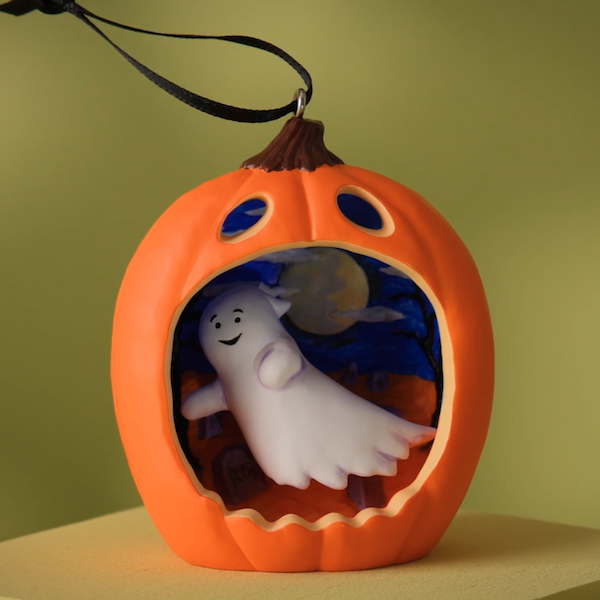
Keepsake Ornaments Add some Halloween glee to your tree! 🎃
From sassy cats to friendly ghosts, vintage vampires to mischievous kittens, we have lots of options if you're lookin...
-

Keepsake Ornaments An epic adventure for your tree 🧙🏻♂️
Relive some of your favorite moments from The Lord of the Rings: The Fellowship of the Ring™ with this Keepsake Ornam...
-

Keepsake Ornaments What a great little tree! 🎶🎄
This little tree has a LOT going for it. And just like the one in "A Charlie Brown Christmas," this Peanuts® ShowTopp...
-
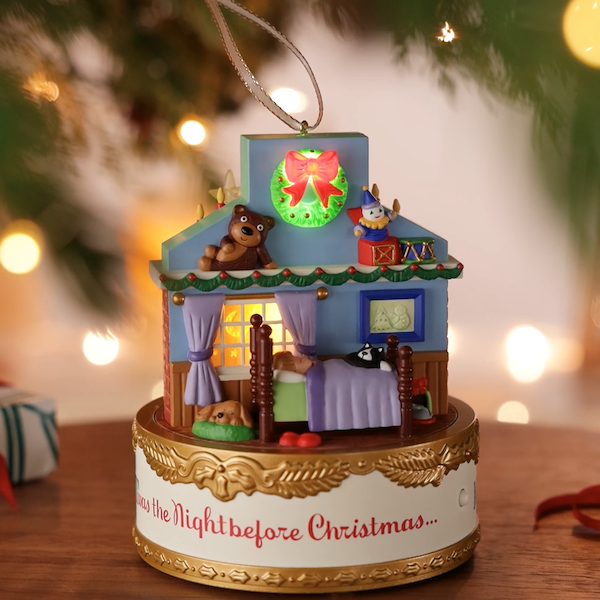
Keepsake Ornaments Childhood nostalgia incoming! 🥰
This incredible Keepsake Ornament depicting scenes from the classic poem, "A Visit from St. Nicholas," will take you ...
-
DaySpring Six Scriptures for spiritual rest this summer
A recipe for a relaxing summer afternoon: the sun’s warming rays, a cool drink, something good to read, a comfortable...
-

Keepsake Ornaments A carousel fit for a princess 👸
A Disney Princess, that is! Cinderella, Jasmine and Ariel are riding in high style on this gorgeous, gilded carousel...
-
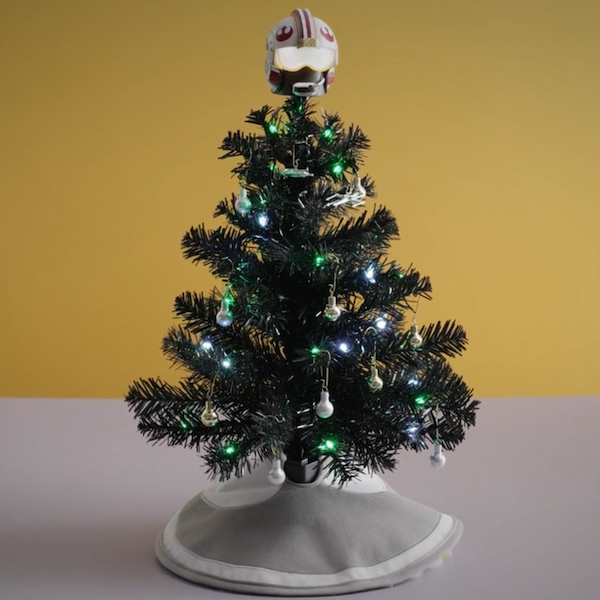
Keepsake Ornaments Mini tree, big pew-pew energy ✨
Immerse yourself in intergalactic adventure with a mini tree that's filled with Star Wars™ fun. From the Mini Star Wa...
-

Keepsake Ornaments Soar to new holiday heights with Disney Dumbo 🐘
First in the Disney Parks Memories series, this Keepsake Ornament is inspired by the original 1955 facade of the clas...
-

Mahogany Making new summer memories
When I think about summer and friendship together, my mind immediately goes back to one particular day in college. I ...
-

Keepsake Ornaments Avast mateys, here be pirates 🏴☠️
So it's pirates yer lookin' for, is it? Well, ye've stumbled upon a veritable treasure trove! Relive the swashbuckl...
