DIY plant markers, pins and tags
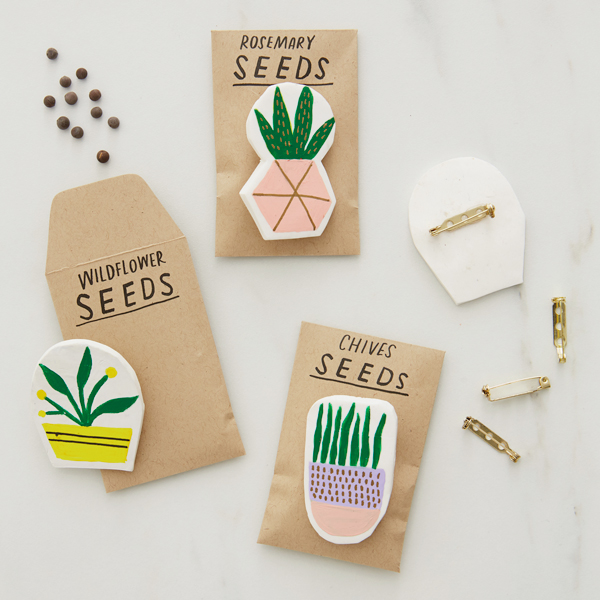
When everything in the garden starts growing and blooming, we tend to get a little plant obsessed. We give cut flowers from our gardens, pot up pups from our houseplants and share saved seeds. That’s where the ideas for these DIY clay plant markers, pins and tags came from—we couldn’t wait to share them, too.
Inspired? Create and share by tagging @HallmarkStores.
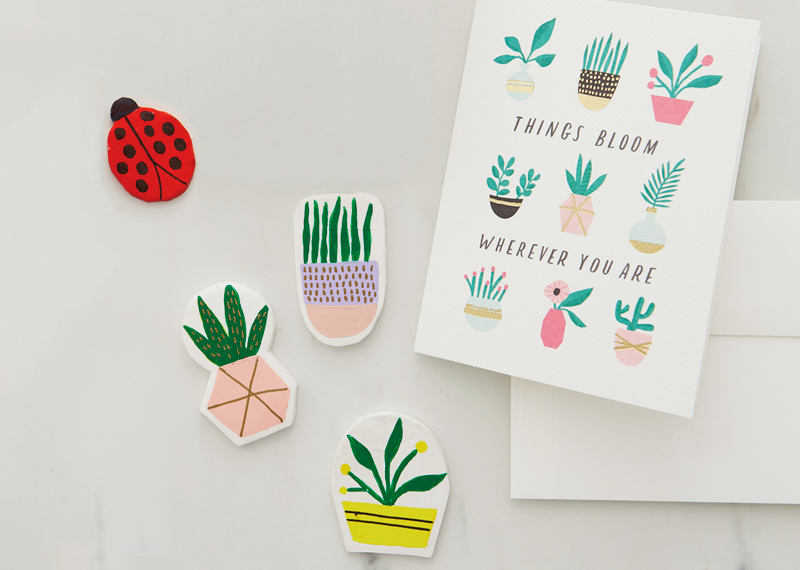
We recommend making a batch of these cute clay designs so they’re ready the next time you want to give something from your garden.
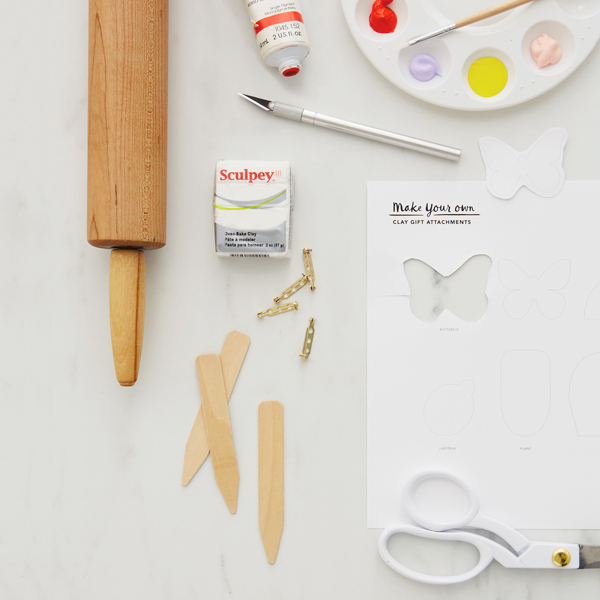
What you’ll need:
- Card stock and free template download
- Oven bake clay (like Sculpey)*
- Acrylic craft paint
- Paintbrushes
- Paint pens for accents
- Rolling pin
- Craft knife
- Scissors
- Toothpicks
- Hot glue and glue gun
- Wooden plant stakes (for plant markers)
- 1″ brooch pin backs (for pins)
- Small craft paper envelopes (for seed sharing)
- Tissue paper and bakers’ twine (for wrapping cut flowers or attaching designs to…anything)
*Doing this craft with kiddos? Use Crayola Model Magic, let it dry overnight and decorate with markers.
If you want the card that inspired our templates, grab the Blooms Around You birthday card.
Step 1: Print the templates
Download and print our template onto card stock and cut out the designs you want to use.
To make your own templates, start with illustrations from any greeting card or other source you like. The goal is to create the simplest outline possible. As examples, look at our plant paintings—we don’t cut leaf shapes into our templates.
Step 2: Play with the clay
Preheat the oven to the temperature suggested on the label of your clay.
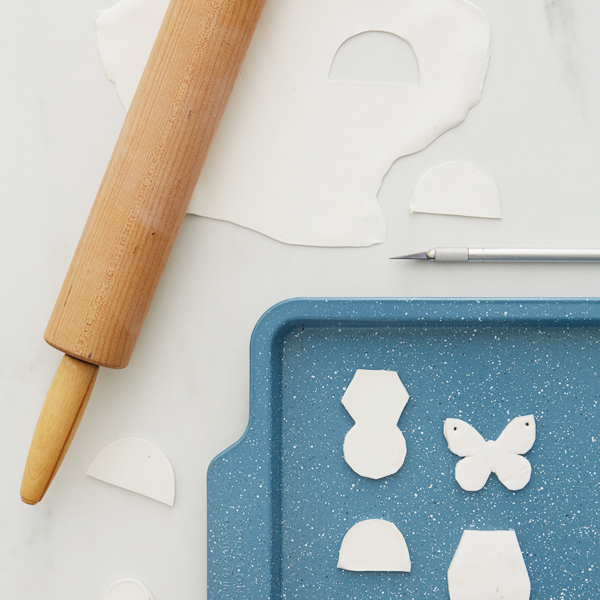
Knead the clay as directed to get it ready, then roll it out on a clean surface to about 1/4″ thick.
(If you’re using Model Magic, just knead it a little and roll it out. No need to preheat the oven.)
Place your card stock templates on the clay and gently trace around them with a toothpick. Then remove the template and cut all the way through the clay with the craft knife. Pull away the excess clay.
If you’re going to add string to turn your design into a tag, make holes with the toothpick before baking.
Follow package instructions for baking the clay.
Step 3: Paint your heart out
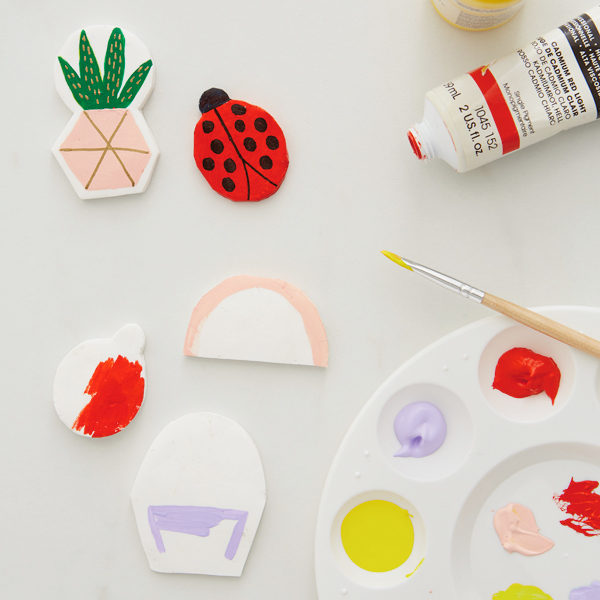
Let the clay designs cool completely.
We painted ours to match the Blooms Around You card illustrations (see photos), which is completely optional. A fine-point, gold paint pen gave us the control we wanted to add the little details.
To make DIY clay plant markers
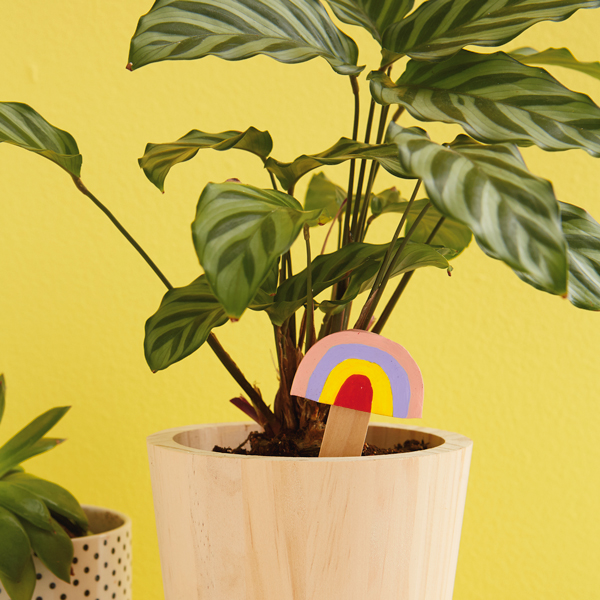
Use hot glue to attach your clay design to a wooden plant stake. Poke it in a potted plant for a birthday, Mother’s Day, Easter, housewarming or hostess gift.

To make DIY clay plant pins
When the paint is dry, use hot glue to attach a pin back. To make cute gifts, we stuck our pins in some craft paper envelopes filled with seeds. Give the pins and packets by themselves as party favors or place cards or tuck them inside a card.
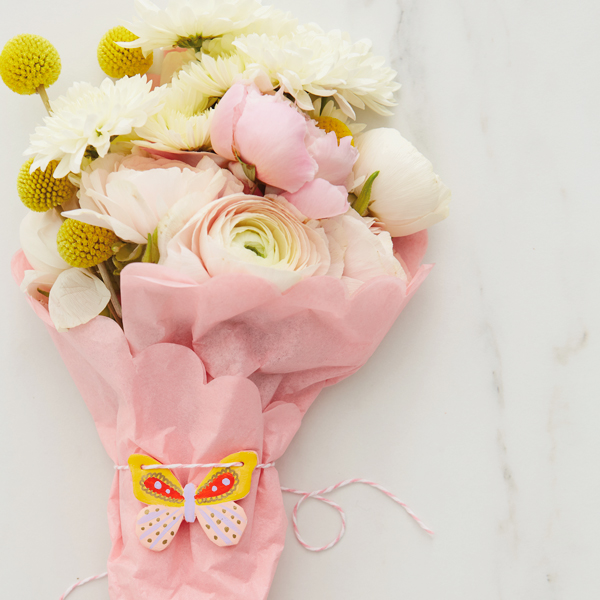
To decorate a bouquet
Thread some bakers’ twine through the holes and tie your DIY clay plant tag around a bunch of blossoms or a jar full of cut flowers. Keep some tags and twine on hand for spur-of-the-moment giving—just because your flowers are pretty and you want to share.
Shop Arts & Crafts
See allYou may also like
See more-
Christmas Sweet dreams, Santa!
Catch Santa napping on the job with this Snoring Santa Keepsake Ornament featuring sound and motion. With every snore...
-
Kwanzaa What is Kwanzaa?
What is Kwanzaa? A festival of lights rich in African symbolism, it takes place each year from December 26th through ...
-
Christmas Advent calendar activities for adventurous families
It’s time to start the countdown. Maybe it’s about being mindful…or counting your blessings…or preempting your kids a...
-
Summer Ways to celebrate Juneteenth
While Juneteenth was officially recognized as a federal holiday in 2021, this pivotal moment in history has been cele...
-
Christmas Christmas and Kwanzaa: Keeping family holiday traditions and finding your own
Whether you’re single or starting a family, religious or agnostic, someone who celebrates Christmas and Kwanzaa or ju...
-
Halloween Make ghosts and goblins feel right at home this Halloween
Light up your home with haunting Halloween seasonal decor. 🎃👻 Shop now at Hallmark Gold Crown stores or at Hallmark.com.
-
Halloween No scaredy cats around here!
When this black cat crosses your path, you know fun can't be far behind. 😻 🧙♀️ Shop the Zip-A-Long Cat in Hallmark G...
-
Halloween While you’re waiting for The Great Pumpkin this Halloween…
Fly around the pumpkin patch with Zip-a-long Snoopy! 🎃 Shop more frightening finds in Hallmark Gold Crown stores and ...
-
Halloween Light up the night with frightful fun!
Could it be? Could it be!? Yes it is! It’s the Peanuts® Snoopy and Woodstock Halloween figurine! 🎃 🐶 Find it and more...
-
Halloween Where cozy meets mischief and magic
Make some magic this Halloween with this Hocus Pocus hooded blanket. 🧙♀️👻Find more Halloween essentials in Hallmark ...
-
Gifting Relive a favorite from your childhood!
Fill your home with a few small joys inspired by Disney’s “It’s a Small World” 🩵🎎 Shop the collection at Hallmark Gol...
-
Halloween Which house will you be sorted into?
The Harry Potter™ Sorting Hat™ Mug plays sound whenever you lift the lid. Find this chatty mug in Hallmark Gold Crown...
-
Encouragement How to support caregivers
It’s often hard to know how to support a caregiver. Most caregiving checklists out there hit the major topics like me...
-
Love 50 different ways to say I love you
You don’t need to wait for a special occasion to remind that certain someone how much he or she is loved. Spice up yo...
-
Graduation 15 graduation quotes
Celebrate your favorite grad’s milestone with the wit and wisdom of Hallmark writers, fans and others. We’ve rounded ...
-
Congratulations How to congratulate someone
Congratulating others is easy and fun, right? Like when your friend worked really hard and got that awesome job makin...
-
Care & Concern Be more caring with a kindness journal
It's obvious the world could use more kindness. So this year, why not make "be more caring" your number one resolutio...
-
Fall Día de Muertos: A celebration of life and love
Día de Muertos, Day of the Dead, is a holiday originally celebrated in the southern and central parts of Mexico and i...
-
Card Ideas Card messages for kids: What to write in a kid’s holiday card and more
My 3-year-old was having a hard time at preschool drop-off. Dragging his feet. Asking to stay home. This went on a fe...
-
Christmas 6 Creative Christmas Card Display Ideas
Holiday card season is here: Our mailboxes are about to fill up with festive envelopes with pretty stamps and familia...


