Scary easy tissue paper treat bags for Halloween
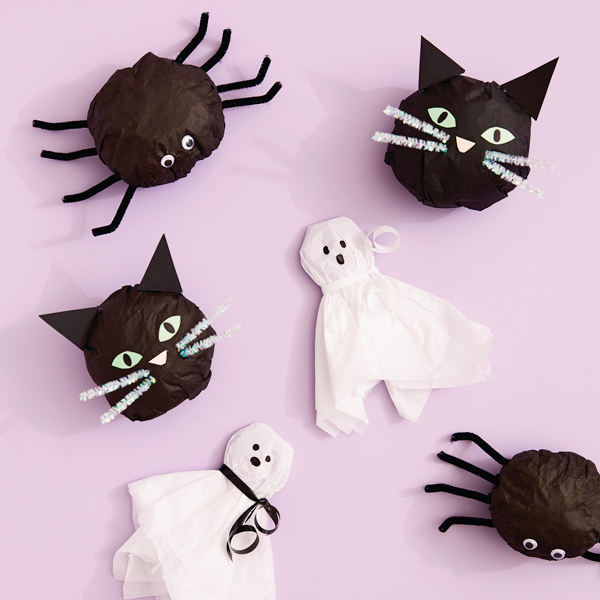
Ghosts, spiders and cats, oh my! Most of us wouldn’t want to come across any of these any day, let alone Halloween. But somehow these Halloween critters aren’t as scary when they come in the form of treat bags filled with popcorn, candy pumpkins and lollipops.
The perfect mix of cute and creepy, these Halloween tissue paper treat bags are made with only simple crafting supplies and a few sheets of tissue paper. Take them to the next classroom party, hand them out for trunk-or-treat or use them as party favors at your Halloween bash.
Inspired? Create and share by tagging @HallmarkStores.
How to make spider tissue paper treat bags
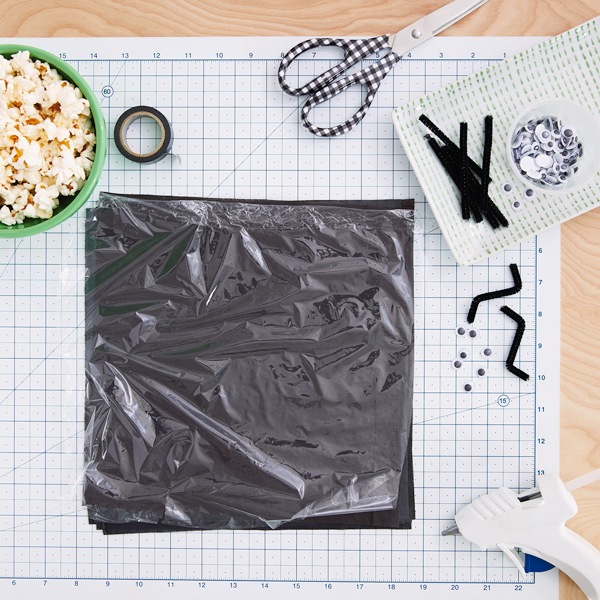
What you’ll need:
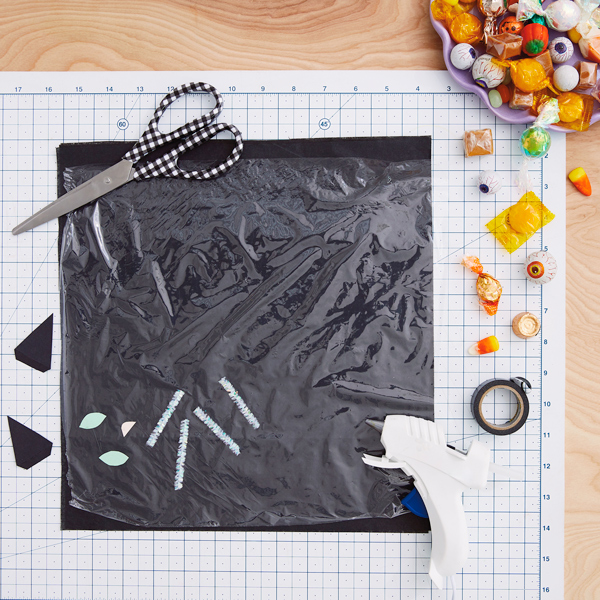
- Black tissue paper (plain or printed)
- Plastic wrap or clear cellophane wrap (for extra crinkle sounds)
- Black washi tape
- Hot glue gun
- Googly eyes (optional but awesome)
- Black pipe cleaners
- Scissors
- Popcorn
Step 1: Smooth out two sheets of tissue paper (one on top of the other) and use scissors to cut them into approximately 12″ squares. Each side will eventually be folded under, so the edges don’t have to be perfect.
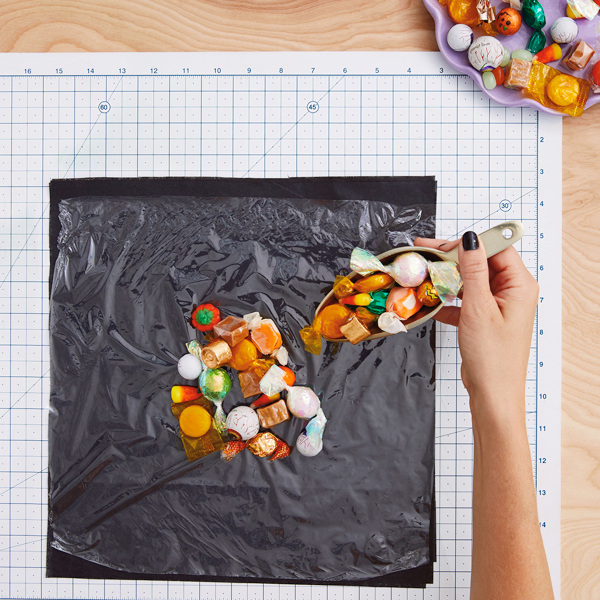
Step 2: Tear off a sheet of plastic wrap or clear cellophane a little bit smaller than the tissue paper and place it over one of your double-layered squares. This is the lining—it’ll help you make a nice spider shape and keep the popcorn from poking through the tissue.
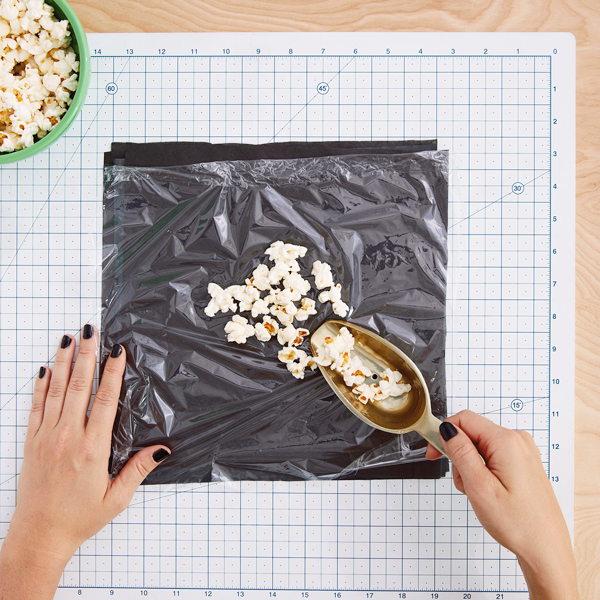
Step 3: Add about a cup of treats/popcorn onto the plastic wrap. Use a mug or measuring cup to scoop it out—that’ll keep your portions even and help you avoid touching the popcorn.
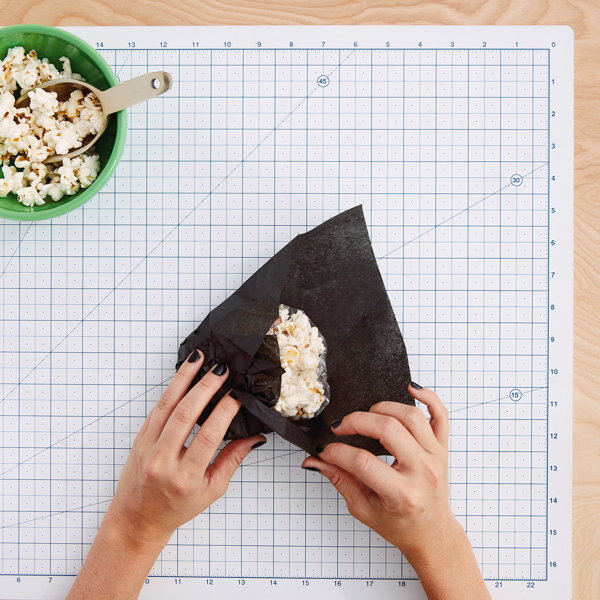
Being careful not to crush too many of the popcorn kernels, wrap the plastic around the goodies and shape it into a squatty ball for your spider. He doesn’t have to be perfectly round. Tape the plastic wrap closed.
Step 4: Fold the edges of the tissue paper into the middle. It may be easiest to tape down the folds as you go. Try to get the tissue paper to lay as flat as possible.
Step 5: Tape the tissue paper in place with black washi tape. This will be the bottom of the spider.
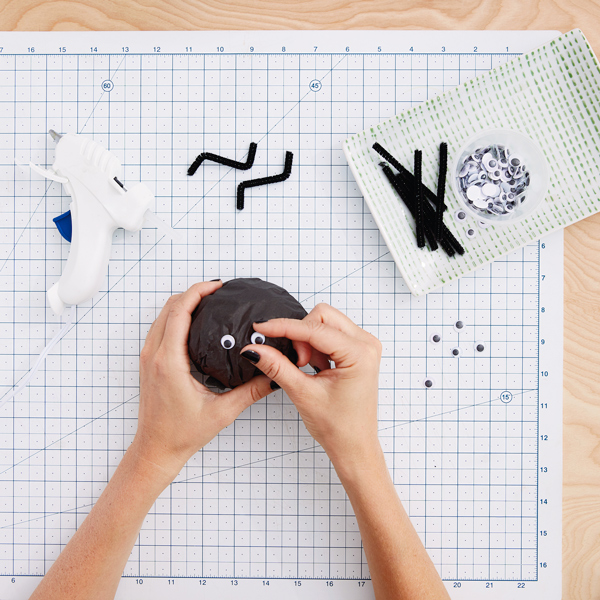
Step 6: Flip your spider over, and hot glue googly eyes to the front. These eyes could also be made of cut construction paper.
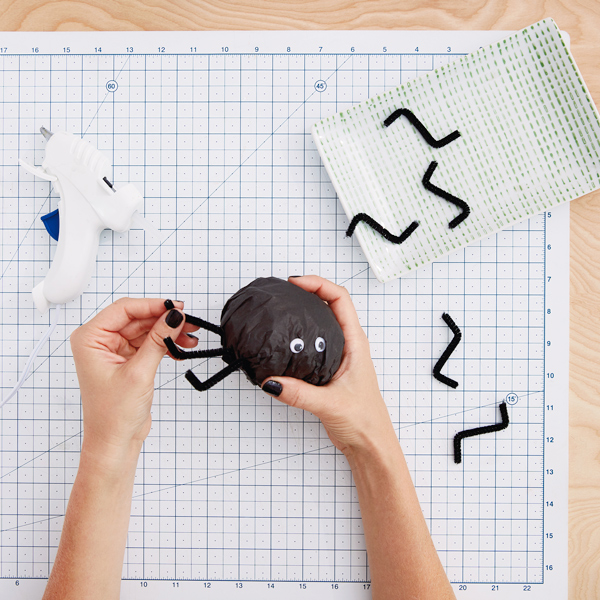
Step 7: Next cut your pipe cleaners in half, then bend the legs in little zig-zag shapes.
Step 8: Glue eight legs onto the bottom of the spider, four on each side.
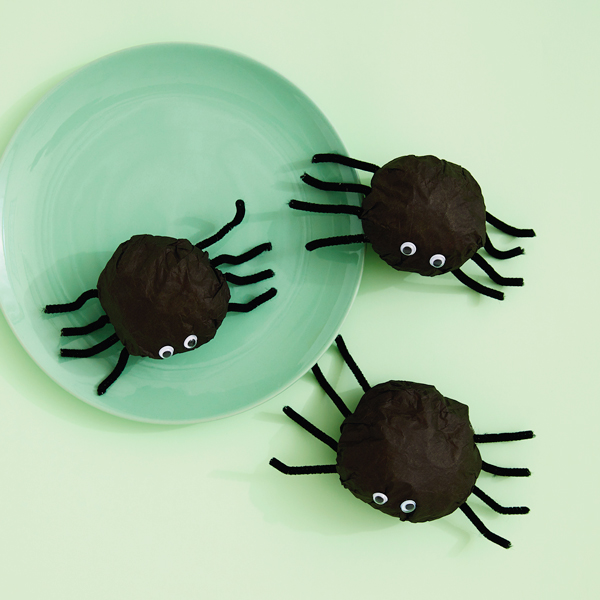
That itsy bitsy spider has come alive! Now it just needs to crawl into the hands of all your neighborhood kiddos and friends.
Tip: Looking for some popcorn that screams Halloween? Check out our Cookies and Scream Popcorn recipe.
How to make tissue paper ghost lollipops
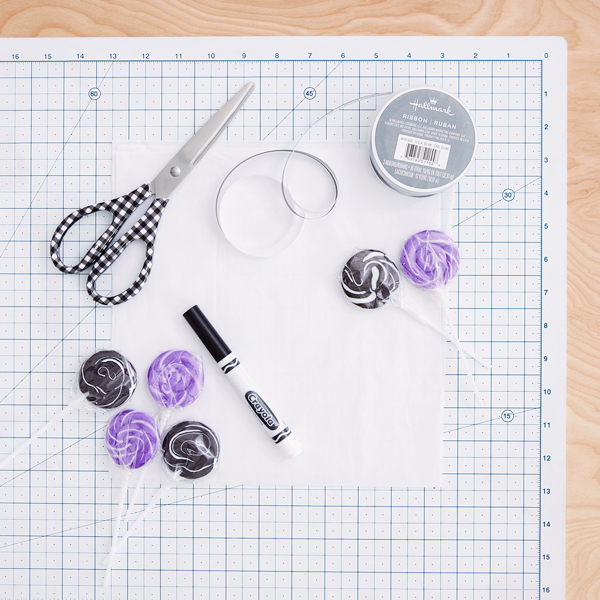
What you’ll need:
- White tissue paper
- Black or white curling ribbon
- Black Crayola marker
- Scissors
- Lollipops
Step 1: Smooth out two sheets of tissue paper (one on top of the other) and use scissors to cut them into approximately 12″ squares. Note: You may need to adjust the size of the square depending on the size of your lollipop.
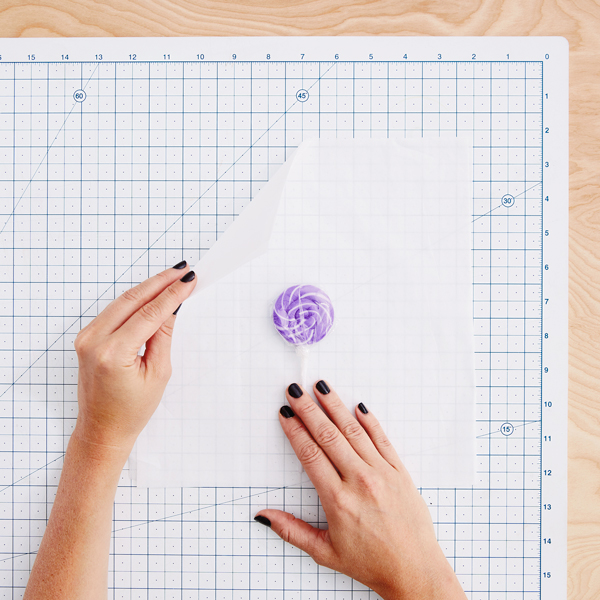
Step 2: Center one lollipop in the middle of the tissue paper.

Step 3: Gather tissue paper around the lollipop, keeping the front side of the ghost face flatter so it’s easier to write on.

Step 4: Cut about 8” of curling ribbon and tie it around the base of the lollipop. We used both black and white ribbon and knotted it to the side.
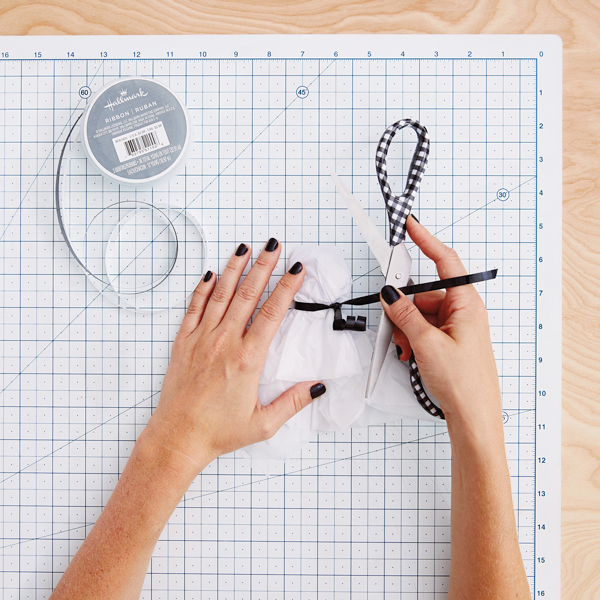
Step 5: Use your scissors to curl the ribbon into a cute little neck bow.
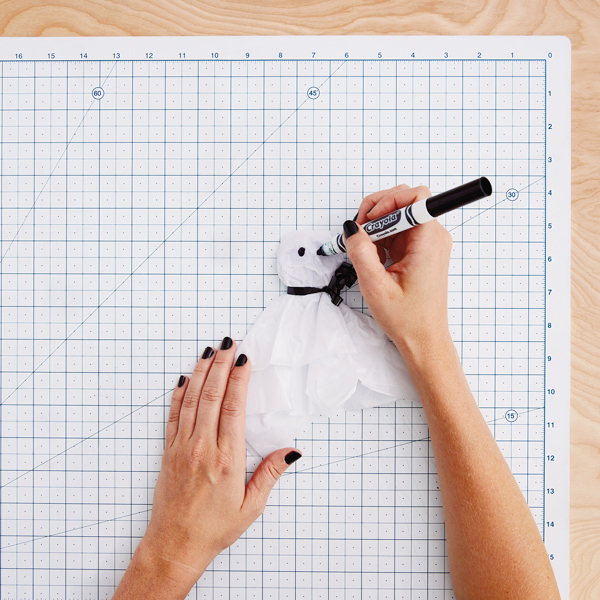
Step 7: Now add a ghost face! Use a black Crayola marker to draw on two eyes and a mouth.
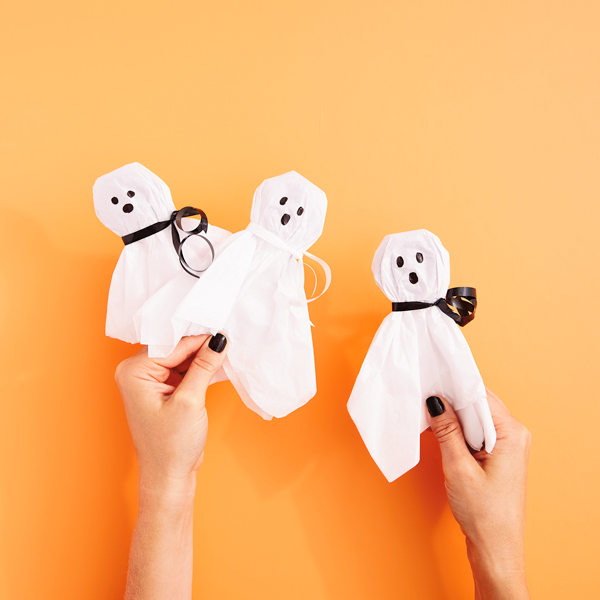
Wow, that ghost is scary cute! This is such a fun and easy way to make a sweet treat even sweeter.
How to make black cat tissue paper treat bags
WHAT YOU’LL NEED
- Black tissue paper
- Plastic wrap or clear cellophane wrap
- Black washi tape
- Black, green and pink construction paper
- Scissors
- Hot glue gun
- Black Crayola marker
- White or iridescent pipe cleaners
- Treats, of course!
Step 1: Smooth out two sheets of tissue paper (one on top of the other) and use scissors to cut them into approximately 12″ squares. Each side will eventually be folded under, so the edges don’t have to be perfect.
Step 2: Tear off a sheet of plastic wrap or clear cellophane a little bit smaller than the tissue paper and place it over one of your double-layered squares. This is the lining—it’ll help you make a nice cat head shape and keep the candy from poking through the tissue.
Step 3: Add about a cup of treats onto the plastic wrap. Wrap the plastic around the goodies and shape it into a squatty ball for your cat. Tape the plastic wrap closed.
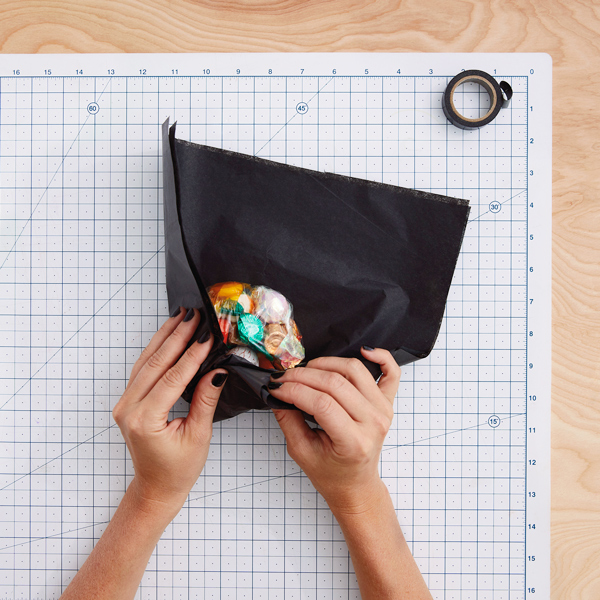
Step 4: Then bring the corners of the tissue paper square up to meet in the middle. Smooth the tissue down around the plastic-wrapped ball and tape it closed. This will be the back of the head.
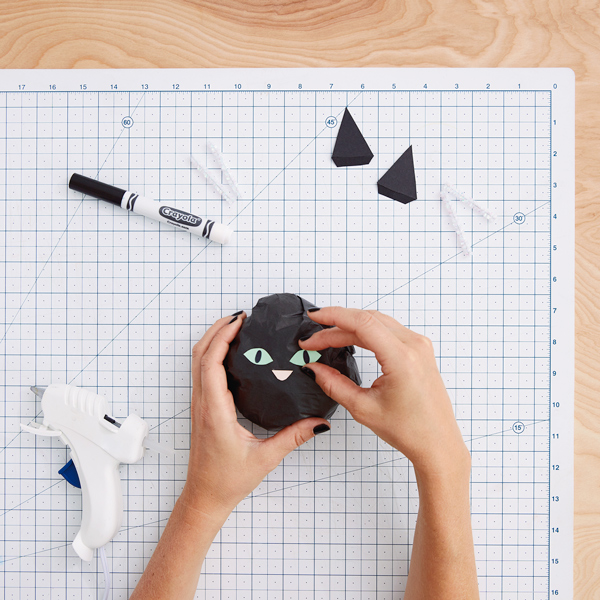
Step 5: Cut out two pointed ovals for eyes and a little triangle for a nose. Draw the cat “eye slits” on top of the green pieces with your black marker to finish the cat eyes. Glue the face onto the front of your wrapped tissue paper ball.
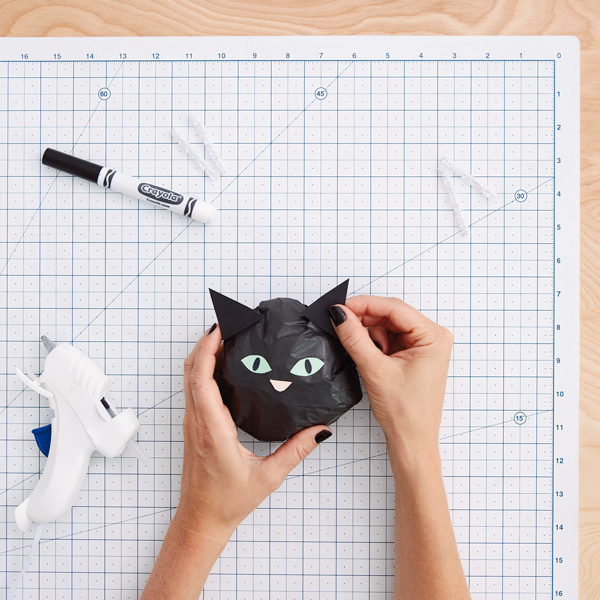
Step 6: Next cut two triangles for the ears. To make them glue on easier, make a fold near the bottom edge to create a tab. This is where you can apply the glue.
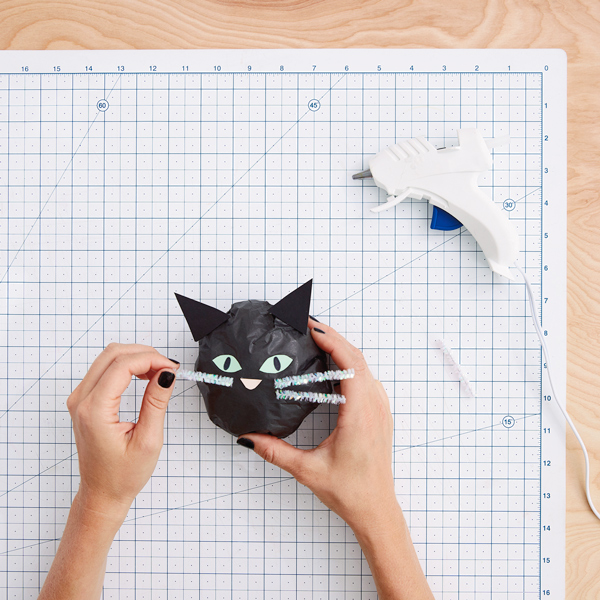
Step 7: Now all that’s left are the whiskers! We love these cute iridescent pipe cleaners, but feel free to use any color you have on hand. Cut into 4 pieces and use hot glue to attach.
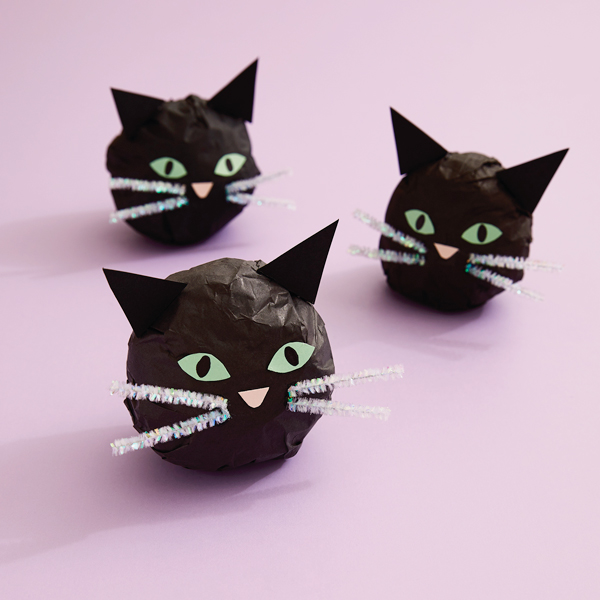
Meow! Don’t let this black cat treat bag cross your path. Have fun delighting your friends, kid or neighbors with this creative Halloween treat.
Shop Halloween
See allYou may also like
See more-
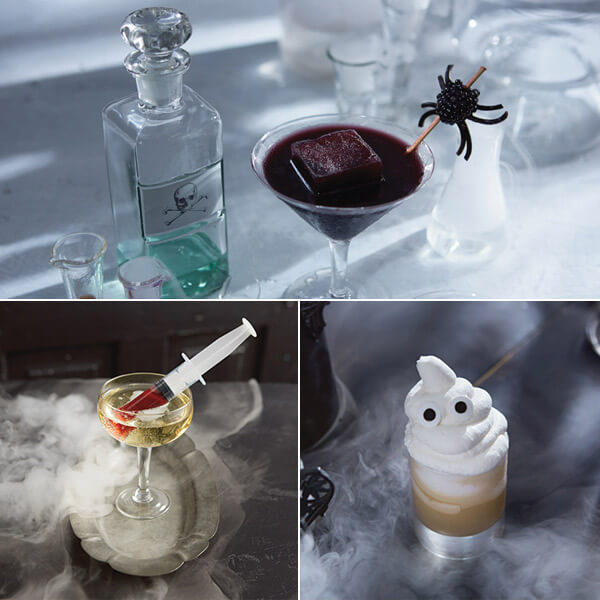
Halloween Creep out your Halloween cocktails
Time to gather together for some frightfully good fun this Halloween. And while you’re greeting your ghosts and guest...
-
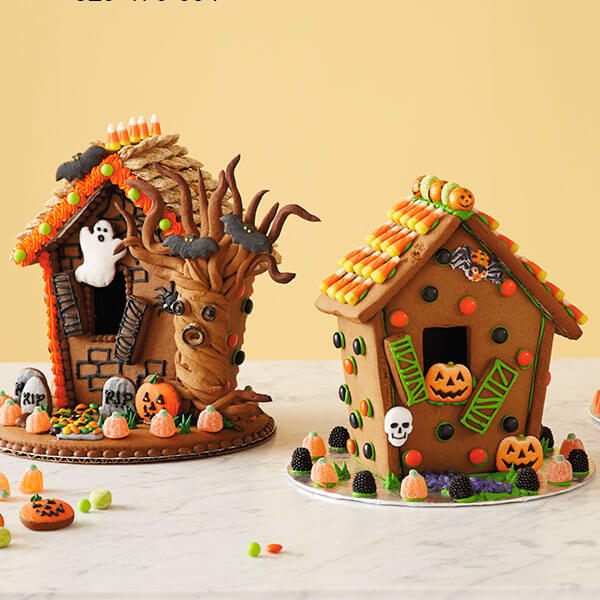
Halloween Bake a scary-good Halloween gingerbread house...if you dare!
With a few ingredients and easy-to-follow instructions, your crew can construct this goose bumps–worthy Halloween gin...
-
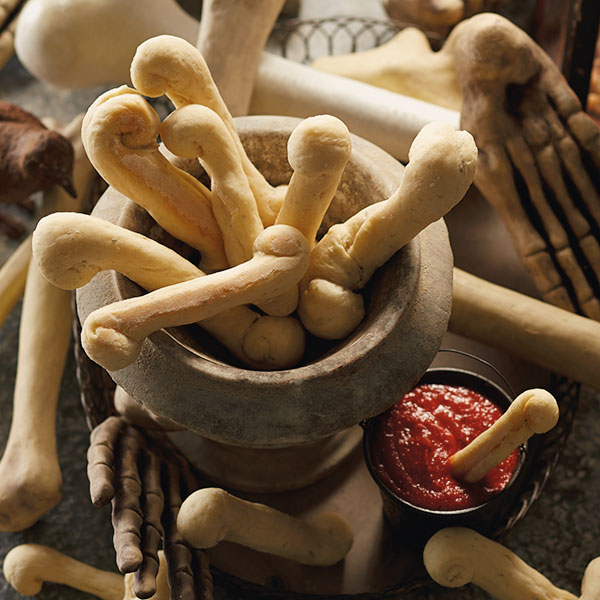
Appetizer & Snacks Halloween bone breadsticks
These Halloween bone breadsticks are a great example of taking an everyday favorite and reimagining it as a creepy Ha...
-
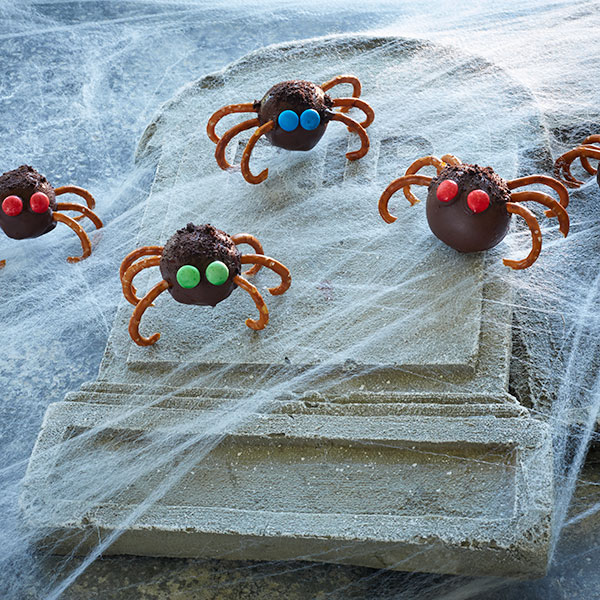
Dessert Peanut butter spiders
Looking for a fun, creative and creepy treat for your loved ones this Halloween? Look no further. Our peanut butter s...
-
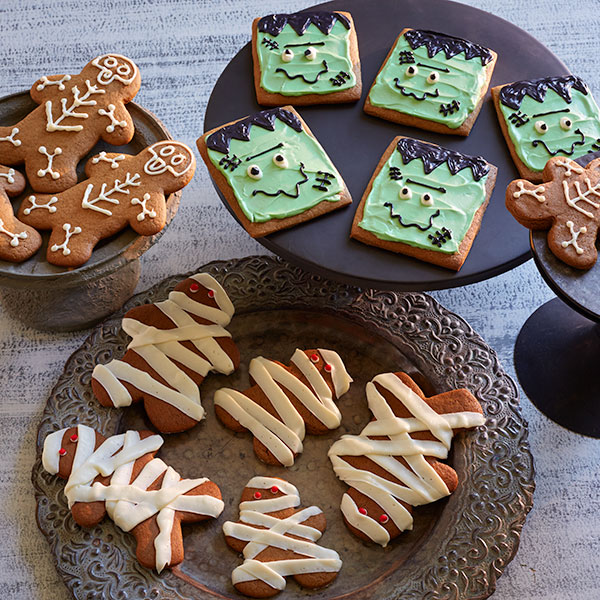
Dessert Halloween gingerbread cookies
Gingerbread cookie dough from the grocery store can make all three of these monster-themed Halloween gingerbread cook...
-
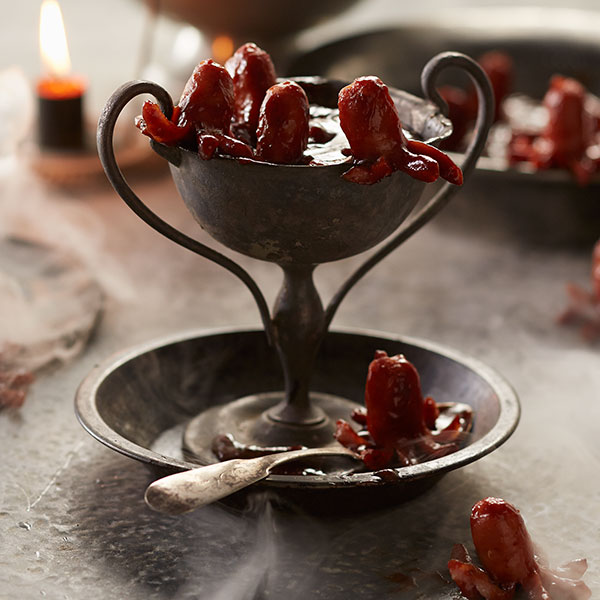
Appetizer & Snacks Halloween little smokies
Little smokies in barbecue sauce are a hit at any party, and these Halloween little smokies are perfect for Halloween...
-
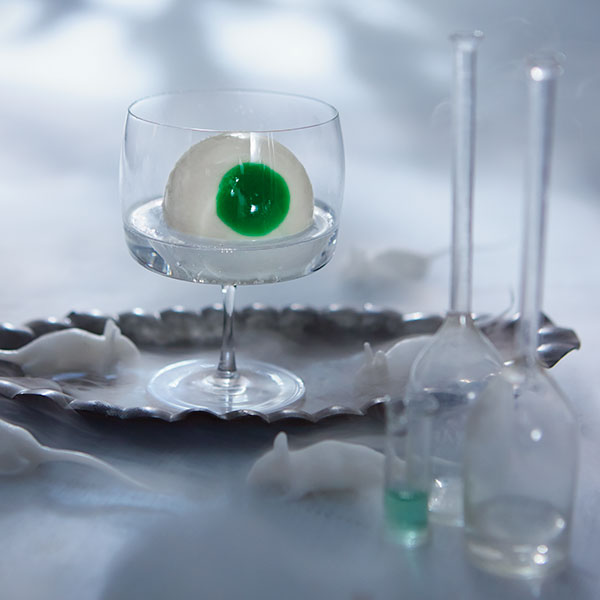
Drinks Vodka eyeball highball
This vodka eyeball highball is the drink that watches your every move. The squishy garnish is made with gelatin disso...
-
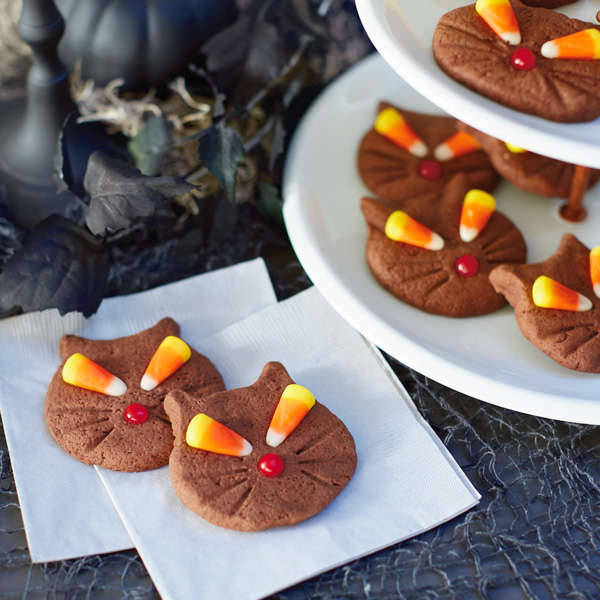
Dessert Cat cookies
Cat cookies are just like their feline counterparts: sweet and cute with a little bit of attitude. Bring these cute b...
-
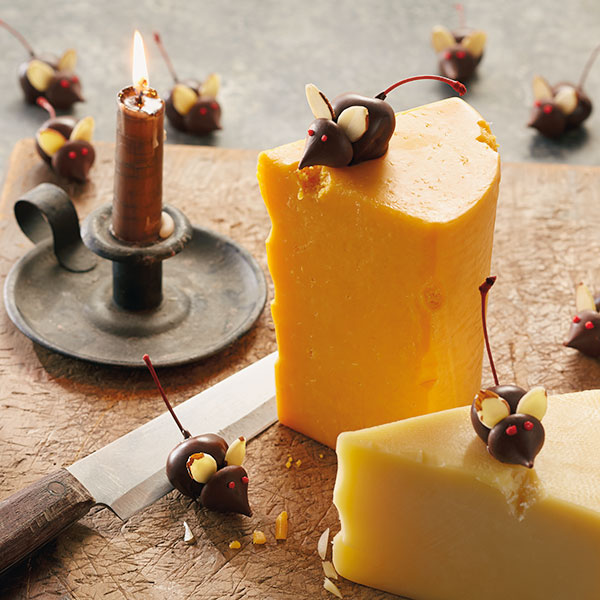
Dessert Halloween chocolate-covered cherry mice
Don't judge Halloween desserts by their size. These Halloween chocolate-covered cherry mice may quickly become your f...
-
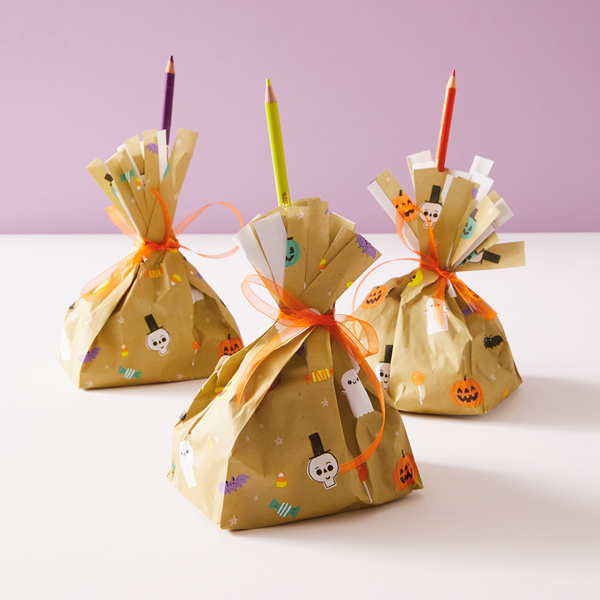
Halloween DIY witch broom Halloween treat bag
Nothing beats an elevated but easy Halloween treat bag—especially if you can make it as cute as this one! Inspired by...
-

Recipes “Cookies and Scream” Halloween popcorn
If there’s one holiday that begs for themed food, it’s Halloween. Think about it—we’re all running around, dressed as...
-
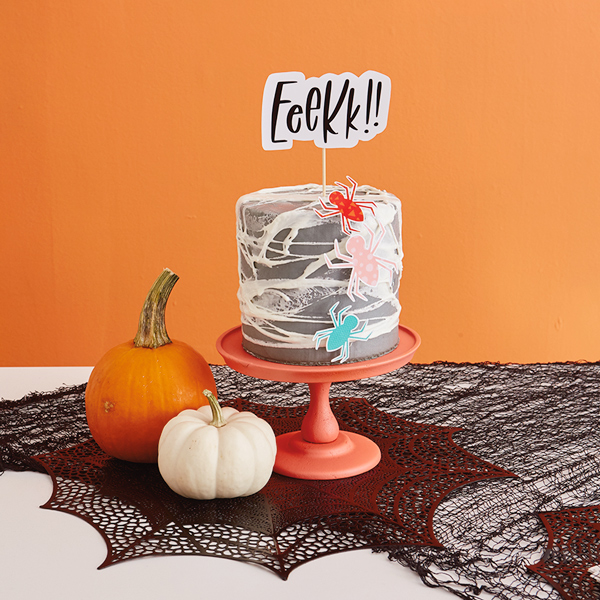
Halloween Itsy-Bitsy Spiderweb Cake
The kids get candy. But you—the fabulous passer-outer of treats—deserve something more grown up. Something fancier. S...
-
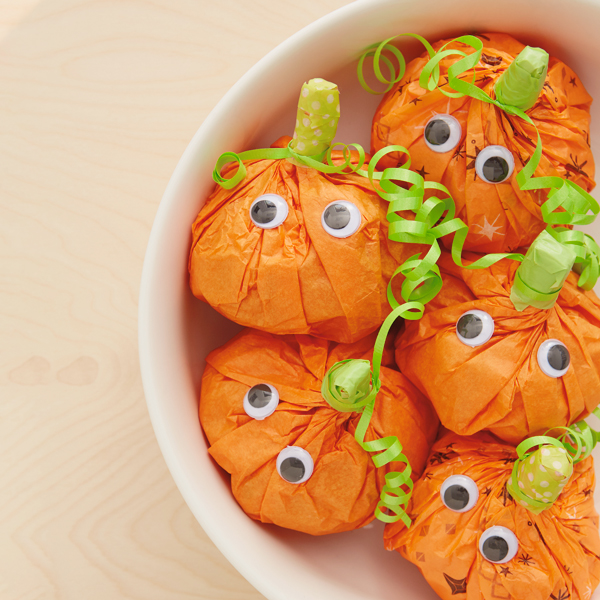
Halloween Sweet and easy DIY pumpkin surprise treat bags
This sweet Halloween project is all treats, no tricks. With just a few simple craft supplies, you can m...
-
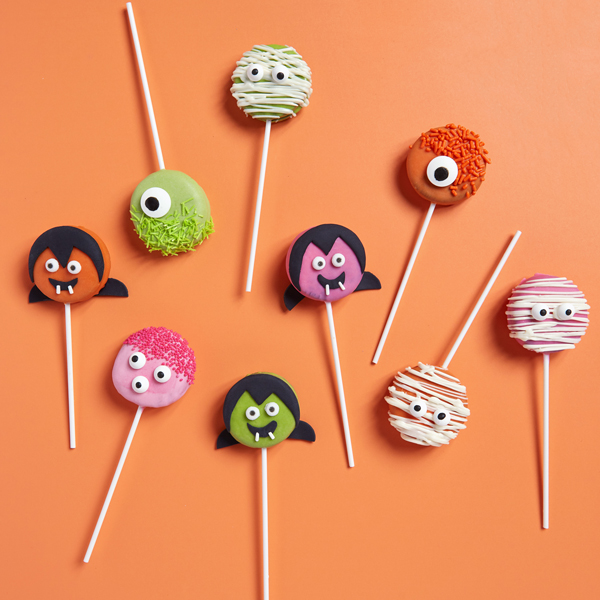
Halloween Play with Your Food: Halloween Cookie Pops
Put together the perfect treats to top off goodie bags or care packages for your kids and grandkids...
-
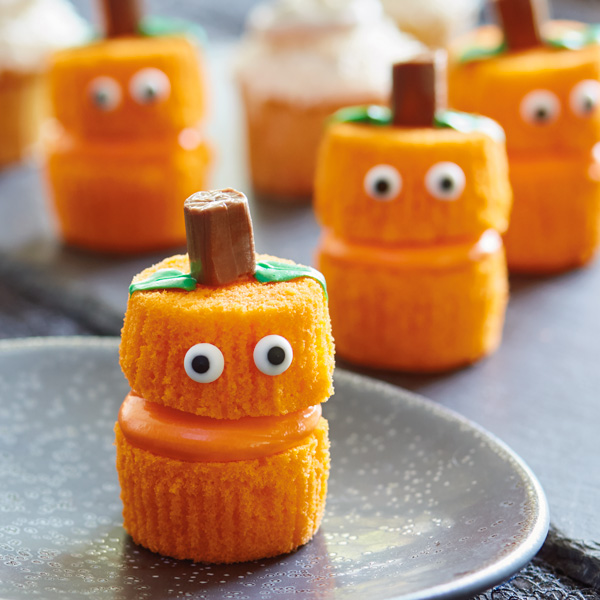
Dessert Jack O’Lantern Cupcakes
Jack O’Lantern Cupcakes will get your kiddos giggling with their funny faces. This easy Halloween cupcake decorati...
-
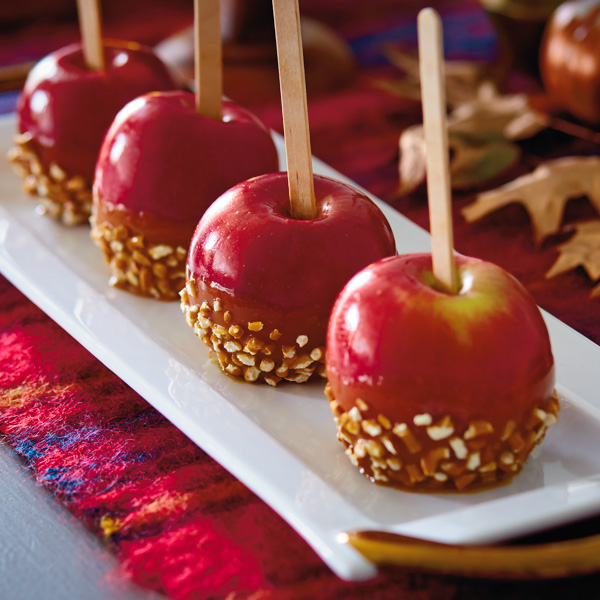
Dessert Sweet and Salty Caramel Apples with Pretzel Bottoms
Sweet and Salty Caramel Apples with Pretzel Bottoms add a satisfying crunch to a favorite fall recipe. It just tak...
-
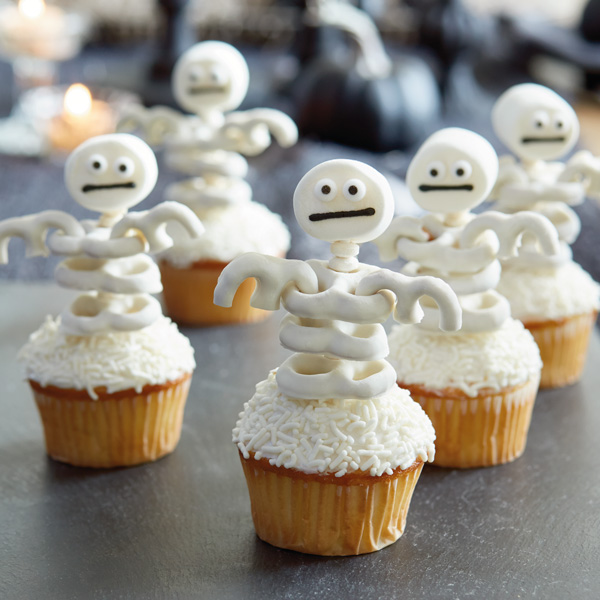
Dessert Skeleton Cupcakes
Skeleton Cupcakes pair easy DIY toppers with home-baked or store-bought cupcakes. The skeletons are made of yogurt...
-
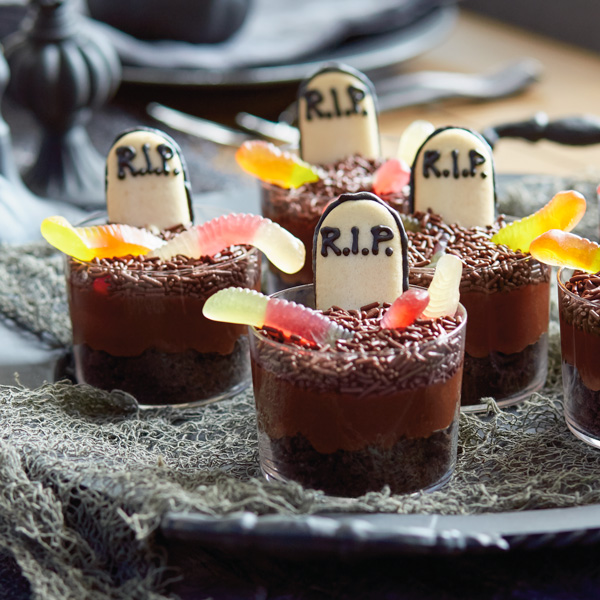
Dessert Graveyard Pudding Cups
Graveyard Pudding Cups put a Halloween-y spin on the classic kids’ “dirt and worms” treat. This Halloween dessert ...
-
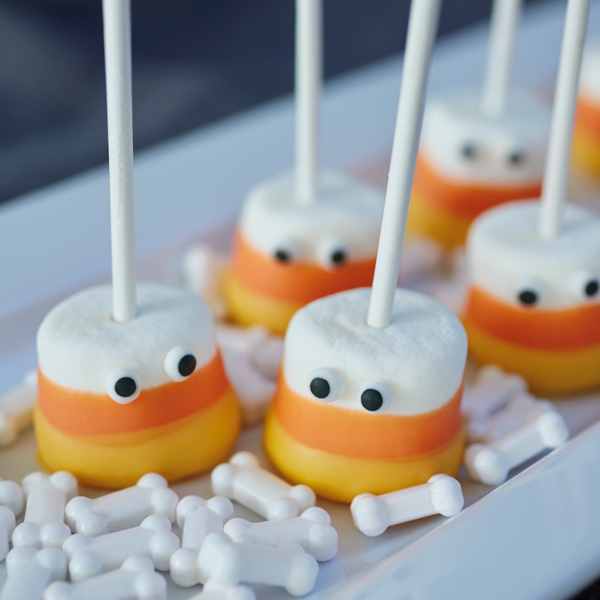
Dessert Candy Corn Marshmallows
Candy Corn Marshmallows are significantly less divisive than their namesake—because who doesn’t like candy-covered...
-
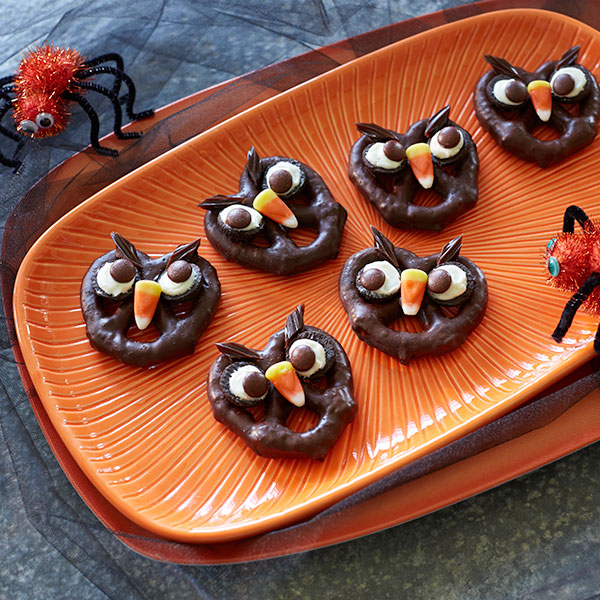
Appetizer & Snacks Pretzowls chocolate-covered pretzels
Our Pretzowls Halloween treat recipe will have everyone hooting with delight! You can't go wrong with a recipe tha...
