4 colorful Thanksgiving kids crafts to brighten up your table
For kids, Thanksgiving can feel like more of a grown-up holiday. There’s lots of serious cooking that they can’t help with. There’s football that they’re too little to play or understand. And outside of gooey pie filling—because I don’t know a single kid that eats the crust—there’s little they’ve learned to appreciate, food-wise.
That’s why our team dreamed up these Thanksgiving kids crafts. They give kids ways to feel involved in and inspired by the family’s Thanksgiving preparations and something to be proud of as everyone enjoys the meal.
You couldn’t ask for a better entry point to Thanksgiving traditions for kids. So let’s jump in!
Inspired? Create and share by tagging @HallmarkStores.
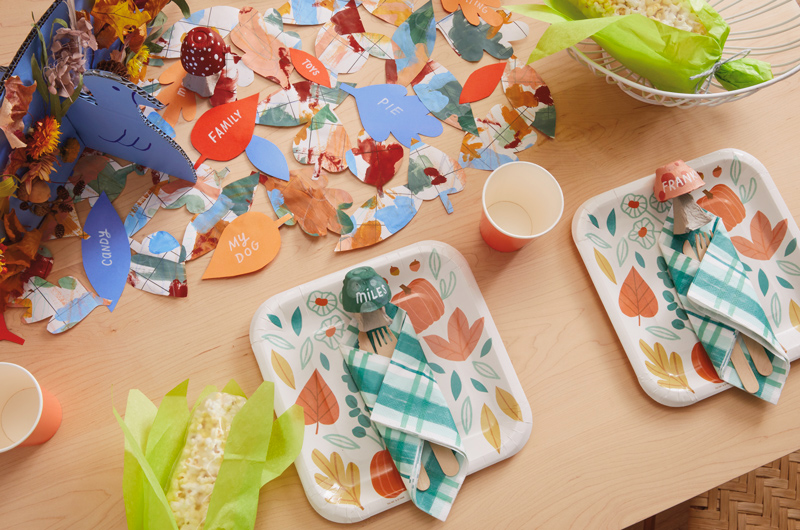
Thanksgiving kids craft #1: Mushroom place settings
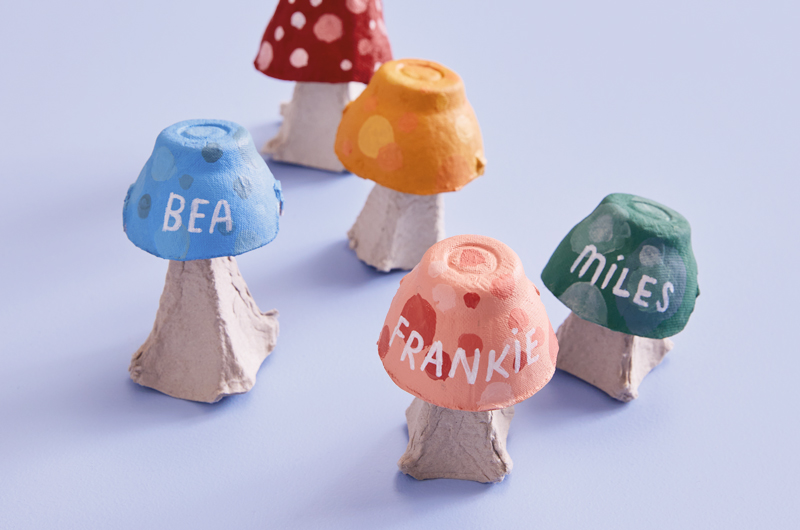
Do you love reusing and repurposing materials for craft projects? Us too! For this particular Thanksgiving kids craft, we used paper pulp egg cartons. But foam egg cartons would work just as well.
What you’ll need:
- 1-2 empty egg cartons
- Scissors
- Crayola craft paint
- Paintbrushes
- Paint marker
- Crayola craft glue or hot glue gun
To make the mushroom place settings:
- Cut out some cups for the mushroom caps and an equal number of egg carton dividers for the mushroom stems.
- Paint the mushroom caps, adding polka dots after the first layer of paint is dry.
- Once the paint dries, glue the mushroom caps to the stem with Crayola craft glue or hot glue.
- Finally, after the glue has set, write names for the place settings on each mushroom cap with a paint marker.
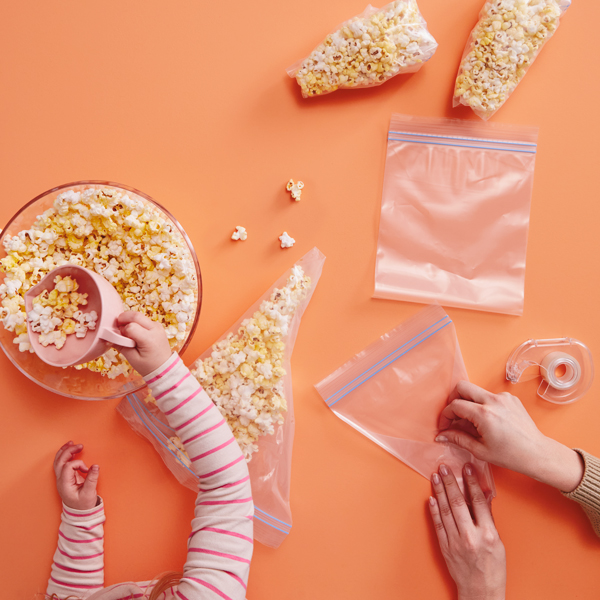
Thanksgiving kids craft #2: Corn on the cob party favor
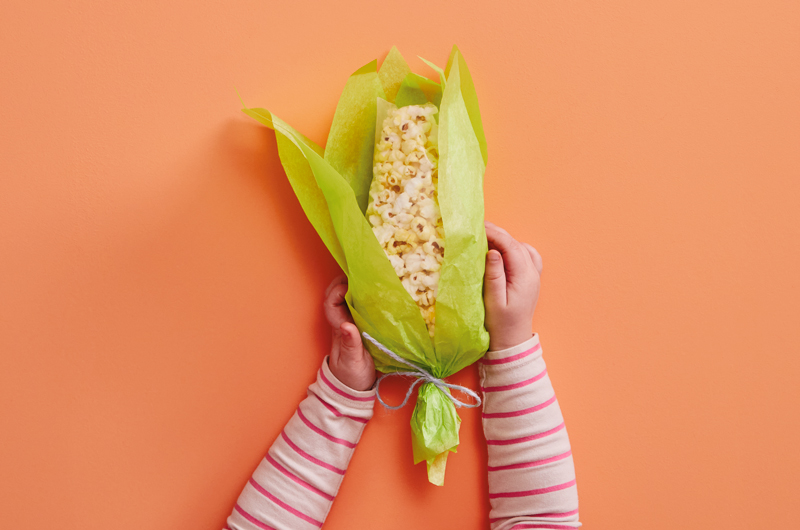
This DIY party favor is especially fun to gift to other kids coming over for Thanksgiving dinner. It’s a great way to avoid hangry meltdowns before the meal, and everyone will get a kick out of how cute they are! Best of all, your little can proudly pass them out and tell everyone they helped.
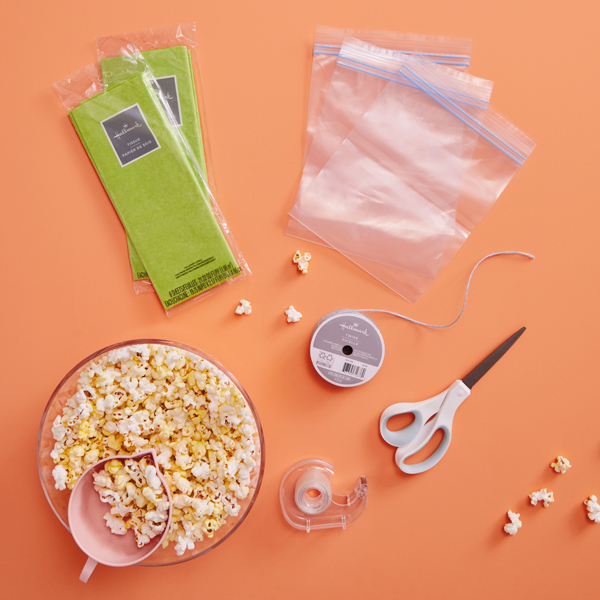
What you’ll need:
• Popped corn (we’ve got some tasty popcorn recipes!)
• Green tissue paper
• Ribbon or twine
• Tape
• Scissors
• Quart-size plastic bags (thinner bags work best here; thicker, freezer-type bags are harder to fold)
To make the party favor:
• Fold the bottom corners of the baggie back and tape in place to create a rough funnel/triangle shape.
• Get your little one’s help filling the plastic baggies with popcorn. Don’t overfill— this will give you space to shape it like a corncob.
• Zip the top of the baggie and tuck the sides under the corncob shape, then tape any loose corners down.
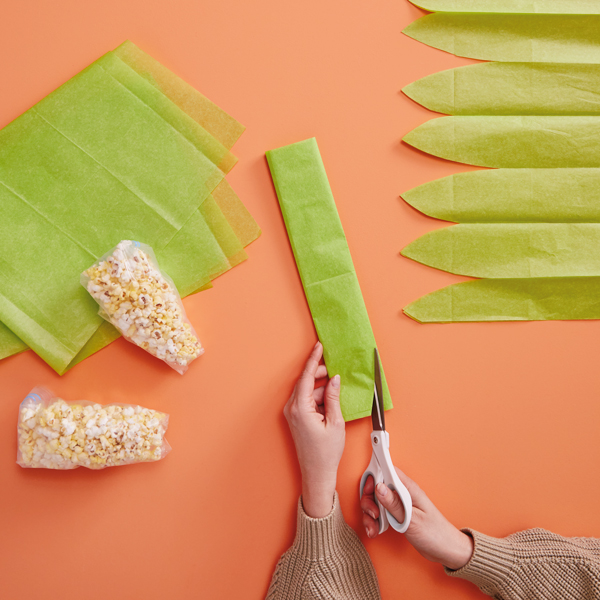
• Accordion fold a half piece of tissue paper, making the folds about two inches wide. Cut the corners off one end to make it pointy, like a corn husk. Then repeat; you’ll two of these tissue paper sheets for each party favor you make.
• Unfold the tissue paper sheets and cut them to fit around the bag of popcorn most of the way. (We found that cutting the sheets about four folds wide worked well.)
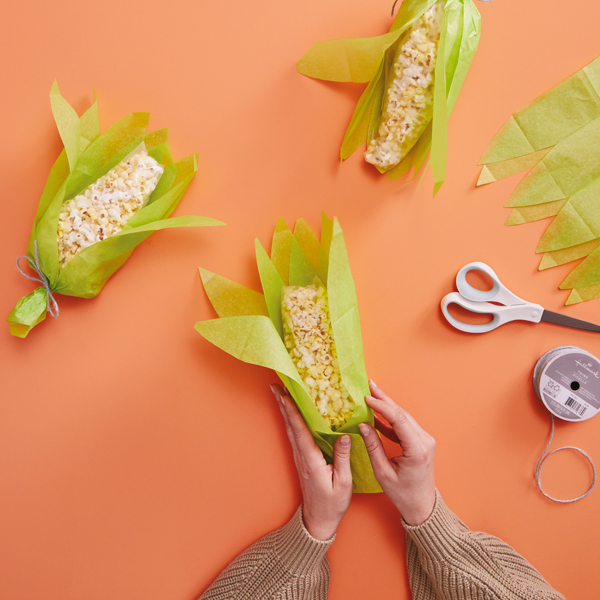
• Layer two sheets so the pointed ends are staggered from one another, then lay the baggie of popcorn on top of the layered sheets of tissue paper, with the taped-back corners of the baggie hidden in the back.
• Gather the bottom of the tissue paper around the baggie of popcorn and tie off with twine. Fluff the tissue paper corn husks as needed.
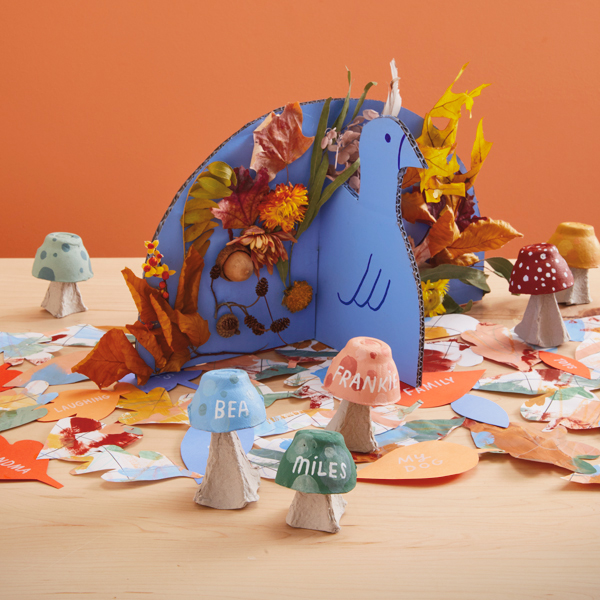
Thanksgiving kids craft #3: Cardboard turkey for a foraging scavenger hunt
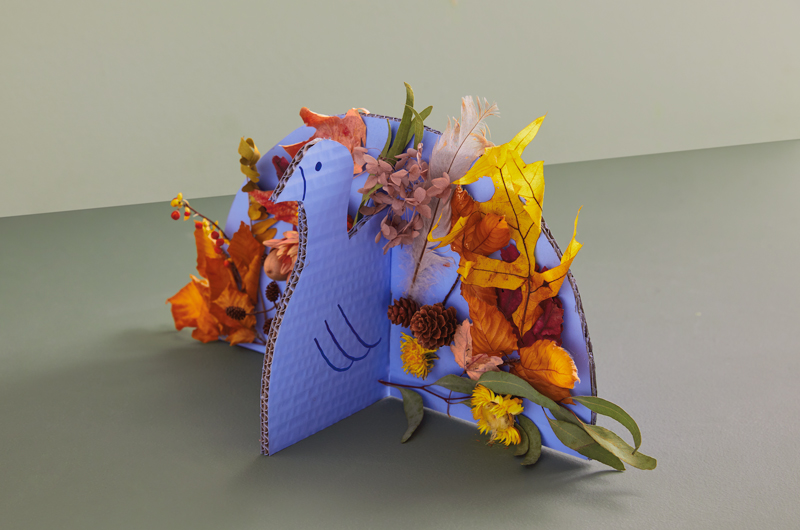
When it comes to Thanksgiving dinner, the turkey is the star of the show. But it typically doesn’t come out until the last minute. Until then, you can decorate the table with this fun fall centerpiece made from things you’ve foraged with your kids on gorgeous autumn days.
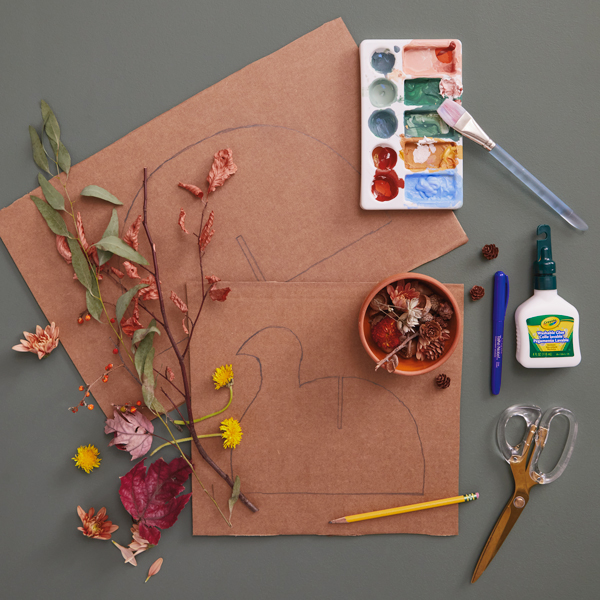
What you’ll need:
• Medium-size cardboard pieces (about 16” x 16”)
• Crayola craft glue
• Crayola craft paint
• Paintbrush
• Crayola “Take Note” permanent marker
• Scissors or craft knife
• Pencil
• Foraged fall objects like pinecones, leaves, dandelions, acorns, etc., that the kids have collected

How to make your foraged turkey centerpiece:
• Draw a semicircle on one piece of cardboard; this will be the tail. On another piece of cardboard, draw a side profile of a turkey.
• Draw a notch at the bottom of the tail, in the middle. Then draw a notch on the top of the turkey, in the middle. These will interlock and should be about the same width as the cardboard is thick.
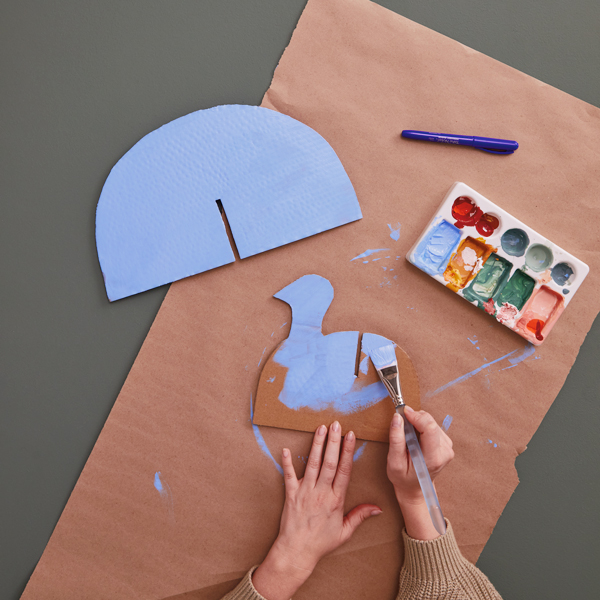
• Cut out the turkey tail and profile pieces, as well as the notches.
• Paint both sides of the tail and turkey with craft paint, then let dry.

• Using craft glue and some help from little ones, glue on the collected fall items. Let the kids lead this!
• Once the glue is dry, attach the tail to the turkey.
Thanksgiving kids craft #4: Cut-leaf gratitude table runner
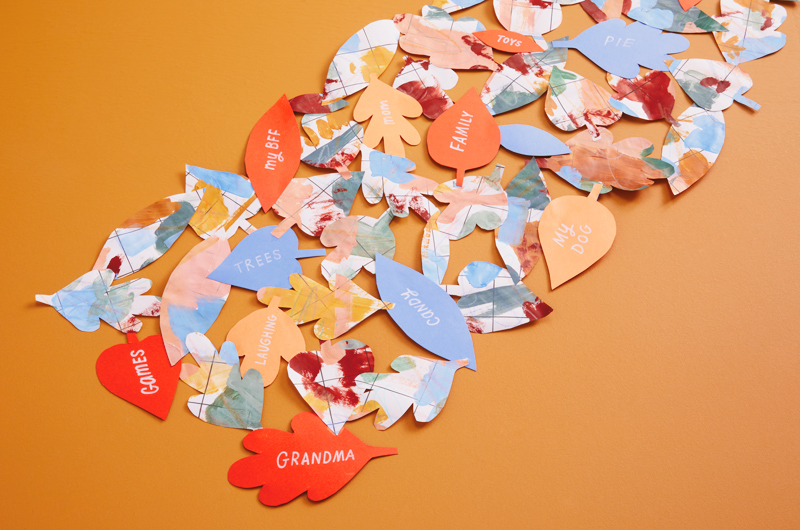
A lot of parents would agree that teaching kids about gratitude is important. This Thanksgiving kids craft gives you an opportunity to talk about the concept of gratitude with your littles, and then turn it into something tangible. It could turn into a fun prompt for everyone at the table to talk about what they’re grateful for!
What you’ll need:
- Wrapping paper (any neutral color or pattern would work)
- Solid-color construction paper
- Crayola craft paint
- Paint brushes
- Crayola “Take Note” permanent marker
- Crayola craft glue or double-sided tape
How to make your cut-leaf gratitude table runner:
- Have little ones help paint and decorate the wrapping paper with craft paint.
- Once the paint is dry, cut out different leaf shapes from it. (Pro tip: If you’re not comfortable free-handing it, you could use a set of leaf-shaped cookie cutters to trace outlines.)
- Cut a bunch of leaf shapes from the solid-color construction paper as well.
- Ask your kids what they’re grateful for. If they’re having trouble coming up with things, give them simple prompts like, “What about Grandma? Are you happy Grandma loves you?”
- Write down the people and things your child mentions on the solid-color leaves.
- Using the glue or small pieces of double-sided tape, start sticking the edges of leaves together, leaving open spaces in between, as shown. Our table runner ended up being about four leaves wide and 12 leaves long, but you might want something wider or longer, depending on the size and shape of your table or the number of kids you have to help you make it!
- Keep connecting the leaves, making sure that the solid-color leaves with the things your little one is grateful for are prominently displayed—layered on top or around the edges, where guests will see them.
We hope you have so much fun creating these colorful Thanksgiving kids crafts with your little ones and that they inspire lots of great conversation about what it means to be thankful.
Looking for more Thanksgiving ideas for kids? We’ve got a few here:
Shop Thanksgiving
See allYou may also like
See more-
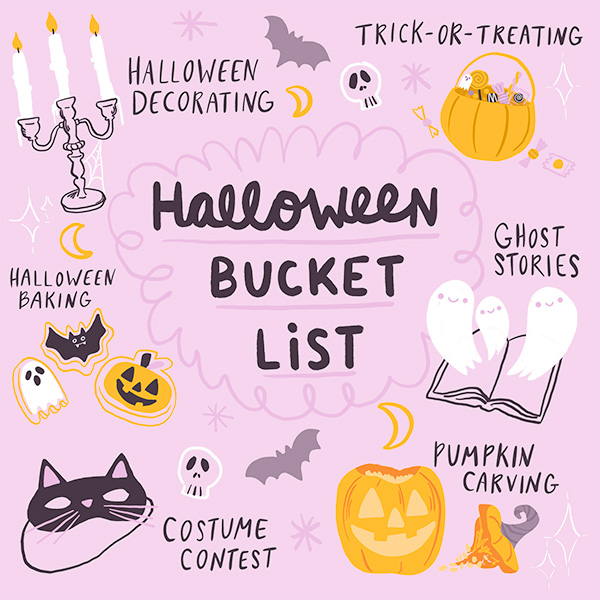
Halloween Your Halloween bucket list: fun, cozy and creative things to do all October long
It’s no surprise that Halloween is a favorite for many. It’s a season filled with pumpkin carving, crisp breezes and ...
-
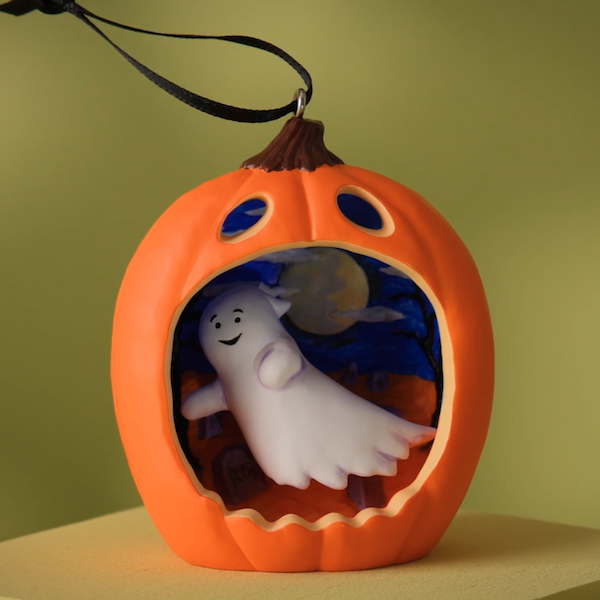
Keepsake Ornaments Add some Halloween glee to your tree! 🎃
From sassy cats to friendly ghosts, vintage vampires to mischievous kittens, we have lots of options if you're lookin...
-
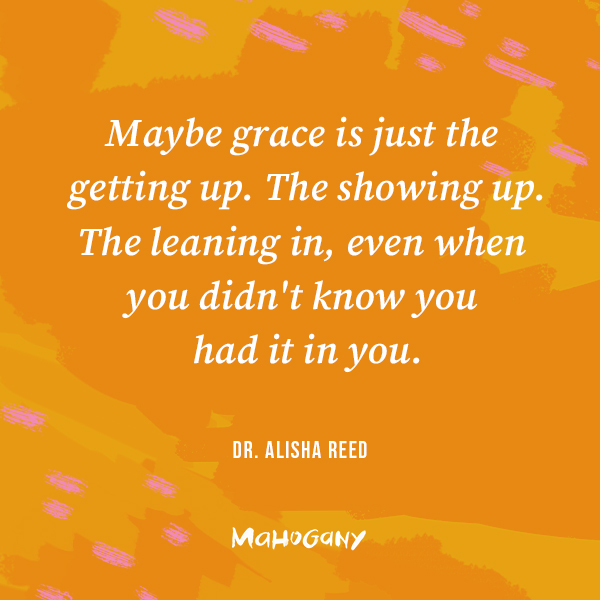
Mahogany You do it all with so much grace
I was sitting in a coffee shop the other morning, when a woman walked up to me. She looked at me and touched my arm a...
-
Halloween More than a night: The trends shaping Halloween 2026
For years, Halloween has been celebrated on a single night. But all of that’s changing. From frightfully fun activiti...
-

DaySpring God’s answers might just be hidden in the ordinary
I wasn't your average 17-year-old dreaming about weekends at the mall or sleepovers with friends. Instead, I was cons...
-
Mahogany The joy of movement
As I've gotten older, I've learned that wellness isn't just about exercise. It's about feeling good, living well and ...
-

DaySpring How to start each day feeling renewed by grace
Amid the demands of daily life, carving out time for spiritual nourishment can indeed be a challenge. However, center...
-
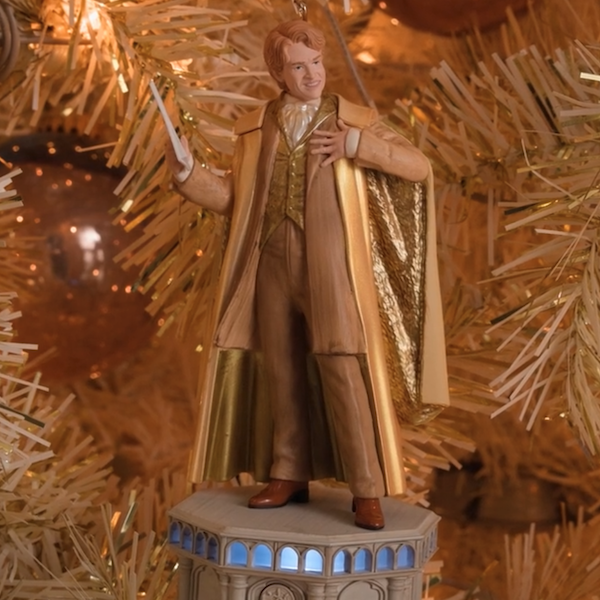
Keepsake Ornaments Complete your collection!
Class is in session with Defense Against the Dark Arts professor Gilderoy Lockhart™. 🪶 ✨ Complete your Harry Potter a...
-
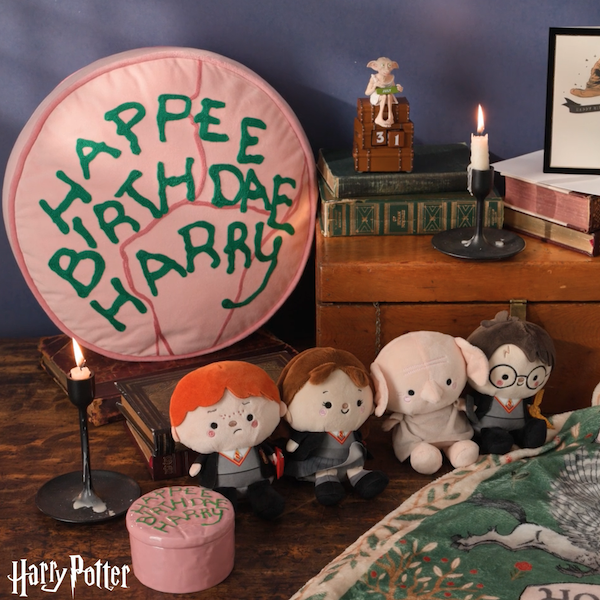
Gifting Happee Birthdae, Harry!
Celebrate the birthday of the Boy Who Lived with this fun collection of Harry Potter gifts! From cozy blankets perfec...
-
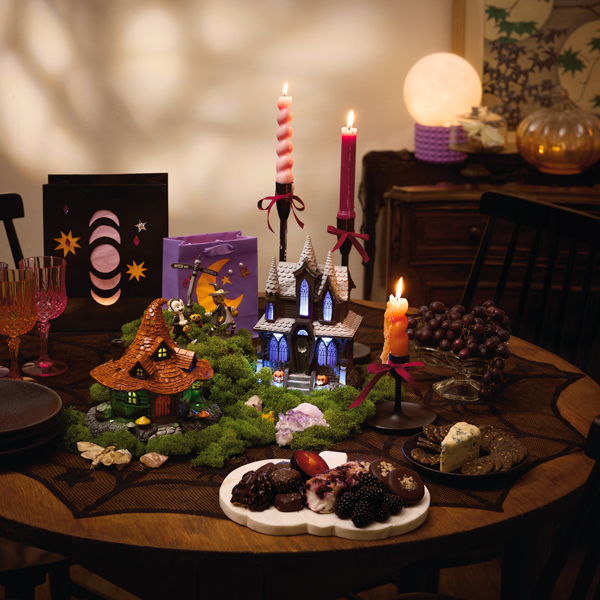
Halloween Witchy Halloween party ideas: Fun crafts and activities for a magical night in
Witch-themed parties have always delighted Halloween fans. They offer hosts and partygoers alike the chance to intera...
-
Calendar Flip Share More Moments: December 2026 Holidays and Observances
Whichever holidays you celebrate, whatever your traditions and whoever you call family, December is a month full of m...
-
Calendar Flip Hey, Pumpkin! October 2026 Holidays and Observances
Get info, ideas and inspiration for October holidays and observances, including free sharable quotes and digital wall...
-
Calendar Flip Share joy, give thanks: November 2026 Holidays and Observances
Get info, ideas and inspiration for November holidays and observances.
-
DaySpring The secret to praying when you don't know how to pray
I open the closet door in a room that is not my own. I put packages of diapers on the top shelf, rearranging and rest...
-
Mahogany Every woman has a hair story
I always take a selfie as soon as I get in the chair at my hair appointment. Most women take photos after, but it’s t...
-

Keepsake Ornaments An epic adventure for your tree 🧙🏻♂️
Relive some of your favorite moments from The Lord of the Rings: The Fellowship of the Ring™ with this Keepsake Ornam...
-

Keepsake Ornaments What a great little tree! 🎶🎄
This little tree has a LOT going for it. And just like the one in "A Charlie Brown Christmas," this Peanuts® ShowTopp...
-
Keepsake Ornaments Childhood nostalgia incoming! 🥰
This incredible Keepsake Ornament depicting scenes from the classic poem, "A Visit from St. Nicholas," will take you ...
-
DaySpring Six Scriptures for spiritual rest this summer
A recipe for a relaxing summer afternoon: the sun’s warming rays, a cool drink, something good to read, a comfortable...
-

Keepsake Ornaments A carousel fit for a princess 👸
A Disney Princess, that is! Cinderella, Jasmine and Ariel are riding in high style on this gorgeous, gilded carousel...
