Día de Muertos crafts to celebrate with family
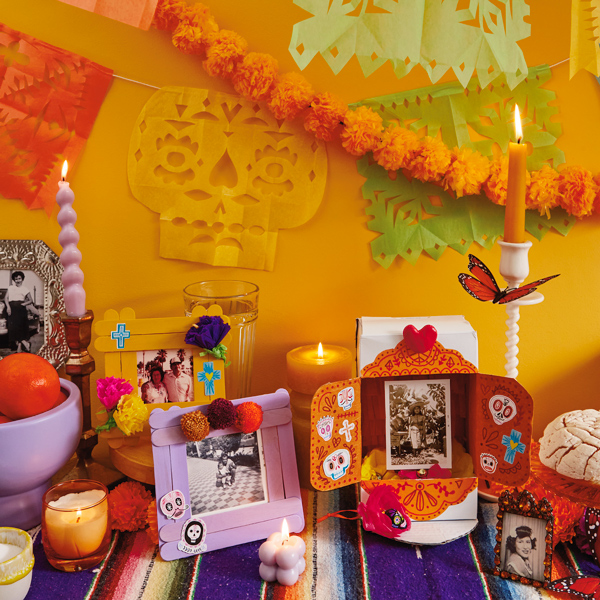
The sweet smell of pan de muerto baking, colorful decorations and pictures selected with care, special memories being shared—there’s just so much to celebrate during Día de Muertos (Day of the Dead or All Souls’ Day).
Originating in Mexico, this holiday is dedicated to remembering loved ones who’ve passed away, honoring important traditions and bonding with family. One way to do all of this (and include even the smallest family members) is by making these festive Day of the Dead crafts.
Keep reading to see how we made them and hear from Hallmarkers Alejandra G. and Sofia L. M. on how they enjoy the holiday (Get ready: they totally pulled on our heartstrings here!).
Inspired? Create and share by tagging @HallmarkStores.
Why is Día de Muertos important?
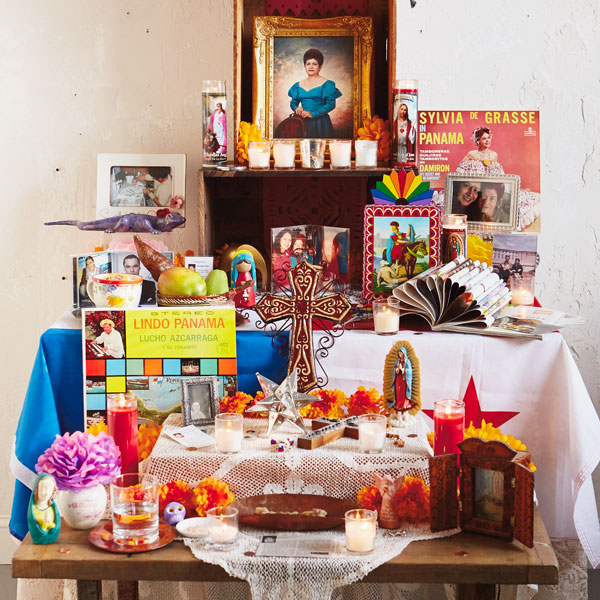
“The most important part of this holiday to me is the time I get to spend with my family honoring and remembering those who are no longer with us,” Alejandra said. “We spend time as a family setting up our altar, which includes preparing food, gathering memorabilia and making crafts to put on the ofrenda.”
“These altars carry a lot of intention in the belongings, food and accessories you choose to display because they are a representation or reminder of the person you are trying to commemorate. Choosing to cook their favorite food and including symbols of the things they enjoyed or hobbies they had allows you to remember the person and celebrate the life they lived.”
Sofia shared, “I think that part of the beauty of celebrating Día de Muertos is because it can commemorate all types of life. The most special part of the holiday to me is being able to reflect on the lovely memories shared with my pets. It’s nice to not forget those wonderful memories that made you laugh, cry and be human during this special time. I’m the only one in my family who celebrates the holiday, but it’s still important to me because it helps to keep their legacy and impact alive.”
DIY Día de Muertos ofrenda frame
This popsicle stick ofrenda frame is a great addition to any Día de Muertos altar. If little ones are involved, you can be on hot glue gun duty and let them go wild with stickers, doodles and painting.
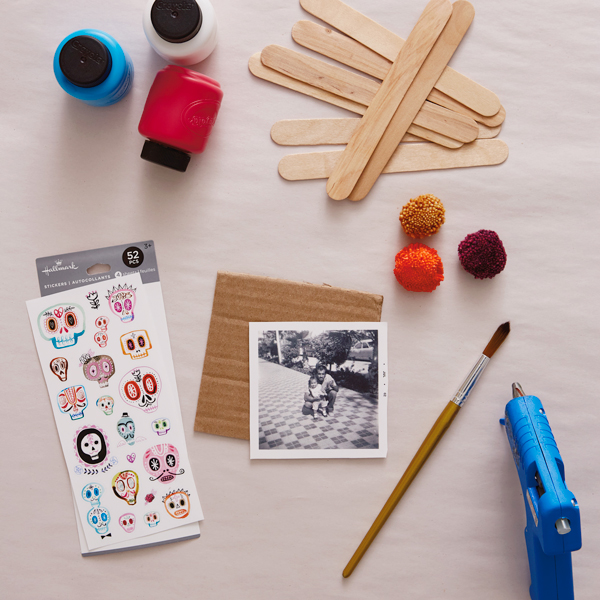
What you’ll need:
• Jumbo popsicle sticks (8 per frame)
• Acrylic paint
• Skull sticker set (coming soon)
• Pom poms
• Piece of cardboard (a scrap should work just fine)
• Photo of a loved one
• Paintbrush
• Hot glue gun
• Optional: Markers
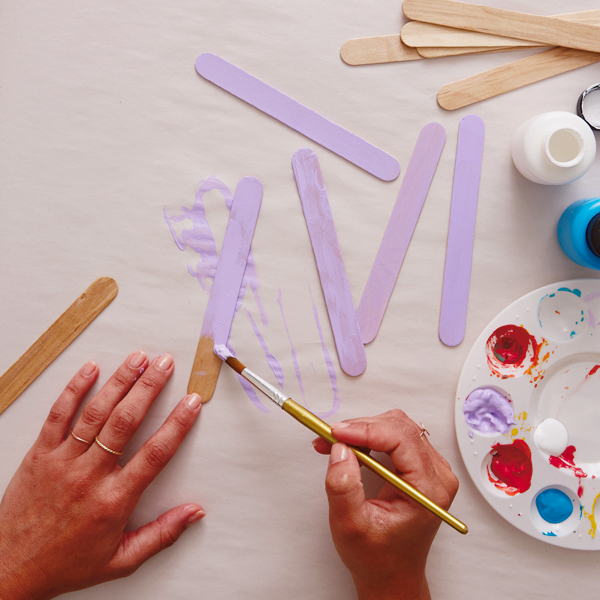
Start by painting eight popsicle sticks with acrylic paint in any shade you’d like, or your loved one’s favorite color, if you know it!

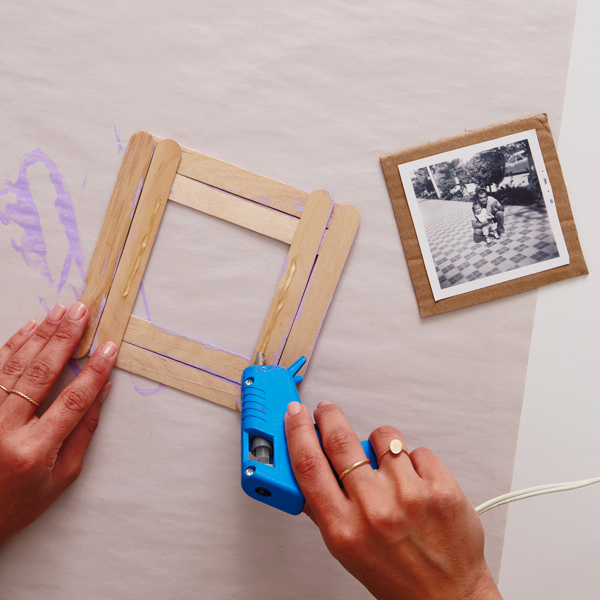
To create the frame, use hot glue to attach two popsicle sticks to each other side by side. Repeat this step three more times to make the other three sides.
Once they’ve all cooled, lay out two sides and overlap them with the remaining two. Secure with glue at each end and you have your frame!

Next, glue your photo to the piece of cardboard.
Pro tip: Use a photocopy of your image to avoid ruining the original.
Using more glue, attach the cardboard to the back of the popsicle stick frame.
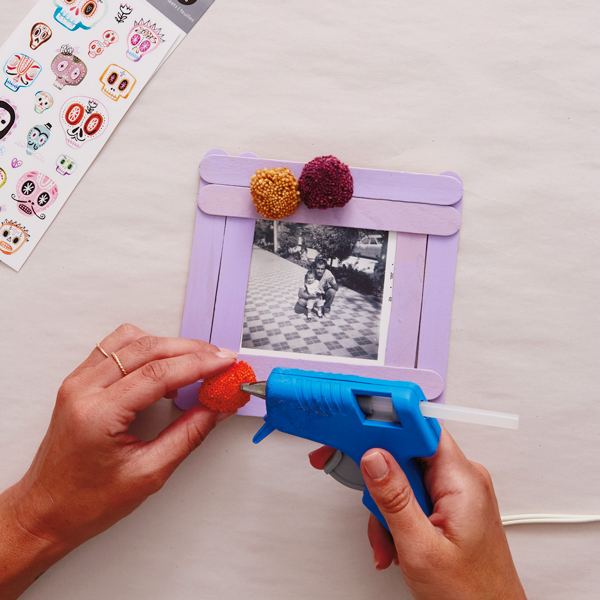
Glue on pom poms or any attachments you’d like. Glitter, rhinestones, fringe—there are no rules here!
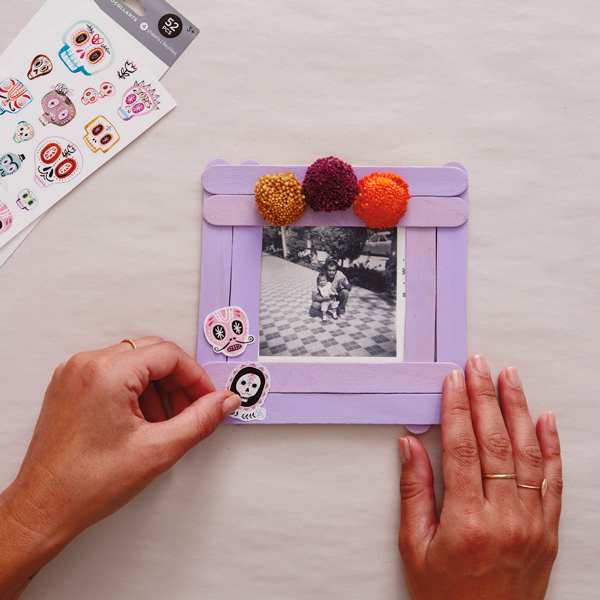
Add some Skull stickers (coming soon) and fun doodles.
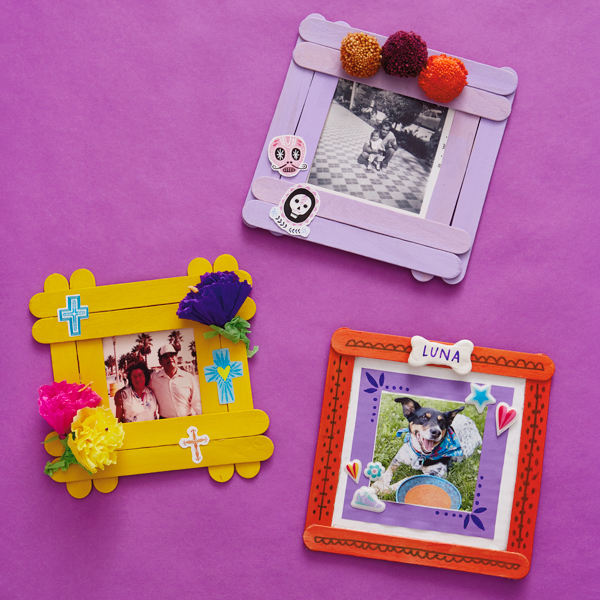
And you’re all done! Feel free to try different colors, frame shapes and add-ons. The more stickers and doodles, the better.
Pro tip: Add magnets to the back of your frames to save as keepsakes and hang on the fridge after the holiday.
What are your favorite Día de Muertos family traditions or memories?
“I didn’t start celebrating Día de Muertos until my friend Alejandra introduced me to it in 2019,” Sofia said. “I have a core memory from when we attended the Day of the Dead celebration by Mattie Rhodes, in 2022. It was beautiful to see our Latino community come together to celebrate and honor Día de Muertos in large numbers.”
“They had an art gallery of the ofrendas from some of the community members displayed, a large ofrenda for the children who passed in Uvalde, Texas, [as well as] local Latino vendors, live music and fun activities for everyone. They even had a competition for the best ofrenda in a low rider, which is also part of our culture. It was a core memory for me because I had not seen anything as magical as I did that night—nothing but love and warmth on that chilly night.”
For Alejandra, her favorite Día de Muertos memories are centered around her experiences at home with family.
“Pan de muerto is a traditional sweet bread that you put at the altar usually as a common food that the visiting souls can enjoy,” Alejandra said. “It was often difficult finding pan de muerto in Kansas City, so my parents learned how to make homemade pan de muerto. It’s my favorite tradition because every year, our house is filled with the warmth and delicious smell of fresh, out-of-the-oven pan de muerto.”
“Family and loved ones join us in making batches and batches of bread to spend time together and they also get to take it home to put on their own altars. We fill our baking evenings leading up to the holiday with laughter and nostalgic memories of our loved ones while enjoying the warm bread with a cup of coffee or milk. It’s a family tradition that I try to make time for every year, and I hope to pass on to future generations.”
DIY Día de Muertos Shadow Box
There’s no delicious pan de muerto included with this one sadly (Alejandra made us hungry), but it is a beautiful craft to make with family! We suggest letting older kids team up with younger ones this time—have little kids help paint or sculpt with Crayola Model Magic while the big kids work with the craft knife.

What you’ll need:
• Card stock
• Tissue paper
• Crayola Model Magic
• Skull sticker set (coming soon)
• Hot glue gun
• Ruler
• Craft knife
• Markers
• Glue
• Acrylic paint
• Paintbrush
• Cereal box (or another similarly shaped food box)
• Cutting mat
• Photo of a loved one
• Scissors
• Pipe cleaners
• Extra piece of cardboard
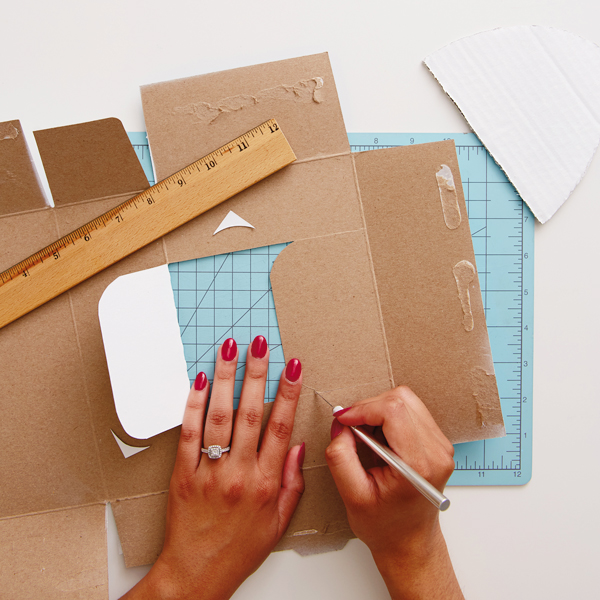
Start by painting the outside of your cereal or food box white for a solid base to work with. Once it’s dry, carefully open the box and lay it flat, with the white side facing down.
Create your shadow box opening with a craft knife and ruler by making two horizontal cuts across, then one vertical cut down to create two flaps.
If you’d like, you can round the corners of the flaps with your craft knife like we did here. (Don’t be worried about your deconstructed box. We’ll put it back together later—promise!)
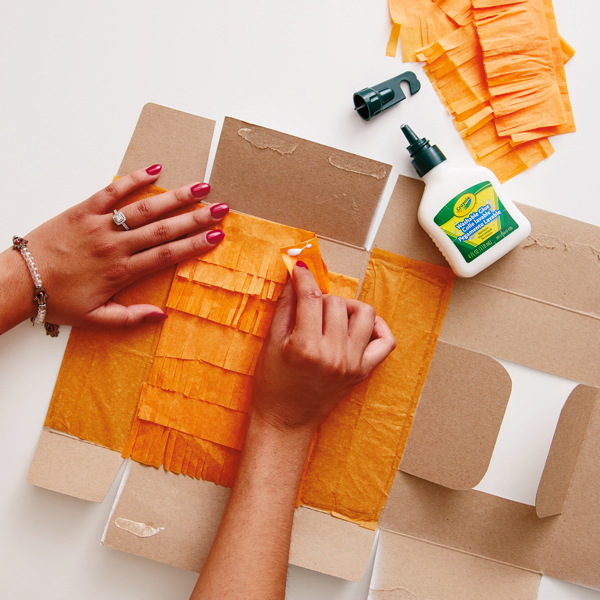
To create a pretty backdrop for our photo, we made tissue paper fringe to layer on the back side. Here’s how:
Cut one piece of tissue paper to match the width of the back side of your shadow box.
Fold the piece of tissue paper in half widthwise. Then with the opening facing toward you, cut small, evenly sized slits toward the fold to create fringe, leaving about half an inch uncut to glue down.
Create enough pieces of fringe to cover the entire back side of the shadow box (we had 7 total). Then, start gluing the fringe pieces onto the box. Dab some glue along the folded edge and press it onto the back of the unpainted inside of the box, starting at the bottom and working upward. As you add more strips, make sure the piece of fringe above is overlapping the one underneath.
Finally, cut two pieces of tissue paper that are the size of the side panels and glue them on each side of the interior of the box to give it a more finished look.
Put the shadow box back together by hot gluing the pre-existing seams together.
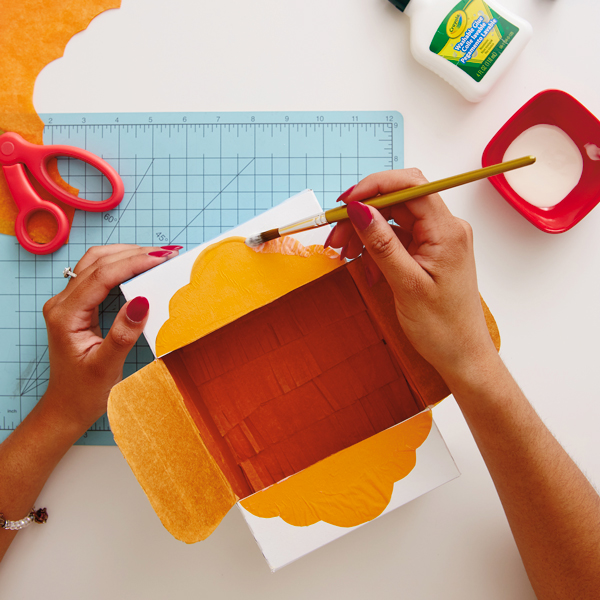
Next, cut tissue paper pieces to cover each flap. Use a paint brush to spread a thin layer of glue over the inside-facing side of each flap and glue the tissue paper pieces on.
To make the decorative pieces on the top and bottom, layer two pieces of tissue paper and cut a fun shape like the one shown. Use a paintbrush dipped in glue to stick them onto the shadow box smoothly and evenly.
Sentimental treasures
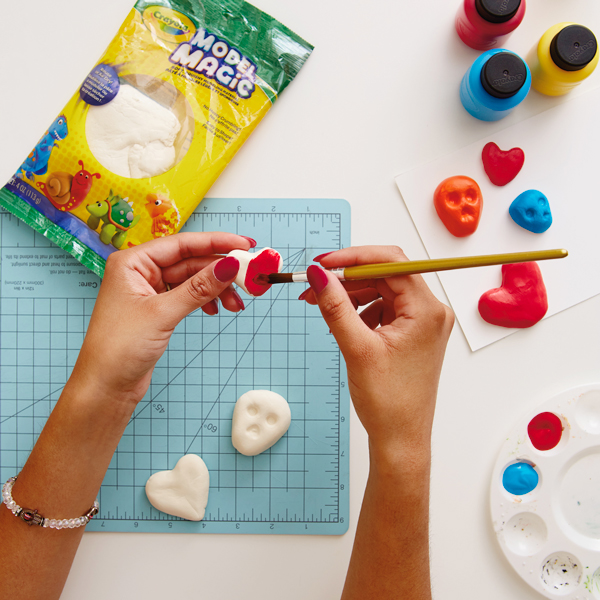
Next, we created a few different shapes using Model Magic. You can make these simple and fun, like the little hearts and skulls we made.
You can also make shapes that have significance to the loved one you’re honoring, like a tiny version of their favorite pair of shoes or an icon related to their favorite sports team.
Once you’ve got your shapes figured out and your Model Magic is dry, add some color with acrylic paint.
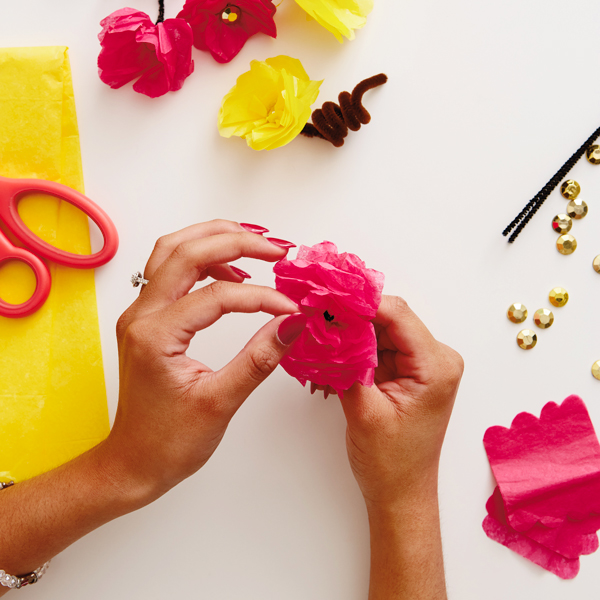
Tissue paper flowers
A major custom during Día de Muertos is decorating ofrendas with beautiful flowers, for which marigolds, or cempazuchitl flowers, are especially popular.
Real flowers are always welcome, of course, but making your own can be fun, too! See step-by-step instructions here or here to craft some gorgeous tissue paper flowers.

Once you’ve made your tissue paper flowers, place them inside the shadow box and attach them with hot glue.
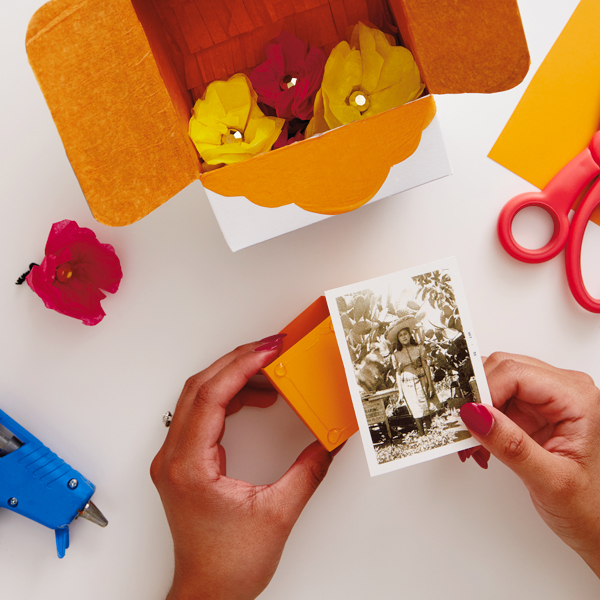
Next, we created a mini riser out of cardstock to make the photo stand out in the shadowbox.
To do this, cut a long rectangle the length of a piece of card stock. Fold it in half, bringing the two short ends together, then fold in half one more time.
Unfold the rectangle and then use the folds you made to create a box, taping the sides where they meet. Finally, glue your photo to one side of the riser.
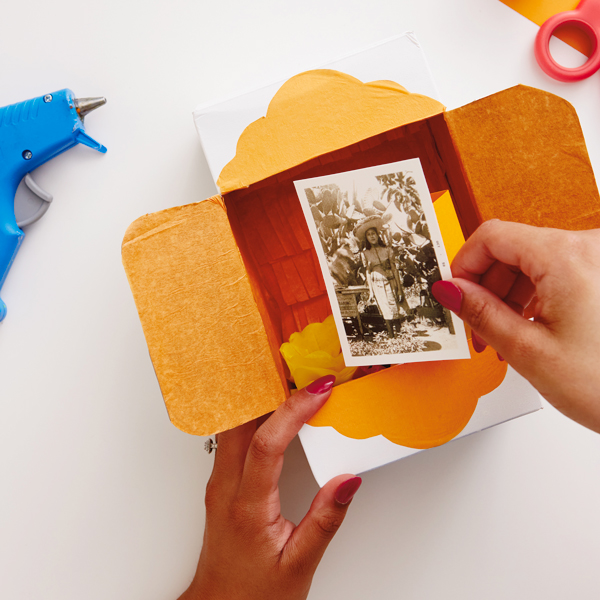
Place your photo into the shadowbox frame and glue the riser to the back, on top of your fringe.

Now that you’ve made all the pieces, it’s time to decorate!
Cover your shadow box in stickers to give it a personal touch. We used these cute Skull stickers (coming soon), but you can also add some related to your loved one’s favorite hobbies or interests.
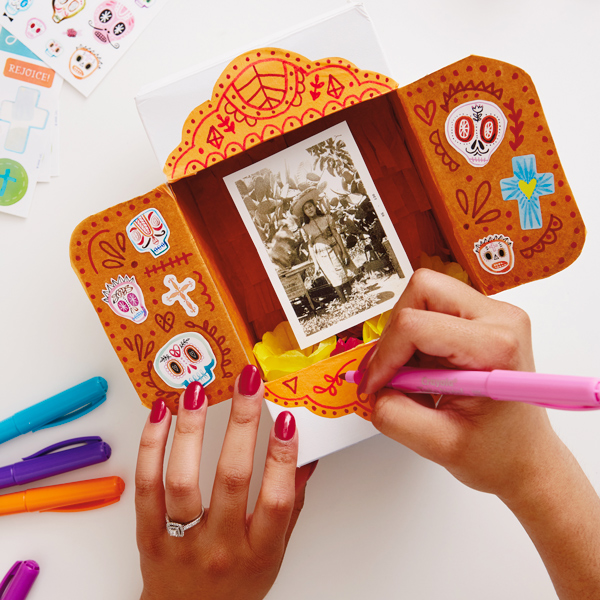
You can also add doodles and detailed designs around the stickers with markers. Simple pattern, borders or repeated shapes work great.
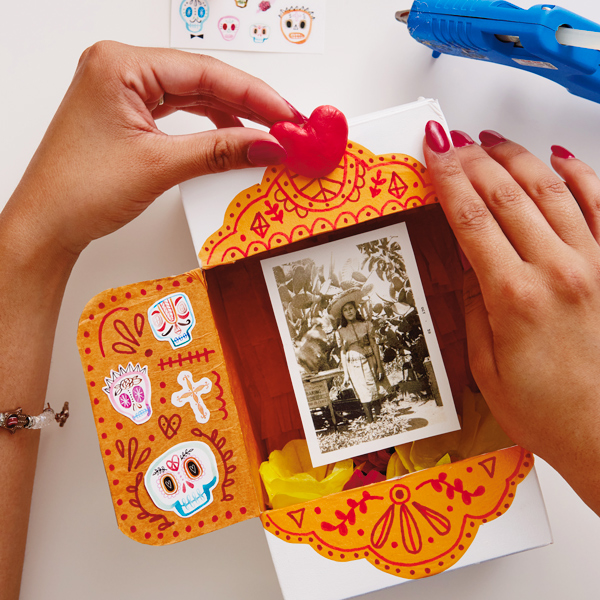
And don’t forget your Model Magic shapes! We attached a heart to the top with hot glue, but add any of the fun ones you made.
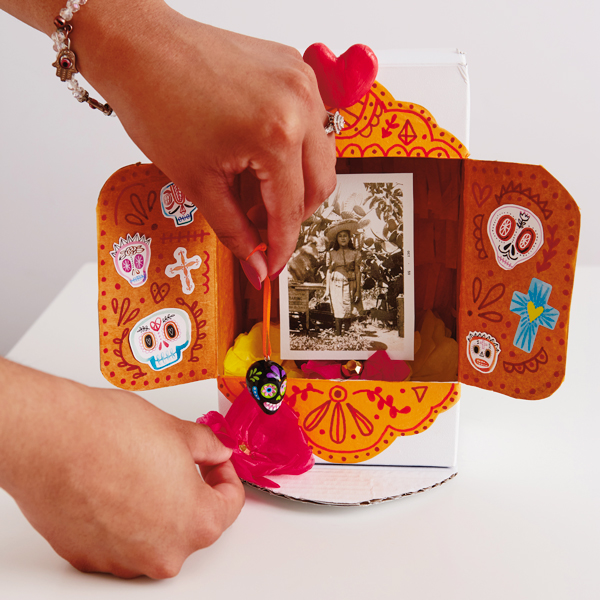
Finally, make a little stand for your shadow box by cutting your extra piece of cardboard into a semicircle. Glue it to the bottom of your shadowbox so that it sticks out like a little doormat welcoming your loved one!
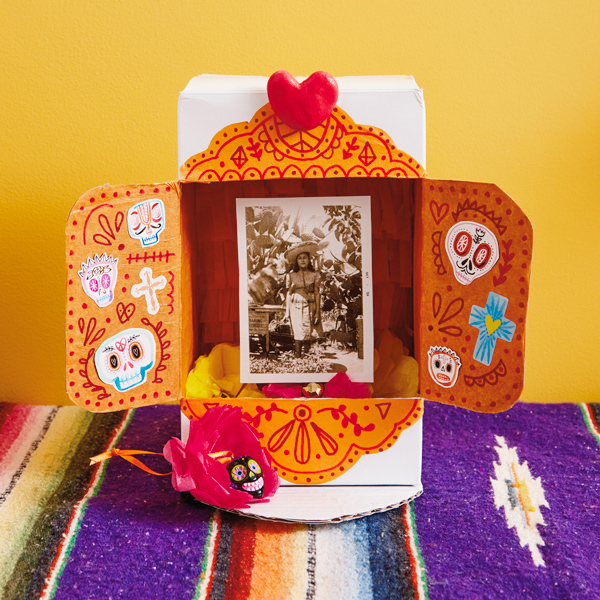
To top everything off, we added one more tissue paper flower and this cute Mini Sweet Sugar Skull Hallmark Keepsake ornament.
We hope these Day of the Dead crafts inspire you to get creative while celebrating the people who live on in your heart with love.
Thanks to Alejandra for the perfect closing words:
“One of the most important things to remember is that while death can be a reason for sadness, those who celebrate the holiday often view death as a part of life. Día de Muertos is a way to celebrate and commemorate those who have passed.”
Want more Day of the Dead ideas? Check these out:
Shop Arts & Crafts
See allYou may also like
See more-
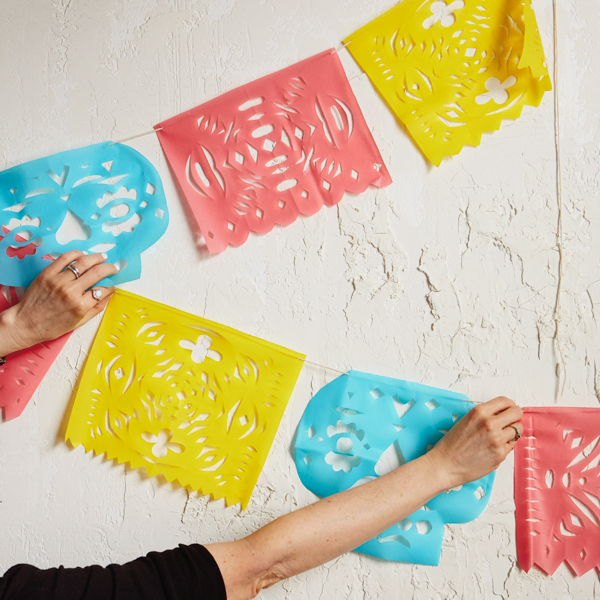
Fall How to write literary calaveras for Día de Muertos
You’ve made your ofrenda (altar), hung your papel picado (paper banners), and decorated your calaveras de azúcar (sug...
-
Fall How to make a Day of the Dead altar: A personal story
How to make a Day of the Dead altar, featuring the heartfelt story of a Hallmarker.
-
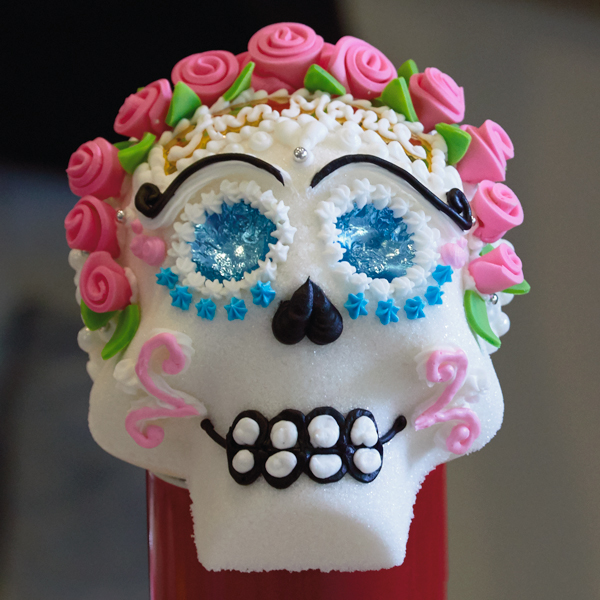
Fall DIY calaveras de azúcar: How to make sugar skulls for Día de Muertos
Calaveras de azúcar—literal sugar skulls—are beautiful pieces of Día de Muertos (Day of the Dead) rituals and tradition.
-
-
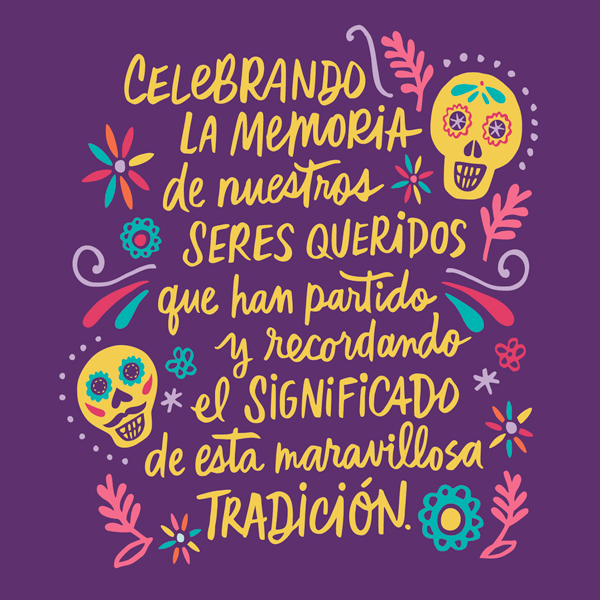
Fall Día de Muertos: A celebration of life and love
Día de Muertos, Day of the Dead, is a holiday originally celebrated in the southern and central parts of Mexico and i...
-
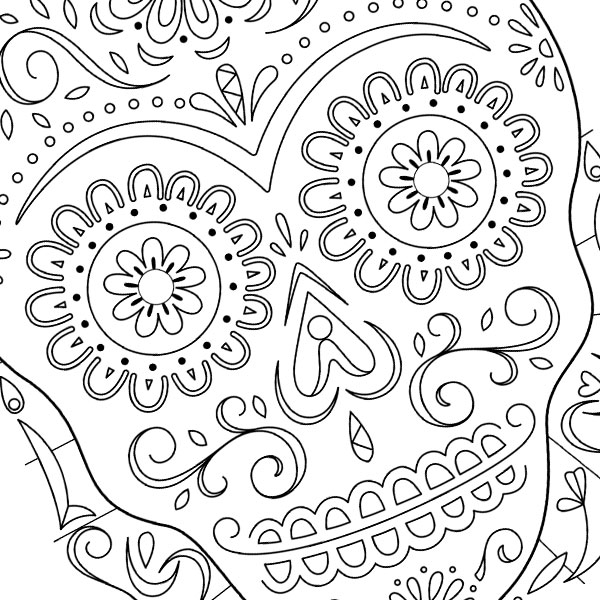
Arts, Crafts & DIY Day of the Dead Sugar Skull Coloring Page
Day of the Dead, Día de Muertos—a celebration of loved ones who have passed away—originated in Mexico and is obser...
