

Punch needle embroidery: Cute, cozy projects for cold nights
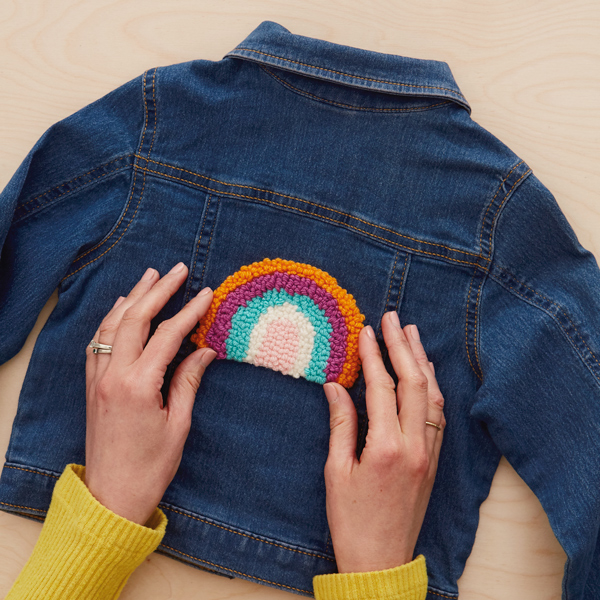
There’s something satisfying and deeply therapeutic about punch needle embroidery: It’s easy, repetitive and immediately gratifying. Plus, with a small project and simple design like the ones below, it only takes a few hours to end up with needle punch patches that are wearable, frameable or giftable.
We asked textile design expert Keda M. to teach us some needle punch basics. Follow along to create your own adorable, fuzzy needle punch patches to adorn jean jackets, tote bags and more.
Inspired? Create and share by tagging @HallmarkStores.
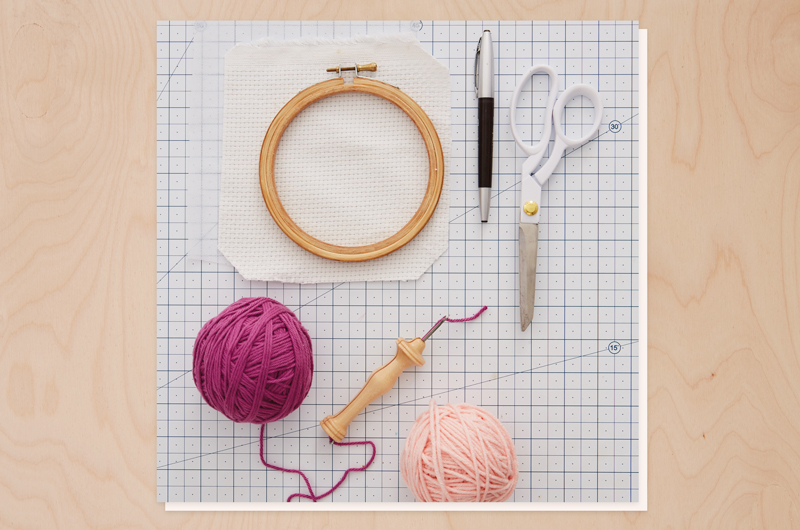
What you’ll need:
- Size 13 Oxford needle
- 5 ounces yarn in your desired colors
- Fabric scissors
- Embroidery hoop: You’ll want one bigger than your patch on all sides.
- Fabric marker or Sharpie
- Monk’s cloth: You can use many different materials for needle punching, but evenweave fabrics make it extra simple. Wash and dry your fabric before starting.
- Lightweight fusible interfacing: It makes the fabric easier to punch through and gives you a smooth surface to draw the pattern.
- Iron-on adhesive or fabric fuse sheets (if making patches)
If you do embroidery, cross stitch or needlepoint, you probably have most of these supplies handy. If not, they’re easy to find or order online and are usually inexpensive.
How to make needle punch patches
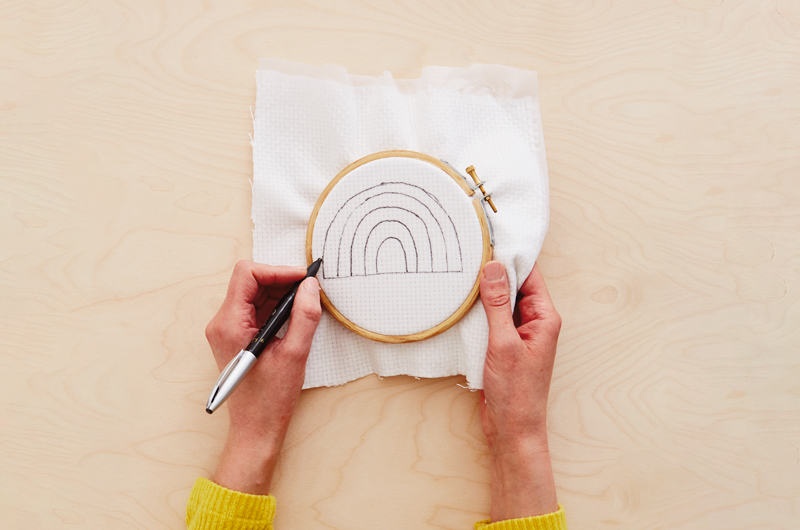
First, prep your fabric.
Following the instructions on your interfacing, iron it to your monk’s cloth.
Put the ironed fabric in your embroidery hoop with the design (which will be the back of your patch) on top, facing up. Make sure it’s pulled tight and even.
If you’re tracing your design, you can do it right onto the fusible interfacing. If you’re freehanding it, draw it after you’ve stretched the fabric in the embroidery hoop.
Important note: You’ll be needling through the back of the fabric—so the loops of yarn don’t get crushed—so remember your finished patch will be a reverse image.
Pro tip: If your design is too intricate, you might lose some detail. Keep it big and simple, especially when you’re starting out. We recommend art without lots of tiny details—iconic images like rainbows, flowers, coffee cups, etc.
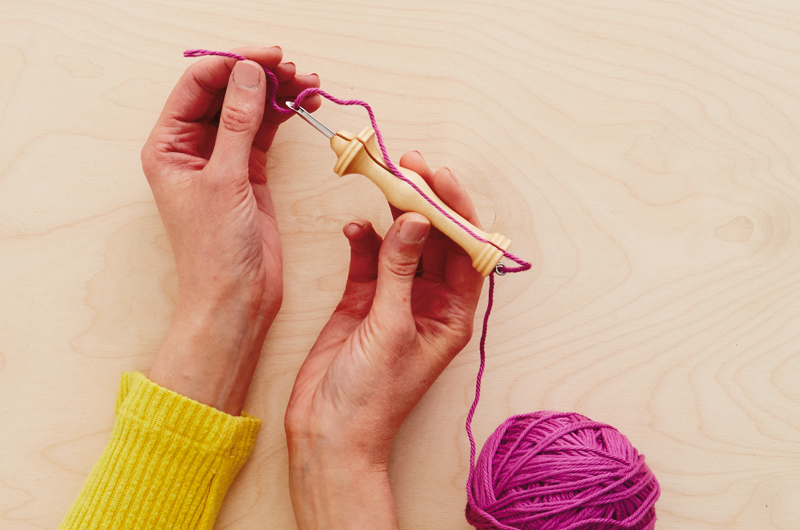
Next, thread your needle.
Unlike sewing needles, Oxford needles are easy to thread. Starting at the bottom, thread your yarn through the metal loop, towards the slot in the handle. Pull it through the slot and through the eye of the needle.
Pro tip: Thicker yarn means you’ll need a bigger needle—and fabric with a more open weave. Keep that in mind when choosing yarn.
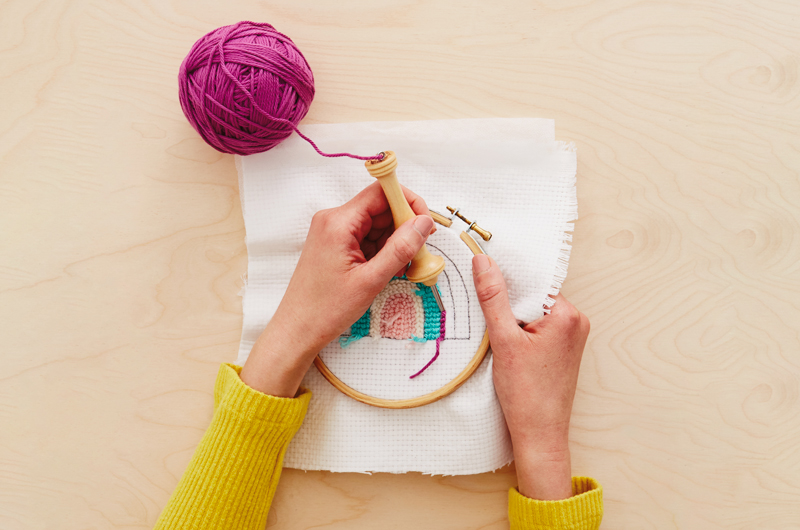
Then get to needle punching!
To start, hold about an inch-long tail of the yarn down with your thumb, and punch the needle through an opening in the weave of your fabric. You’ll want the slot on the needle facing the direction you’re moving.
Lift the needle back up through the fabric, slide it to the next opening and punch it through. Don’t let the tip of the punch needle come off the surface of the fabric as you move from one punch to the next.
The direction you move to fill in your design is up to you, based on the design and whether you’re right- or left-handed. You can outline and fill it in or go row by row—whatever helps you feel the flow.
To change colors, cut the yarn—leaving about a half-inch tail—and move on. There’s no need to knot or finish anything off.
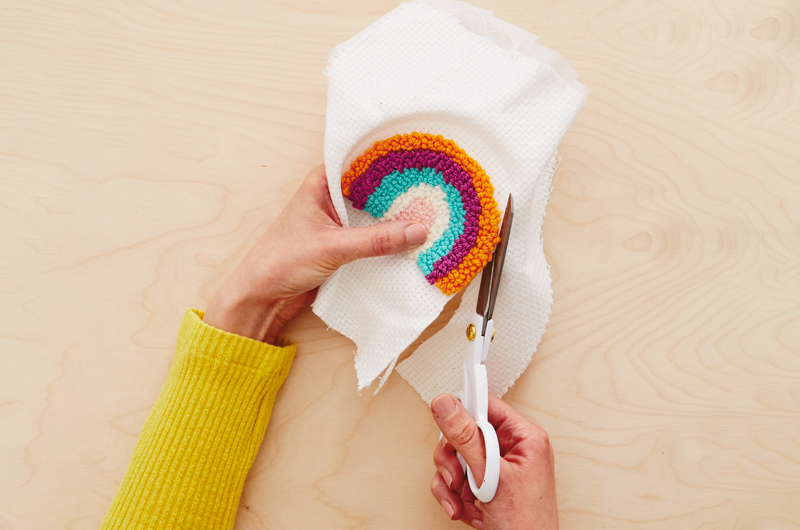
Cut out your needle punch design.
Take your design out of the embroidery hoop and trim any straggly yarn.
Before you cut the cloth, follow the instructions to carefully adhere the iron-on adhesive or fabric fuse sheets to the back. Added benefit: It’ll secure your loops so they don’t pull out.
Don’t get too close to the needle punch loops when you’re cutting—you’ll need a little fabric around the edges to hold it all together.
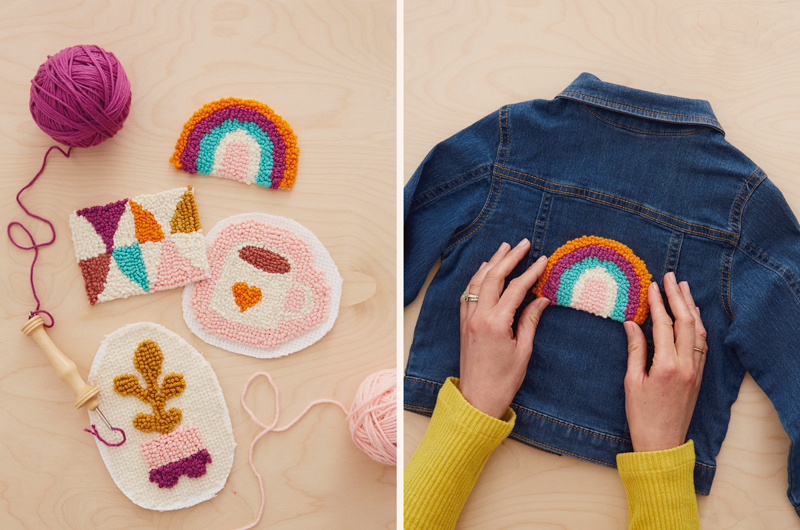
If creating an iron-on patch, peel the backing off the iron-on adhesive and iron it on to your jacket or bag.
If you’re heat-fusing it, apply the iron on the garment or tote side—not the yarn—so you don’t crush the beautiful loops you created. You can always pin the patch on before turning it over and ironing it to help secure it in place.
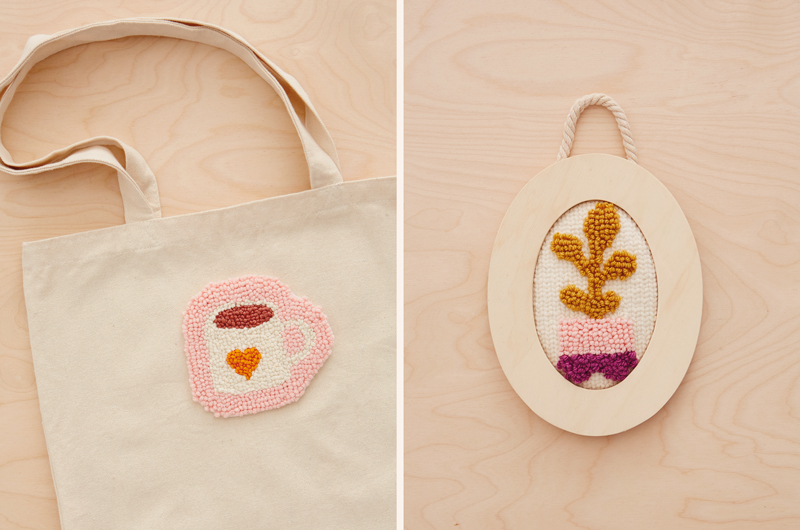
HOW. CUTE. IS. THIS. TOTE.
Also, if you’re framing your lovely creation, you don’t have to add the iron-on adhesive. But you probably figured that out!
With these tips, you’re one step closer to becoming a needle punch embroidery expert and the coolest gift-giver at any party. Personalized patches made with love? Yes, please!
Need more cool ideas to craft your heart out? Check out some of our faves:
Shop Craft Supplies
See allYou may also like
See more-
Calendar Flip Woo-Hoo—summer’s here! June 2027 holidays and celebrations
Summer is here in all her glory and we are ready. Warm days and cool drinks lay ahead. So it’s time to flip the ca...
-

Calendar Flip Spring Forward: March 2027 Holidays and Observances
Color us excited! From the wearin’ of the green and more sunny fun to colorful Holi festivals and celebrating crayons...
-
Calendar Flip Yay for May! May 2027 holidays and celebrations
Flowers are blooming, students are graduating and moms are getting some well-deserved appreciation. What a fabulou...
-

Calendar Flip Hello, Love: February 2027 Holidays and Observances
Let’s warm up this cold month with love and connections. From valentine cards to dressing up your pet, this month has...
-
Calendar Flip Welcome a New Year: January 2027 Holidays and Observances
HAPPY NEW YEAR! If that hurt your head, you might have celebrated a little too much. When you’re feeling better, we h...
-
Calendar Flip Welcome back, spring! April 2027 holidays and celebrations
Oh, spring, we’ve missed you most of all. We don’t even care that you bring showers—we’re just excited to be outsi...
-

Mahogany There’s nothing like an HBCU homecoming
There are homecomings, and then there are HBCU homecomings. If you have ever experienced an HBCU homecoming, you unde...
-

DaySpring Room at the table
Every year, as Hispanic Heritage Month arrives, I find myself holding two things at once: celebration and grief. I ce...
-

Christmas Christmas village display ideas: Creative ways to make miniature magic
Peeking at warm glows in tiny windows, touching the intricate details on mini village structures and playing with the...
-

Christmas Stocking stuffer ideas for literally everyone on your list
The stocking stuffer struggle is real. By the time you’ve bought your main presents, you feel like you’re all out of ...
-

Keepsake Ornaments Snow much fun with these penguin pals! 🐧
Remember being a kid and trying to build a snow fort? These little penguins have accomplished your childhood dreams o...
-
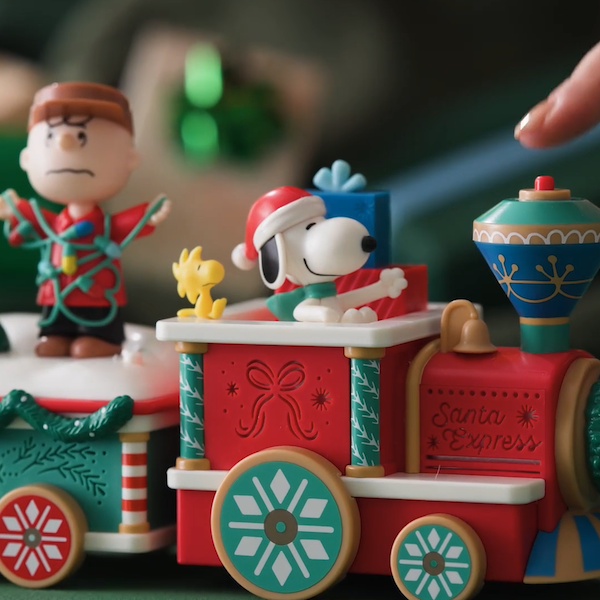
Christmas All aboard the Santa Express for a happy holiday trip with the beloved Peanuts Gang!
This delightful tabletop decoration features Charlie Brown, Lucy, Linus and Sally each riding on festive, snow-covere...
-
DaySpring The epidemic of lost joy
Have you noticed that people have become unjoyful at an alarming rate? The lack of joy seems to be an epidemic in our...
-

Christmas 2026 Christmas Trends: the decorating, gifting and celebration trends shaping Christmas this year
I bought my first Christmas tree not long after I started writing for Hallmark. The rest, as they say, is holiday his...
-

Keepsake Ornaments Relive the most iconic dogfight in the galaxy 💫
Moments after escaping the Death Star space station aboard the Millennium Falcon, the band of Rebel heroes encountere...
-

Keepsake Ornaments It’s the most fabulous time of the year! 🎀✨
She's elegant, she's adventurous, she's chic...when it comes to glitzing up your Christmas tree, is there anything be...
-

Keepsake Ornaments It’s official…this is the sweetest gingerbread house ever. 🍬
We know, there are a LOT of gingerbread houses out there. But this one might just top them all. The icing so shiny it...
-
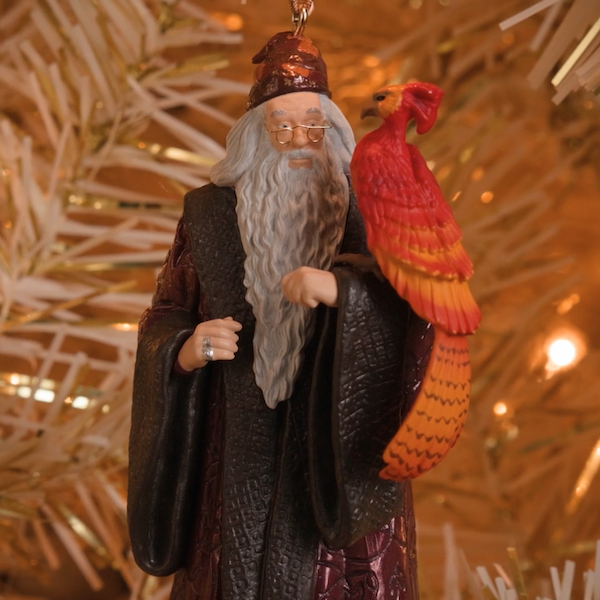
Keepsake Ornaments The final two ornaments in the collection are here! 🤩
The wait is over! The final ornaments in the Harry Potter and the Chamber of Secrets™ Collection are here! You can fi...
-
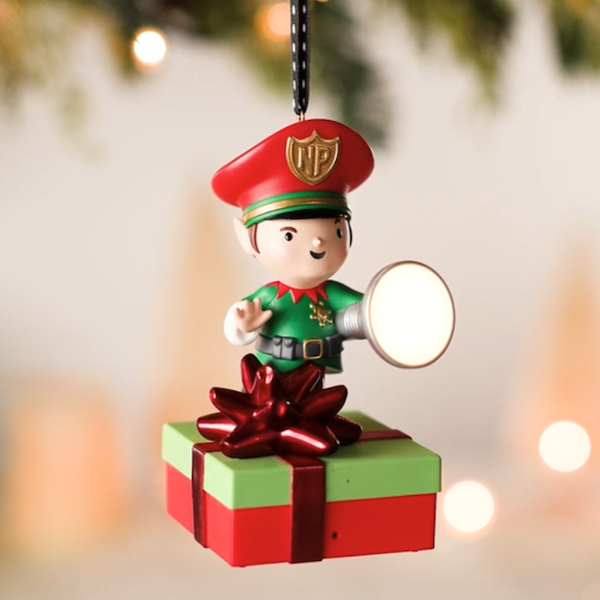
Keepsake Ornaments Busted! 🤭 The North Pole Peek Patrol is on the watch…
We all know the rules...no presents until Christmas. But a little peek won't hurt, right? Wrong! The Peek Patrol is h...
-

DaySpring When you don’t feel like it’s all good
When I start to worry, these familiar words often come to mind: “And we know that in all things God works for the goo...