Free Printable: Cute DIY cross-stitch monogram to decorate envelopes
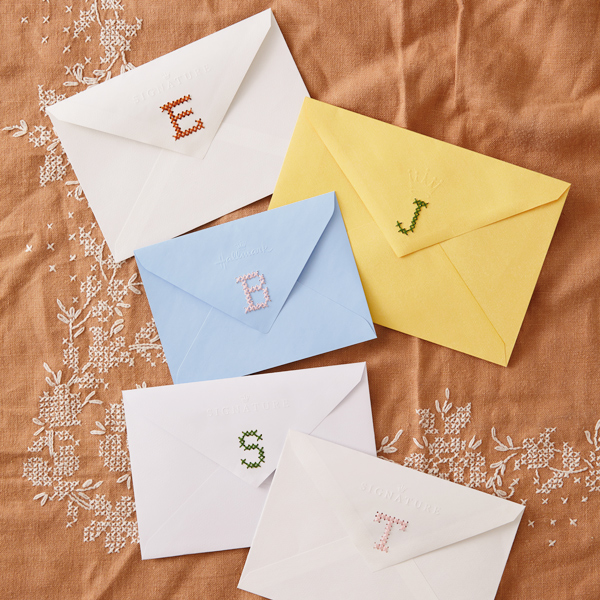
We love the feeling of finding someone that perfect card—one that says exactly what they need to hear or is sure to make them ugly cry (or laugh) when they read it. Something that’s often overlooked, however, is the envelope!
Putting in a little more effort to decorate it with a personal touch is totally worth it, especially since there’s a good chance they’ll get that “OMG, I feel special!” look in their eyes. And with this cute DIY cross-stitch monogram idea, we’re making it super easy to decorate envelopes yourself. Follow along with our directions below and grab your copy of the free printable!
Inspired? Create and share by tagging @HallmarkStores.
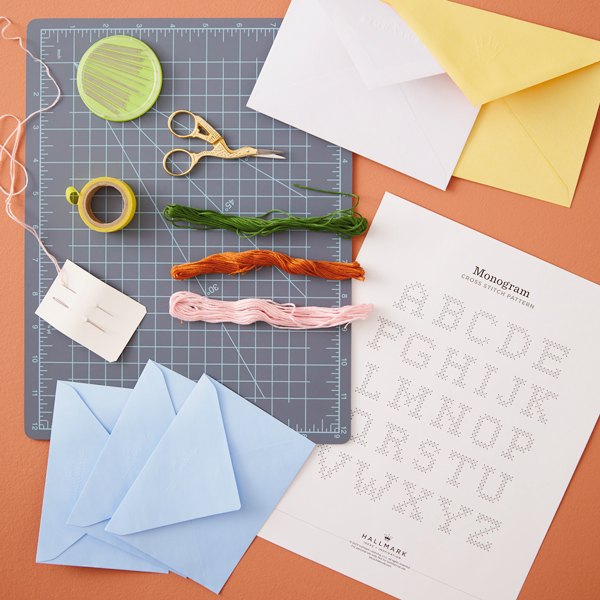
What you’ll need:
- Hallmark cards and envelopes
- Embroidery floss in colors of your choice
- Free printable pattern
- Scissors
- Washi tape
- Cutting mat
- A small needle big enough for three strands of embroidery floss
- A larger or thicker needle to poke holes
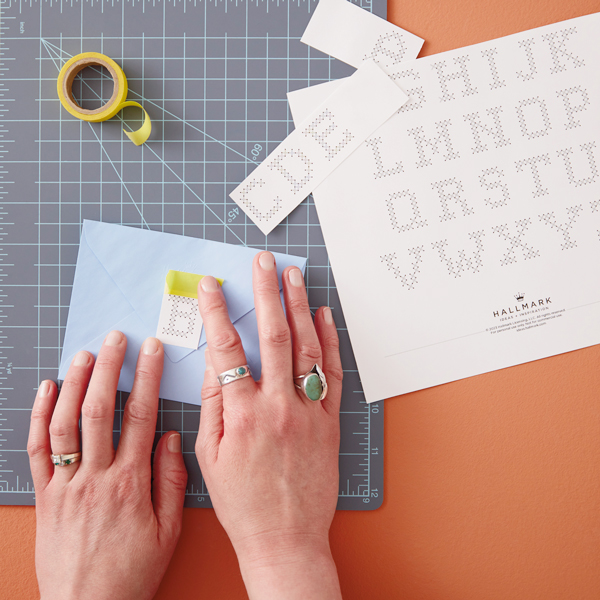
Step 1: Pick your initial
Cut out your letter of choice (perhaps the first initial of the recipient’s name) and place on the outside flap of the envelope. This will serve as your cross-stitch template.
Place a piece of washi tape at the top and bottom of the letter to make sure it stays attached while you’re working.
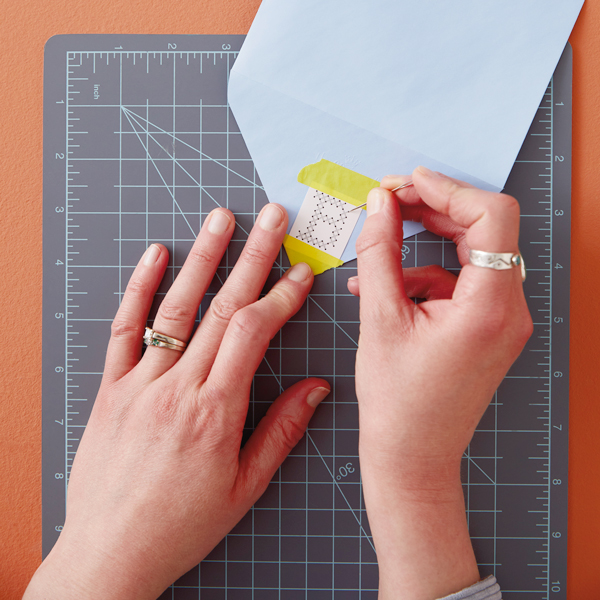
Step 2: Start marking
Using the smaller needle, poke each darker dot on the template into the envelope to form the letter. Make sure you’re not going all the way through—the goal is to mark it just enough so you can remove the template from the envelope for the next step.
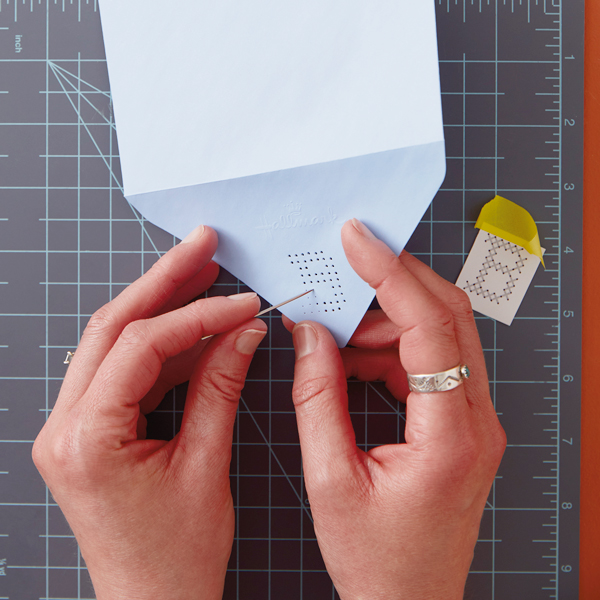
Step 3: Poke holes
Once you’ve finished lightly marking the darker dots, remove the template you taped down earlier. Now you can use the larger needle to poke your holes all the way through.
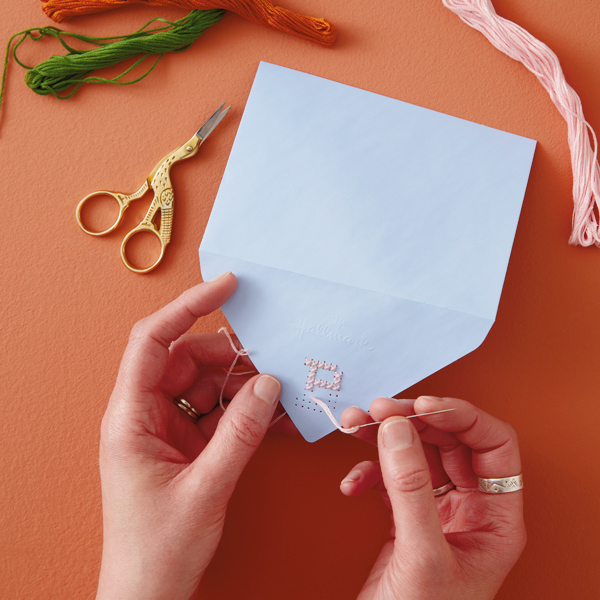
Step 4: Stitch away!
When your holes are ready, you can start cross-stitching. For a fuller look, we used three threads. If you don’t know how to cross-stitch, a simple internet search will bring up tons of videos that cover the basics.
Pro tip: Be careful not to pull too tight so the paper stays intact!

Just LOOK at those gorgeous envelopes! Sweet, simple and perfect for a special touch—we love!
Shop Spring
See allYou may also like
See more-
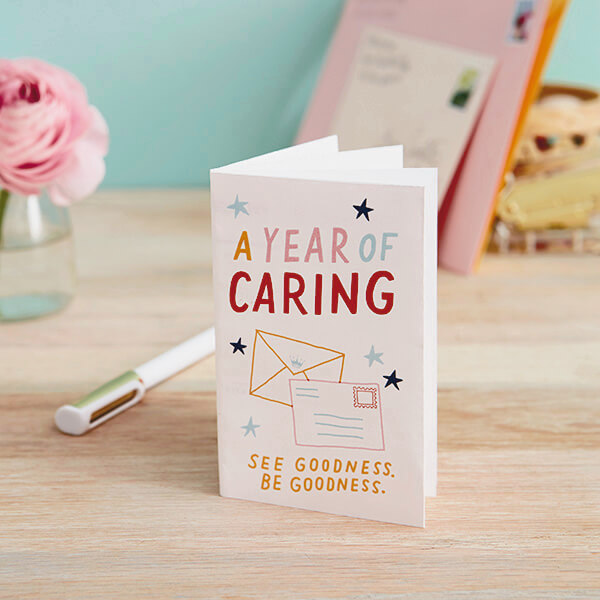
Care & Concern Be more caring with a kindness journal
It's obvious the world could use more kindness. So this year, why not make "be more caring" your number one resolutio...
-
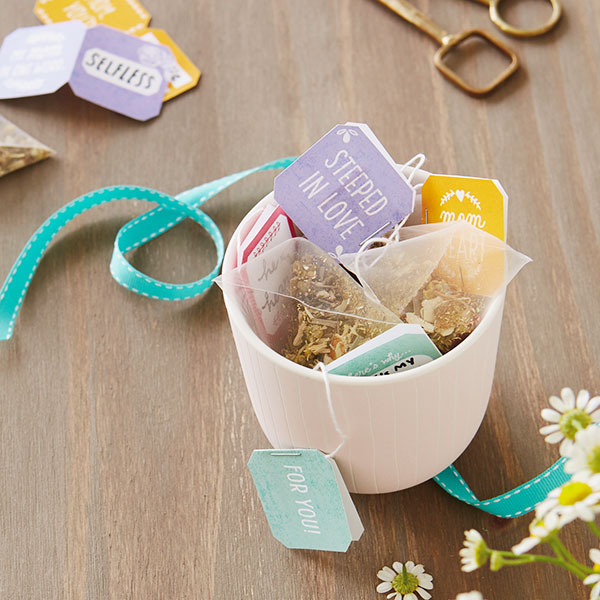
Mother's Day Mother's Day tea party decorations
Use our free, customized printable to make these Mother's Day tea party decorations.
-
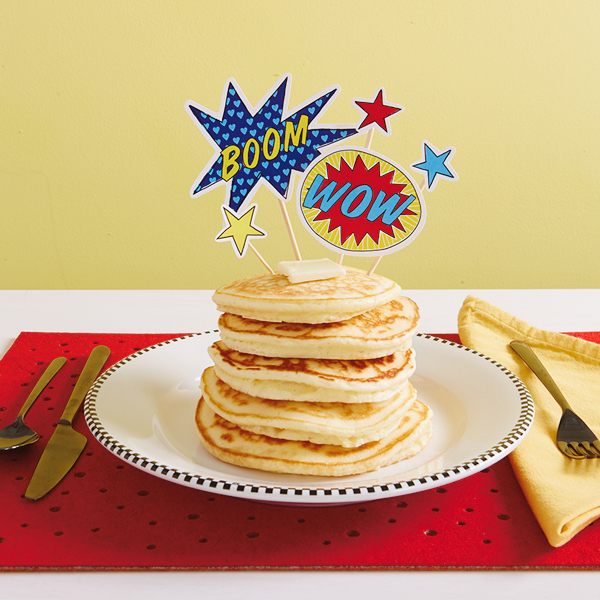
Father's Day Father’s Day breakfast decorations: DIY superhero toppers
Make these superhero Father’s Day breakfast decorations— but they’re great for any of your heroes and any occasion.
-
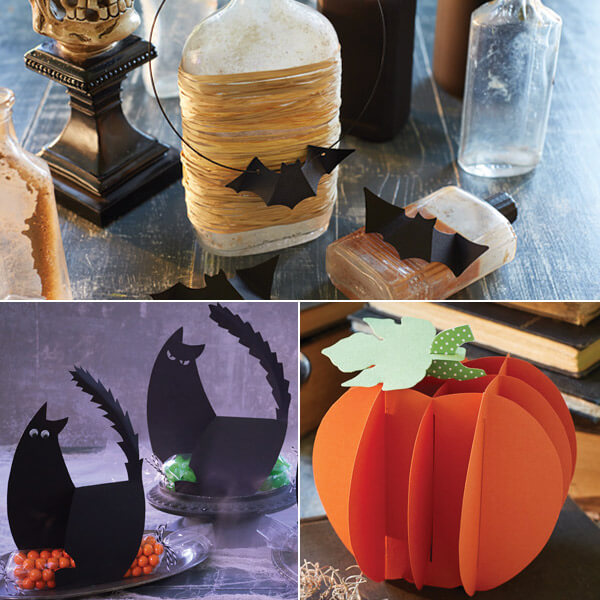
Halloween Halloween paper crafts to celebrate scary season
Carve out some fun with our three easy Halloween paper crafts. Includes patterns and instructions.
-
Father's Day Father's Day desserts
Sweeten Dad up with these Father's Day desserts.
-
Lifestyle Fun road trip games
You gotta love a good road trip. These fun road trip games will keep brains busy for hours on end.
-
Halloween Halloween treat boxes
Download these fun Halloween printables to make your own little monsters—Halloween treat boxes, we mean.
-
Christmas The ultimate Christmas to-do list to help you get a jump on holiday planning
For some of us, the Christmas spirit is a year-round lifestyle. Whether it’s decorating the tree with pretty lights ...
-
Dessert Cookie flowers
Bake up some smiles with these adorable cookie flowers. Hallmark cookie expert Bernard Shondell shares his chocolate ...
-
Thanksgiving 4 free printable Thanksgiving activities for the kids table
The kids’ table is the place to be at Thanksgiving: all the fun and none of the responsibility. And because sometimes...
-
4th of July Free printable 4th of July decorations
Most of our ideas for summer entertaining include the words "casual" and "easy." But on patriotic holidays, we gotta ...
-
Birthday Free birthday coloring pages to add more fun to the celebration
The best birthdays are the ones filled with lots of little treats and fun activities, from sunup to sundown. If you’r...
-
Lifestyle Free printable When Calls the Heart Bingo card to celebrate the Season 11 premiere!
Who's ready for a Heartie Party? You know we are! So much so, we created a bingo card to add a whole extra layer of f...
-
Arts, Crafts & DIY Free printable classroom posters to brighten the school day
Are you a teacher, or do you know a great teacher? (Um, who doesn’t?) Here’s a simple way to encourage kindness and c...
-
Kids DIY teacher appreciation gift: personalized zine
For Teacher Appreciation Day, you want a gift that says “thank you” for all their hard work, patience and general awe...
-
Back to School DIY back-to-school zine: free download to personalize
While kids are counting down the last days of summer, parents are gearing up for the first days of school. We’re shop...
-
Back to School Free printable lunch box notes to send them back to school with love
We all love sending our kiddos off to school with just a little extra love. Or a few encouraging words. Or sometimes ...
-
Father's Day Free printable Father’s Day writing prompts for kids
When it comes to Father’s Day, we love finding new ways to celebrate the dads we love for all that they are. The joy,...
-
Mother's Day Free printable Mother’s Day writing prompts for kids
We like to think of Mother’s Day as a time to make moms feel special, celebrated and showered in love. And one of our...
-
Father's Day Free printable Father's Day coloring pages for Dad's #1 fans
Dads take so much pride in their kids’ talents. And if you know a dad who’s been claiming his son or daughter was the...

