We found
suggestions
Inspired? Create and share by tagging @hallmarkstores.
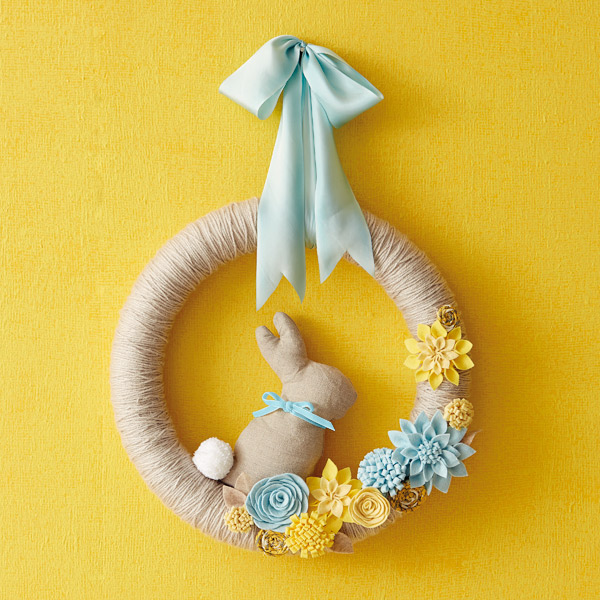
You’ll start with your foam wreath form, and yarn. Start on what will become the back side of your wreath and add a strip of double-sided tape. Tie the tail of your yarn around the wreath tightly. This will keep it from sliding around while you wrap your wreath.
Continue to wrap your yarn around and around the wreath form, making sure to leave no foam showing. Tip: You can use more than one color of yarn to make stripes around your wreath. Wrap evenly around the entire wreath form. When you get to the end, tie it off with another snug knot.
Add your felt flowers, as many as you’d like, in whatever configuration you choose. The instructions for each type of flower are included below and in the printable flower template.
An optional bunny template is also included. To make the bunny, print and cut out the template, place on fabric folded right sides together, and cut out the 2 fabric pieces. Sew fabric pieces together using a standard ¼-inch inseam. Allow a space along the bottom for turning and stuffing. Clip curves, especially around ears for easier turning. Turn right side out. Stuff bunny and hand stitch opening closed. Attach the bunny with a line of hot glue along bottom of wreath, behind flowers.
Print provided templates and use scissors to cut felt pieces to size around the border. Tip: For bigger flowers, just make length longer, and then when you roll up the flower, it will get larger.
Fold in half (where the dotted line as shown) and run a bead of hot glue down the long side and press together.
Run another bead of hot glue along the bottom edge and roll flower closed.
Print provided templates and use scissors to cut felt pieces to size. Tip: The sharper the scissors, the easier it will be to cut through felt.
Drop a bead of hot glue at the fold line of each petal and fold petal in half, pressing together to give the petals their shape.
Start with the large petals and glue down evenly around the edge of the backer piece. Then layer the medium petals down. Finish by adding the layer of the small petals.
Print provided template and use scissors to cut felt pieces to size around the border. Two sizes are provided so you can add variety to your project. For fuller roses, cut out additional petals using the section of the templates indicated with a dotted line.
Start at the center and run small drops of hot glue around the straight edge, roll tightly and hold for a few seconds while the glue dries.
Print the provided templates, then use scissors to cut out leaf shapes from your felt. Use the leaves around your flowers to fill in areas and add a special touch. Tip: Use pinking shears for a fun look.
Cut strips of your favorite fabrics 1 inch wide and 8 inch long. Tip: Pattern fabrics or stripes are fun for this, because they look totally diff erent after being twisted.
Start at one end and begin twisting your fabric strip. Tip: Try to tuck in the raw edges as you go for a more finished look. Every inch or so drop a bead of hot glue to hold your twist together. Continue to twist your fabric and glue down to the edge of the previously glued part. A circle will begin to form. Tip: The bigger you want your rosette, the longer the piece of fabric you can use.
When you get to the end, take the last tail of fabric and tuck around the back. Glue end down to the ‘wrong’ side of your rosette.

As we reflect on the Resurrection of Jesus, take some time to praise Him and ask for even more of His Presence in our...
Spring has always been my favorite time of year. It feels like stepping into joy. Like the world is gently reminding ...
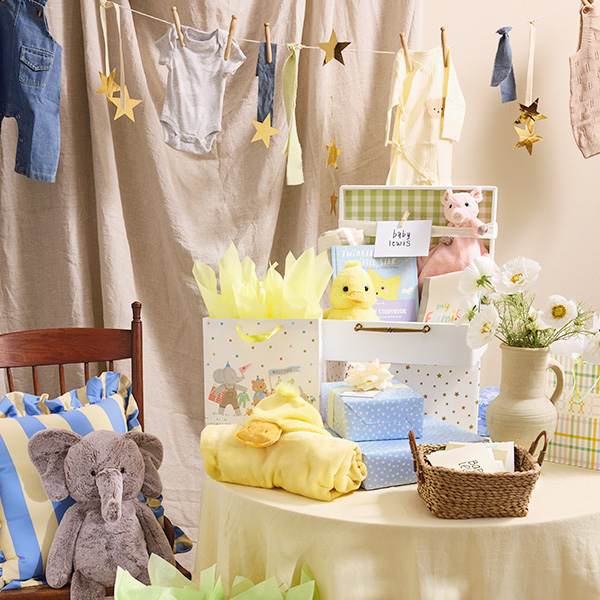
There are few things more exciting than finding out a friend or family member is expecting a baby—or going to be a ne...

Choosing the best college graduation gifts for the grads in your life can feel a little overwhelming. There are so ma...

If we could get together, I would tell you that no matter your decision or how you move from this moment, that I am h...

Happy Women’s History Month to all the real ones who hold it down. The women who show up, speak up and do not fold ju...

The College Survival Guide and the Graduation Survival Guide were created to turn the most-requested high school grad...

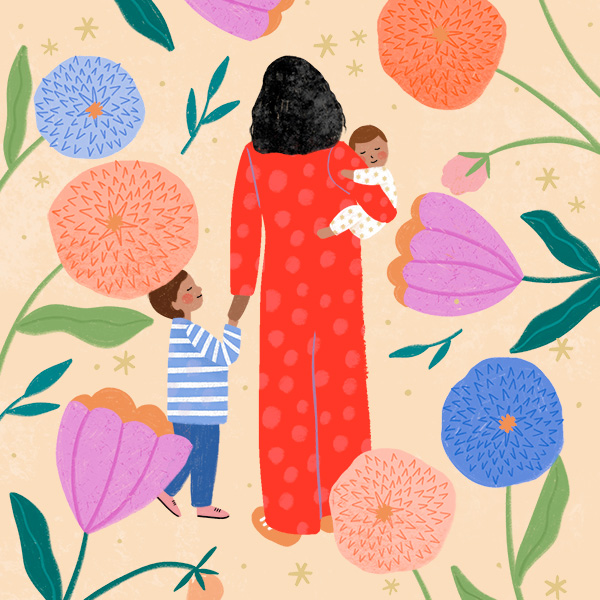
As a mom, I can tell you that there’s nothing like celebrating Mother’s Day for the first time. My child was finally ...

March is Women’s History Month, so we’re taking a look at some influential Christian women throughout history and the...
I don’t know what you have been waiting for, but if it comes from Him, it is going to be good. It is going to be wort...
I was sitting in the chemo chair the day my doctor told me the treatment was no longer working. The room felt colder ...

Sharing a gift is a wonderful way to let someone know that they’re appreciated and cared for. With so many reasons to...
At Hallmark, we believe mothers deserve love and recognition in every country (and in every language). In Mexico, mam...
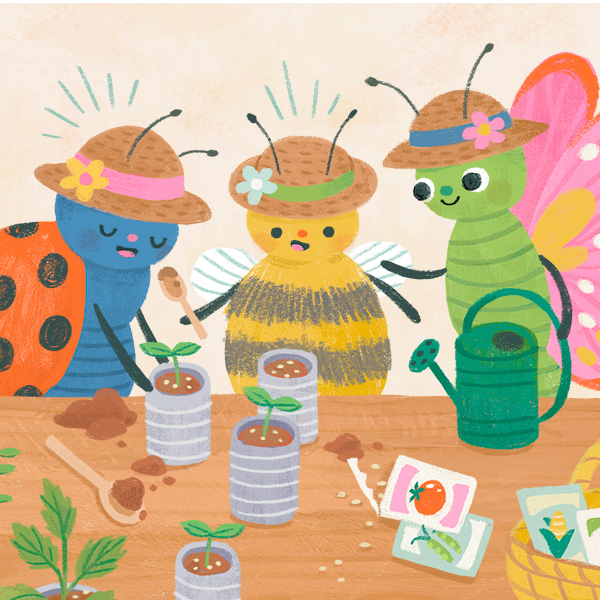
Spring is hereeeee! 😍 And if you’ve been out and about, chances are you’ve seen more than a few reminders that spring...
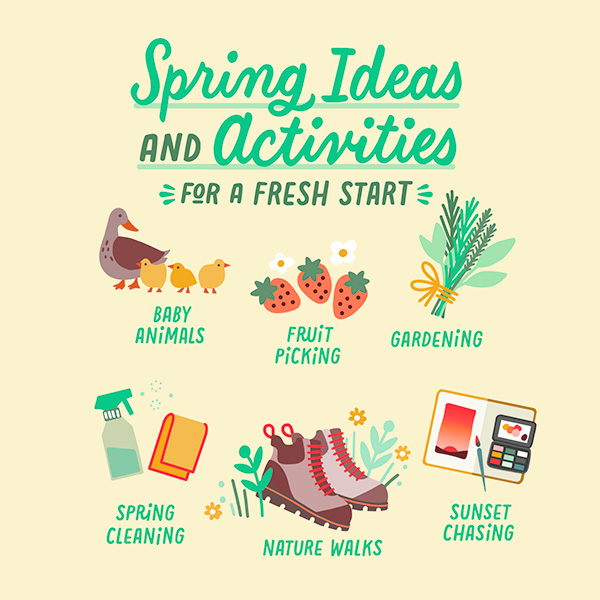
With its fresh vibes and warming weather, spring is easy to love. And if you’re looking for a way to bring even more ...

I believe there is an invitation from God to bear fruit…even in winter. Your winter season, whether literal weather o...
There is a level of uncertainty that comes with change, even wanted change. I have spent years writing about marriage...
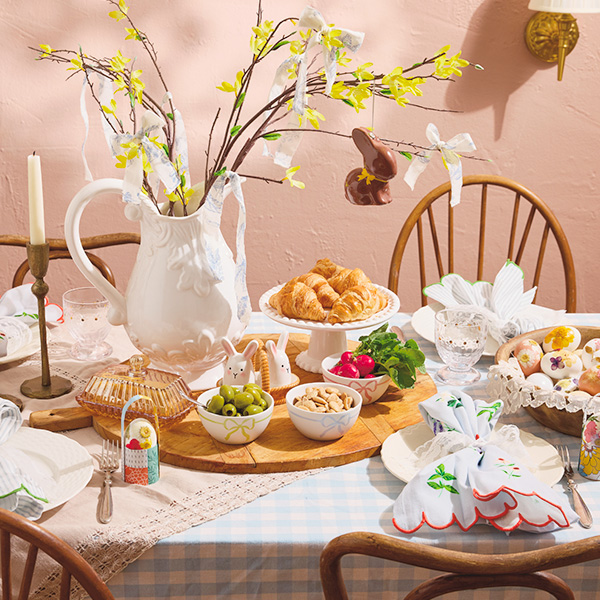
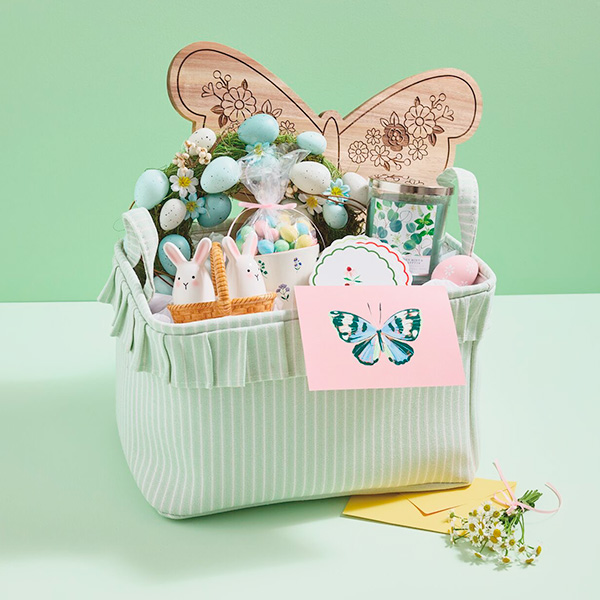
Decorating for Easter can put a little spring in your step, especially if there’s vintage Easter decor involved! If y...
We know it’s a cliché to say that spring is the season of hope and new beginnings and whatever, but clichés are clich...

The DaySpring Writing Community is where women of different ages, life stages, cultural backgrounds and church tradit...
