Inspired? Create and share by tagging @Hallmark.
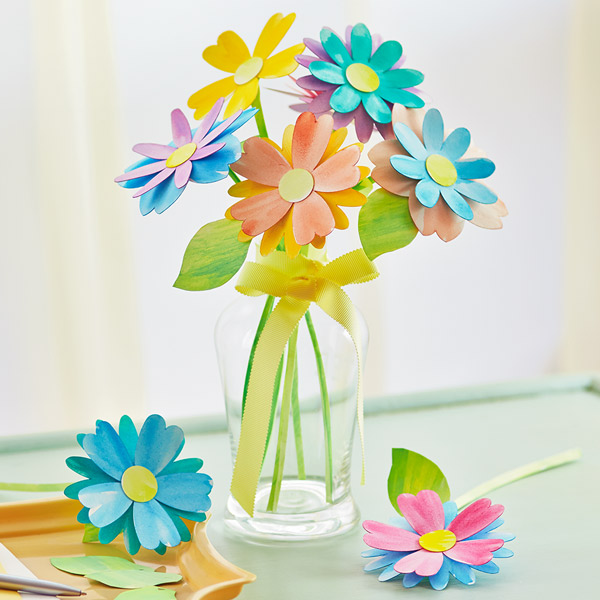
Print the templates onto card stock and cut out the flowers, flower centers, leaves and stems. Repeat until you have as many as you need.
Paint the fronts of the flowers and flower centers in whatever colors you want. Let dry. Then flip the flowers over to paint the backs (No need to paint the backs of the flower centers). Let dry. Repeat painting process for the stems and leaves, using shades of green.
Once all the pieces are dry, you can begin assembling. Glue the flower centers to the middle of the flowers. Choose which flowers you want to layer together and glue them together at their centers, leaving the petals free to bend and shape separately. Let dry.
For the leaves: Write a cheery message on a leaf (optional). Then make a small angled cut where indicated on the leaf and lightly crease down the center, following the curve of the leaf. Repeat for all the leaves.
For the stems: Starting at the bottom, fold each stem in half a few inches at a time, up the length of the stem, following its curve, until you get to the top circle. Fold the top circle down to give the flower a base to attach to.
Glue the back centers of each flower to the circle base of a stem. Let dry. Then slip a leaf up the stem from the base. The angled cut on your leaf should slide easily up the stem and stay in place once you’ve got the height you want for the leaf. Add a dab of glue if it doesn’t stay in place. Let dry.
Add the finished flowers to your vase. Bend and shape some of the flower petals to give them a natural look.

Let’s set the scene: You’re in your coziest clothes, snuggled up somewhere comfy, and it’s finally time to relax afte...
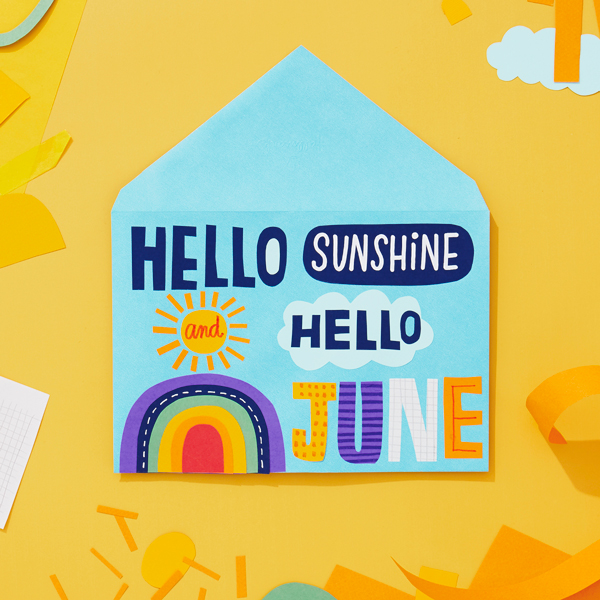
Summer is here in all her glory and we are ready. Warm days and cool drinks lay ahead. So it’s time to flip the ca...

The Mahogany Writing Community is where authentic sistergood goes down. We out here sharing stories, affirming lived ...

The DaySpring Writing Community is where women of different ages, life stages, cultural backgrounds and church tradit...
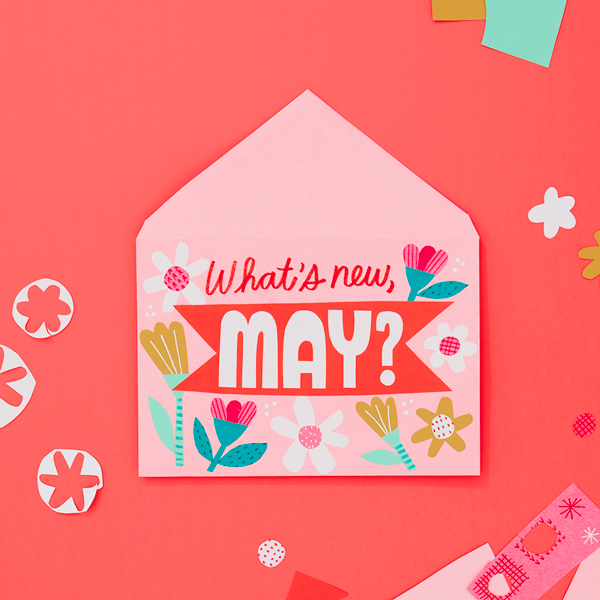
Flowers are blooming, students are graduating and moms are getting some well-deserved appreciation. What a fabulou...
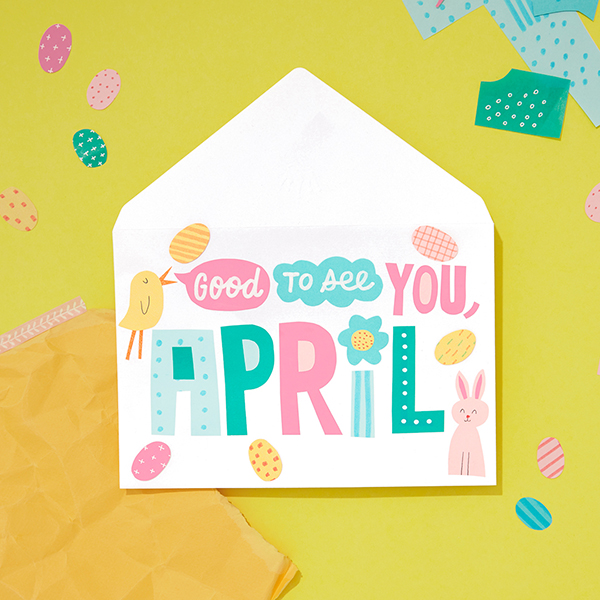
Oh, spring, we’ve missed you most of all. We don’t even care that you bring showers—we’re just excited to be outsi...
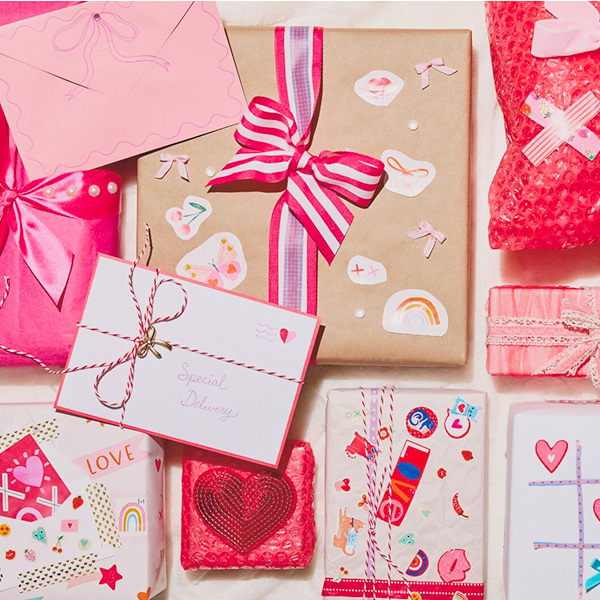
Valentine’s Day is all about showing care to others, and if you want to ramp up the excitement of that with the frien...

Hippity, hoppity, hooray! It's almost spring, which means it's almost time for Easter! This year, give the kids in yo...
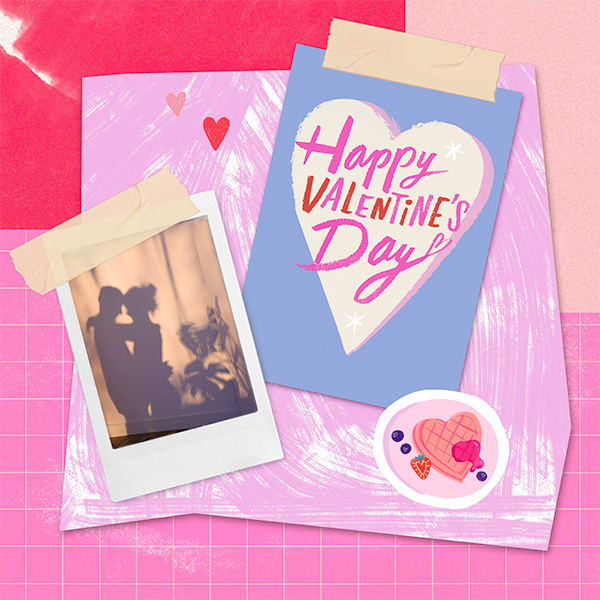
Hey! Heard the one about Hallmark inventing Valentine’s Day? Welp, we didn’t. But I’m thinking we got that rep becaus...

Need a little motivation? Coach Snoopy and the rest of the Peanuts gang are here to inspire all kinds of spring fun t...
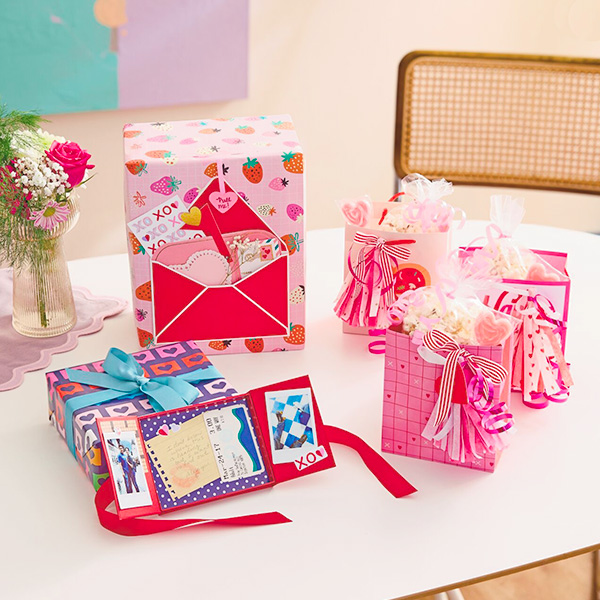
There are a select few times a year that we go all out for our favorite people: Their birthdays. The holidays. And if...

Maybe he's not into going out on Valentine's Day. Or maybe she'd rather watch sci-fi movies than a rom-com. If either...
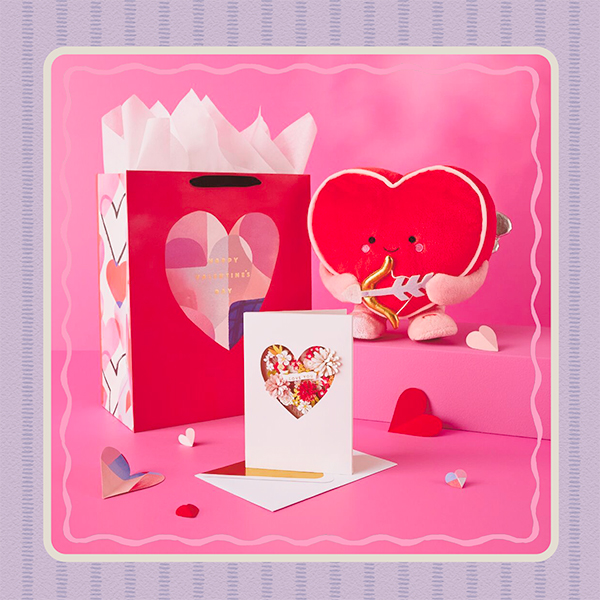
In junior high, I made a giant Valentine’s Day collage for my first girlfriend. She loved it. Was it amazing or dorky...

At Hallmark we have Valentine’s Day cards for everyone you love to laugh with: your significant other, your friends, ...
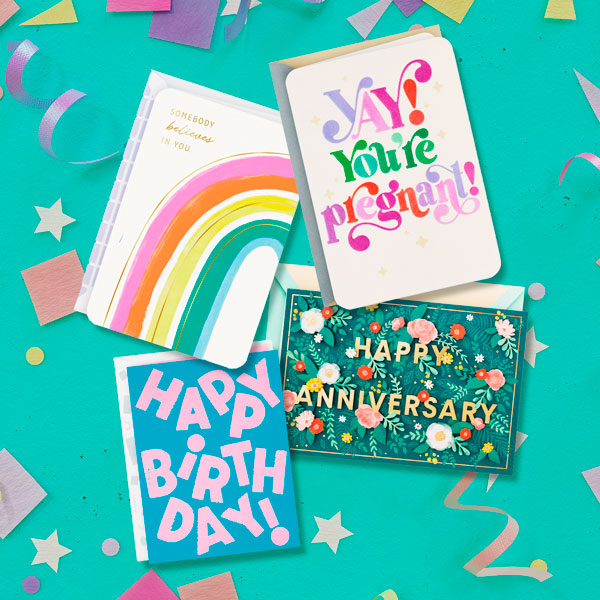
I don’t know a person on this earth who doesn’t love a good semi-annual sale. In fact, I know several people who keep...
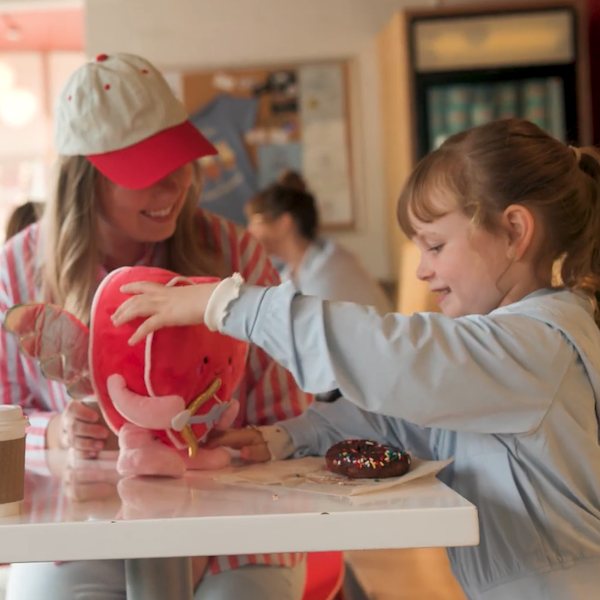
Nothing lights up a little one's face like letting them know just how much they're loved. Okay...except for when they...
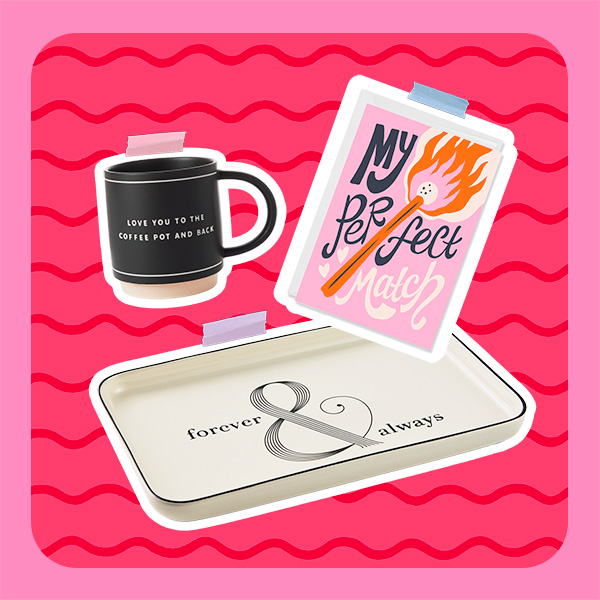
Who’s ready for Valentine’s Day?! 🥰 We absolutely love this holiday and can’t think of a more perfect time to shower ...

Color us excited! From the wearin’ of the green and more sunny fun to colorful Holi festivals and celebrating crayons...
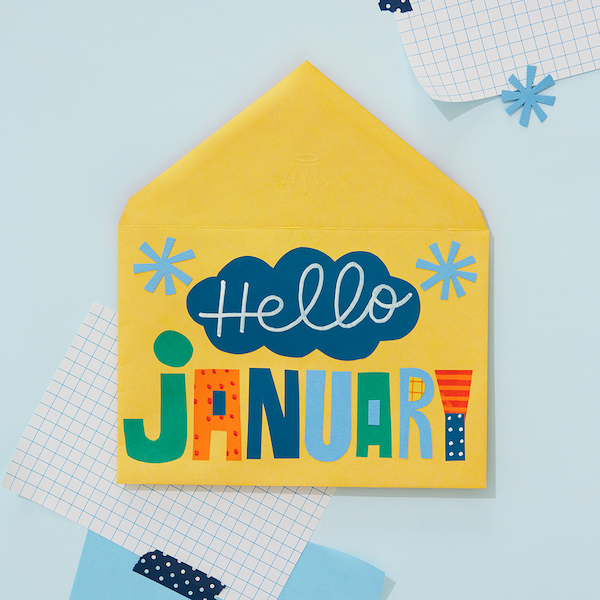
HAPPY NEW YEAR! If that hurt your head, you might have celebrated a little too much. When you’re feeling better, we h...
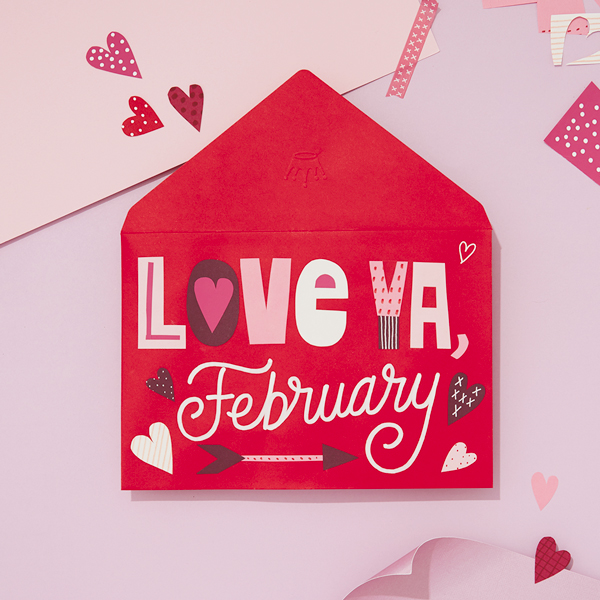
Let’s warm up this cold month with love and connections. From valentine cards to dressing up your pet, this month has...