We're sorry
There was an error adding this product to your cart. Please close this window and try again.
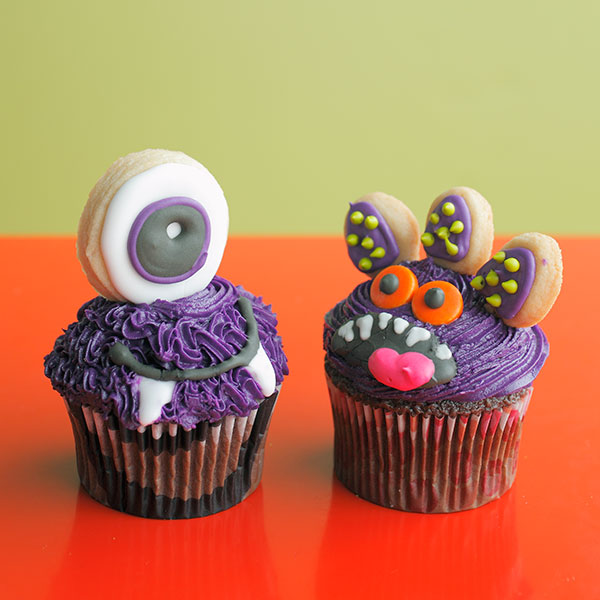
With just cookies, candies and a little of Em's Royal Icing and Buttercream Frosting recipes, you’ll be ready to unleash monster mayhem in your kitchen. Royal icing works great for adding details like stripes, dots and tiny monster teeth—just be sure to let it dry between layers of colors so they don’t run together.
Inspired? Create and share by tagging @hallmarkstores.
When you are working on these cookies and cupcakes with royal icing, these tips will come in handy!
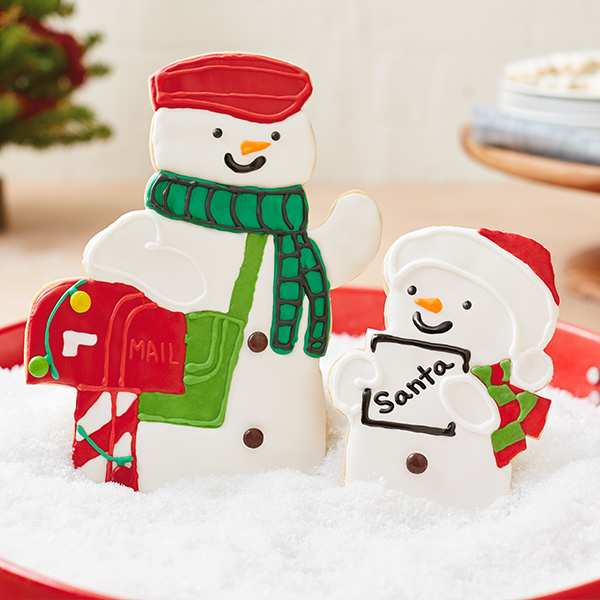
Make show-stopping snowman sugar cookies based on Hallmark’s 2018 singing snowmen.
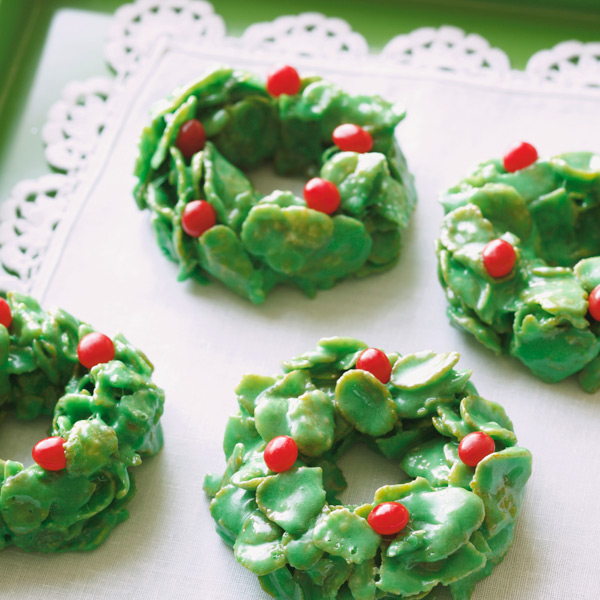
This retro cornflake Christmas wreath recipe is making a comeback—and it's an easy for kids to make! Combine butte...
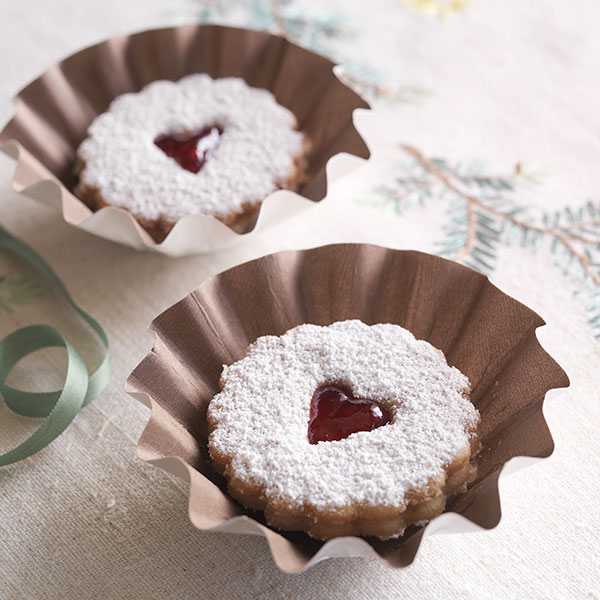
Linzer cookies are fruit tarts in cookie form. Our raspberry linzer cookies feature a raspberry jam filling and a dai...

These tiny spicy Swedish cookies are as addictive as potato chips! Pepparkakor is perfect for the holidays because it...
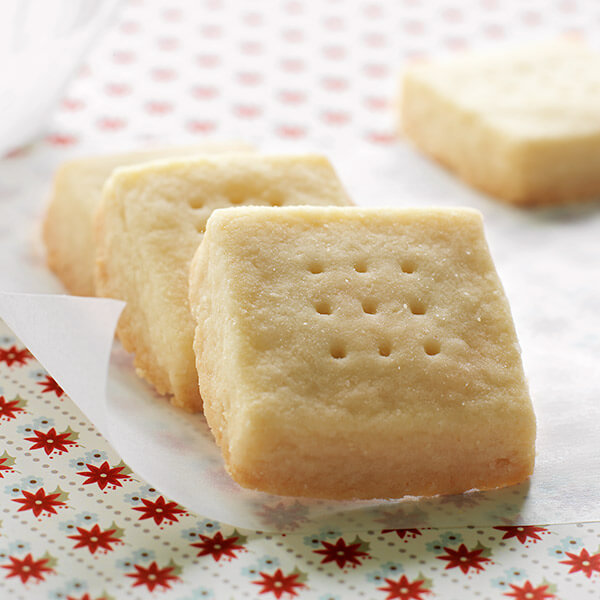
Shortbread cookies are the closest holiday dessert to comfort food—the kind of Christmas cookies Grandma used to make...
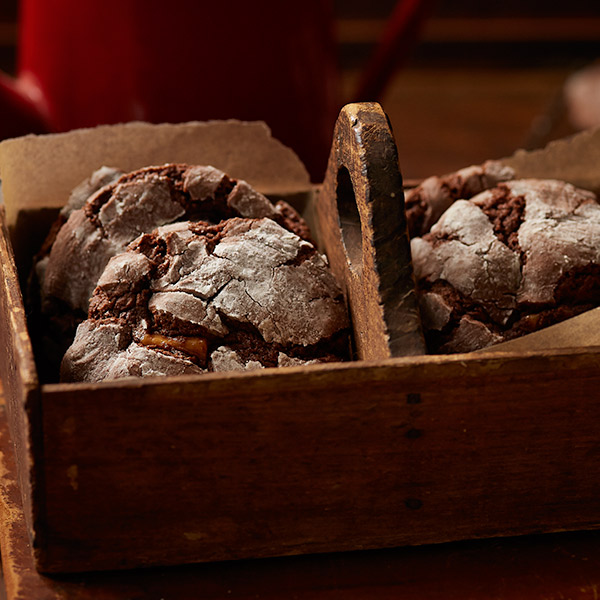
Chocolate crinkle cookies show up at all kinds of gatherings, from Christmas dinners to Valentine's Day parties to sc...
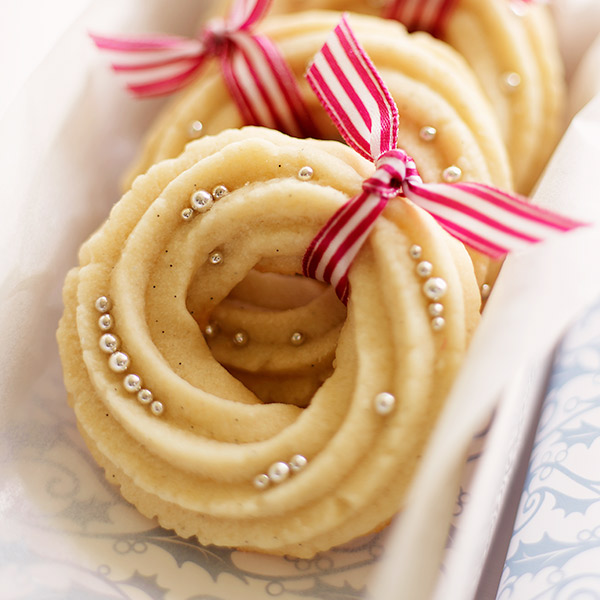
This simple recipe for Danish butter cookies showcases a joyful treat for any cookie swap or Christmas party. You can...

Looking for a no-bake Valentine's Day treat? These Valentine's Day sugar cookies hit the mark...or, target. Start wit...
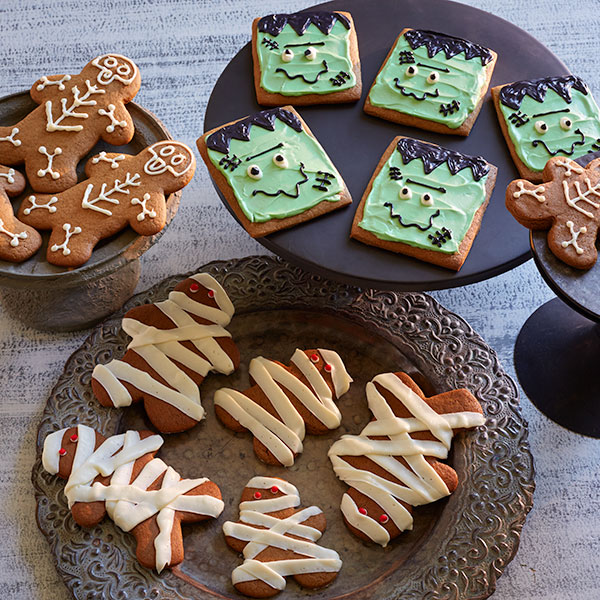
Gingerbread cookie dough from the grocery store can make all three of these monster-themed Halloween gingerbread cook...
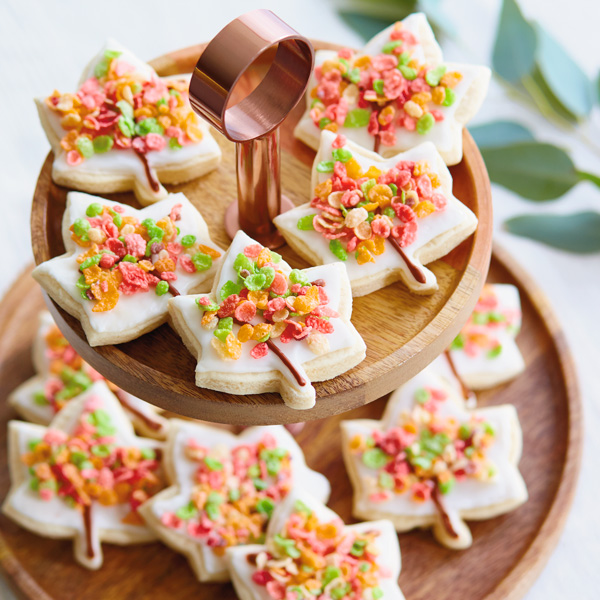
Fall sugar cookies bring all the fun and color of autumn leaves to delicious sugar cookies. This kid-friendly baking ...
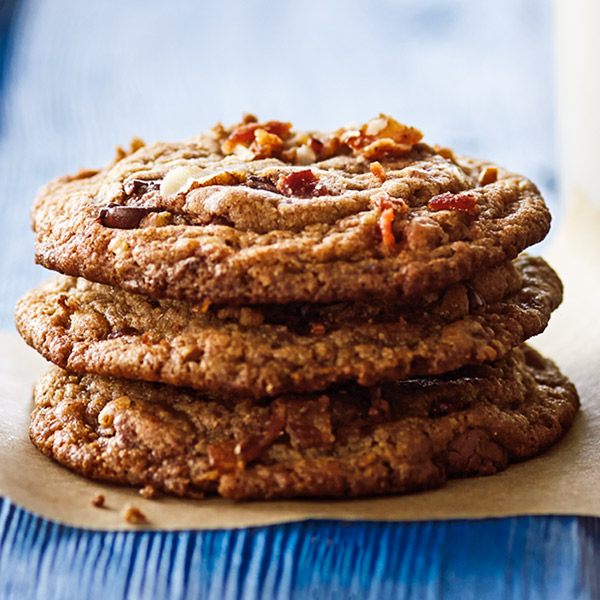
Drop-dead delicious. Crispy bacon and toasted pecan pieces help our already amazing chocolate chip cookie recipe bold...
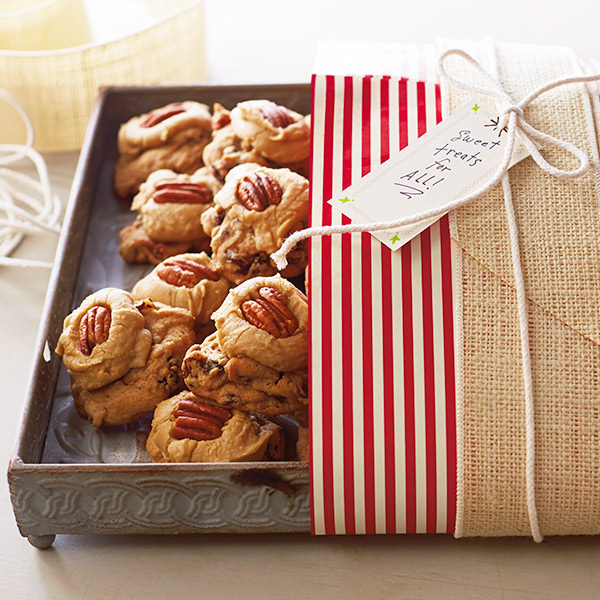
If you are giving a gift to several people, start by baking a big batch of Hallmark stylist Andy Newcom's brown sugar...
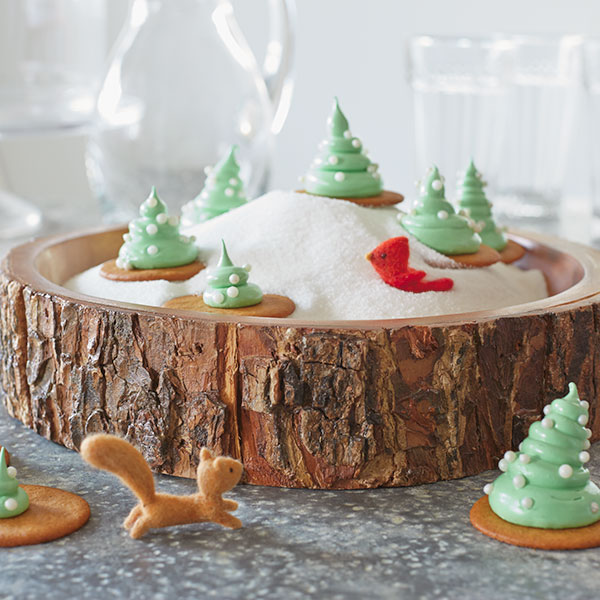
With a little green food coloring and egg whites, build a fluffy forest of Christmas meringue cookies shaped like tre...

The kipfel could be considered the forefather of the croissant. But those with a sweet tooth will pass on the rolls a...
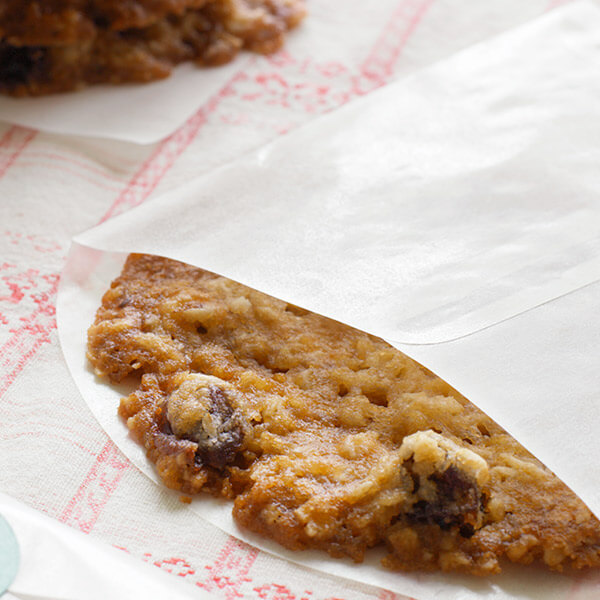
Whip up a big batch of oatmeal lace cookies for a classic homemade treat. With our simple recipe, you'll get soft, la...
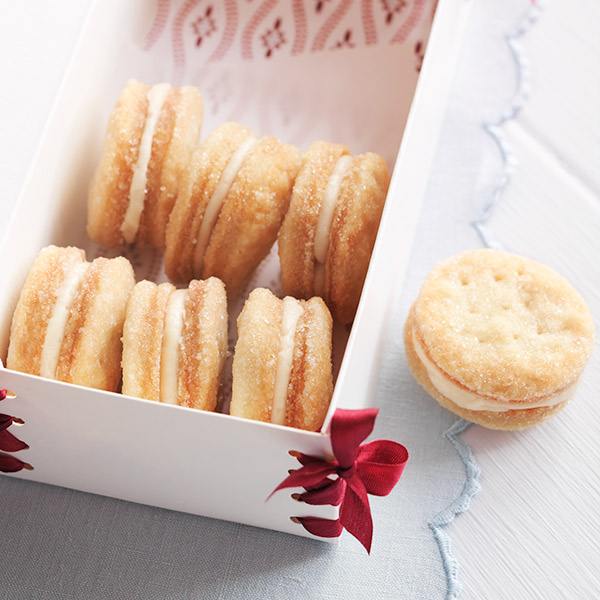
Wafer cookies may be simple, but they always satisfy. Our recipe features basic ingredients to create a creamy butter...

Bake up some smiles with these adorable cookie flowers. Hallmark cookie expert Bernard Shondell shares his chocolate ...
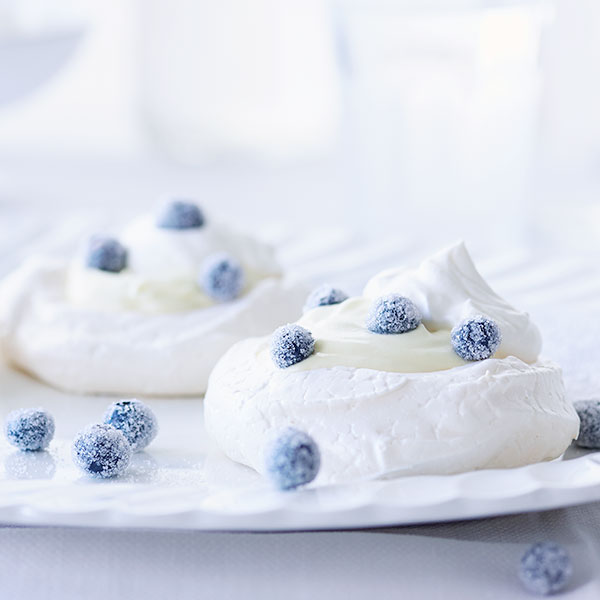
These lemon meringue cookies dress up any occasion and will make you look like an expert cookie maker. These dreamy c...

Meringue cookies never disappoint. These sweet, light-as-air peppermint meringue cookies will add the perfect pop of ...