Vegetable stamping: How to make simple, modern prints with produce
There are so many reasons to try fruit and vegetable stamping: It’s surprisingly creative. It’s easy. It uses stuff you have on hand. Kids can play, too. And making simple prints with fruits, veggies and acrylic paint is a chance to explore creating textures and patterns.
So gather some friends and/or the kids and raid the produce section, then try these vegetable stamping techniques for yourself—it’s a perfect summer project!
Inspired? Create and share by tagging @HallmarkStores.

More on why you should try vegetable stamping
We’ve got a whole garden full of reasons we love this craft (minus the dirt and bugs 😊):
- It gives you the most fun incentive ever to stock up on fruits and vegetables. Brussels sprouts might not be the typical highlight of your week, but knowing you’ve got a creative craft to do with them could change that, especially if little ones are involved.
- Speaking of little ones, this is the perfect way to get them excited about fruits and vegetables. Not only is this craft easy enough for them to help, but it might make unfamiliar veggies seem less scary and less likely to be given the stink eye at the dinner table.
- It’s an inexpensive way to explore your crafty side. Creative hobbies can be costly, especially when you’re not sure how much time and money you want to invest in a new endeavor long-term. That’s why we love crafts like this one; the materials are easy to find and you get to explore your inner artist.
- Versatile is an understatement. We focused on some of our favorite summer produce this time, but you can do this activity in any weather or season. See link in the gray box below!
- It’s a creative rut antidote. If you already do consider yourself quite creative, this is a fun way to switch it up from your usual craft and get inspired by something unconventional.
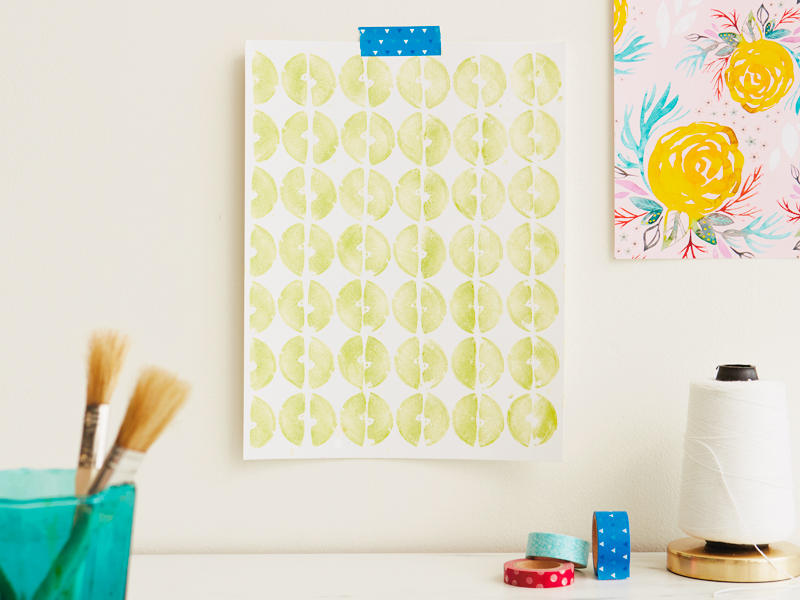
- You can make DIY home decor. Use the patterns you stamp to create fun, colorful seasonal art at a fraction of the cost versus what you’d find at local stores.
- It’s a way to get really cool textures and patterns that you can’t achieve with a brush or sponge. If you’re working on a project and don’t have the time or money to grab new materials, you might already have what you need in the fridge!
Supplies for vegetable stamping
- Cutting board
- Very, very sharp knife (a dull knife will make your details mushy; keep it out of kid reach!)
- Vegetables (try radishes, artichokes, carrots, onions, celery, mushrooms, peppers, okra, lettuce, corn, kale)
- Fruit (apples, oranges, melons, kiwi)
- Plant clippings
- Acrylic paint
- Tray, acetate sheet, or paper
- Ink brayer, glass or plexiglass (a brayer helps you get an even coat on the surface of large items)
- Ink pad (for covering small items with ink, instead of using a brayer)
- Paint brush (for adding paint to the surface of items, instead of using a brayer)
- Paper for prints
Pro tip: You can also use fabric paint and stamp T-shirts, tote bags or tea towels. Cuuuuute!
How to make fruit and vegetable prints
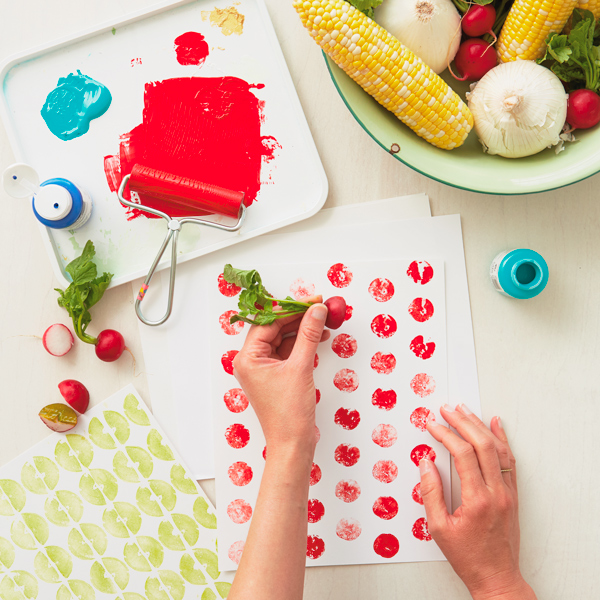
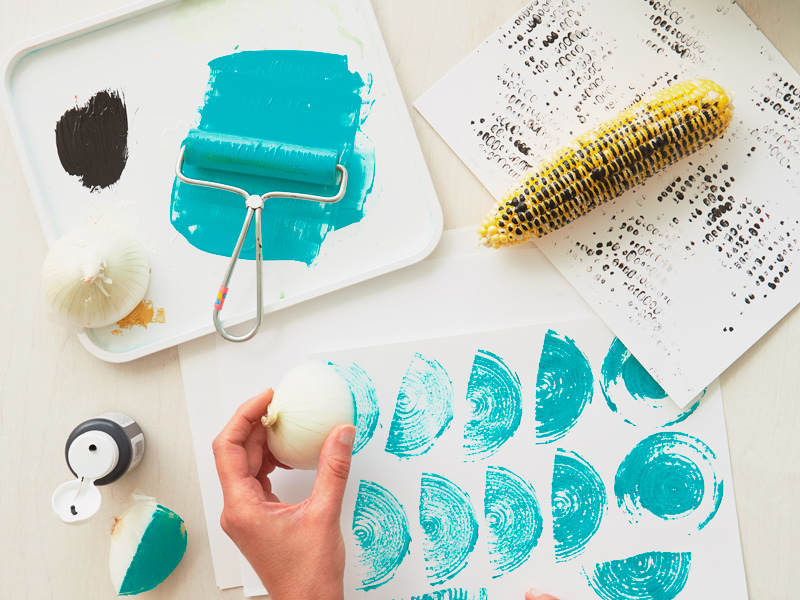
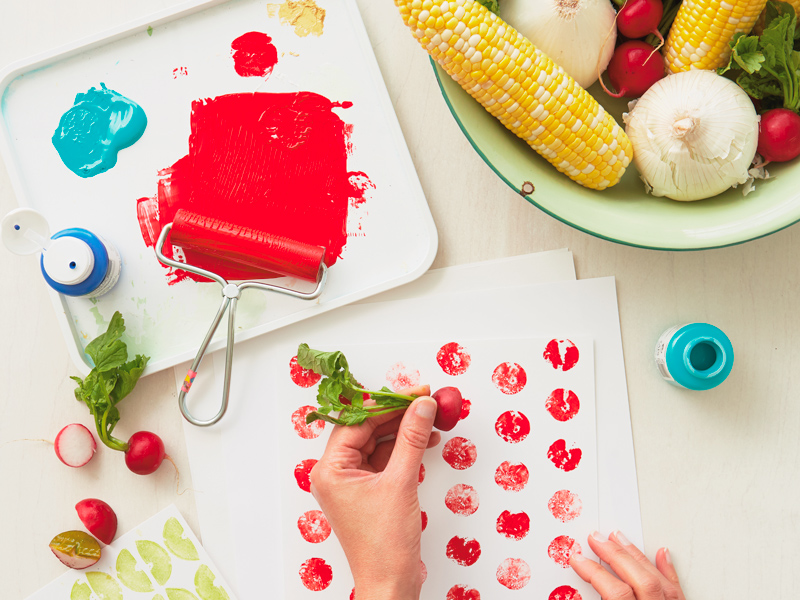
Step 1: Prep the fruits and veggies.
Cut your fruits and vegetables into pieces. Try cutting at different angles to get different details. Use the whole thing, inside and out, including leaves. We’re serious about the sharp knife, too—it’ll give you the best details.
Step 2: Cover the veggies with paint.
Add a bit of paint to a tray, acetate sheet, or paper, then roll the brayer in paint to cover it. Next, roll the brayer across the surface of your fruit or vegetable.
Step 3: Stamp your designs.
Press the paint-covered fruit or veg onto your paper and repeat. That’s it!
If you’re wanting to create a more intentional design, here are some fun ideas to try:
- Try a single color on one or two shapes and stamp in a grid.
- To create a pattern, simply stamp, then turn your shape 180 degrees and stamp again.
- Try a single big, simple shape in the center of a piece of paper, like a big kale leaf.
- Layer shapes and colors to make abstract images.
- Play with the ways you add paint to the fruits or vegetables—roll it on, paint it on—and how much paint you add.
- Cut simple designs into the surfaces of potatoes, turnips or carrots.
We hope you’re ready to start experimenting with your own fruit and vegetable stamping fun—or at the very least, that you have a newfound appreciation for how cool fruits and vegetables are. 😂
Hungry for even more arts, crafts & DIYs? Check these out:
Shop Summer
See allYou may also like
See more-

Keepsake Ornaments An epic adventure for your tree 🧙🏻♂️
Relive some of your favorite moments from The Lord of the Rings: The Fellowship of the Ring™ with this Keepsake Ornam...
-

Keepsake Ornaments What a great little tree! 🎶🎄
This little tree has a LOT going for it. And just like the one in "A Charlie Brown Christmas," this Peanuts® ShowTopp...
-

Keepsake Ornaments Childhood nostalgia incoming! 🥰
This incredible Keepsake Ornament depicting scenes from the classic poem, "A Visit from St. Nicholas," will take you ...
-
DaySpring Six Scriptures for spiritual rest this summer
A recipe for a relaxing summer afternoon: the sun’s warming rays, a cool drink, something good to read, a comfortable...
-

Keepsake Ornaments A carousel fit for a princess 👸
A Disney Princess, that is! Cinderella, Jasmine and Ariel are riding in high style on this gorgeous, gilded carousel...
-

Keepsake Ornaments Mini tree, big pew-pew energy ✨
Immerse yourself in intergalactic adventure with a mini tree that's filled with Star Wars™ fun. From the Mini Star Wa...
-

Keepsake Ornaments Soar to new holiday heights with Disney Dumbo 🐘
First in the Disney Parks Memories series, this Keepsake Ornament is inspired by the original 1955 facade of the clas...
-

Mahogany Making new summer memories
When I think about summer and friendship together, my mind immediately goes back to one particular day in college. I ...
-

Keepsake Ornaments Avast mateys, here be pirates 🏴☠️
So it's pirates yer lookin' for, is it? Well, ye've stumbled upon a veritable treasure trove! Relive the swashbuckl...
-

Keepsake Ornaments Hear that? It’s the sound of Millennial nostalgia! 🎮
Video games were a huge part of growing up for lots of Millennials. This PlayStation™ Keepsake Ornament perfectly cap...
-

Keepsake Ornaments A new release with heirloom vibes 😍
Watch Keepsake Ornament Artist Jake Angell debut his newest masterpiece: the first in the Hallmark Artchives-inspire...
-

DaySpring Meet the DaySpring contributors
The DaySpring Writing Community is where women of different ages, life stages, cultural backgrounds and church tradit...
-

DaySpring The season for "letting-go hugs"
When I wrapped my oldest child in my arms, I attempted to direct every iota of love, hugs and care into the gesture, ...
-

Mahogany You are already so beautiful, Sis
I was in that place where women go on the weekend to get their hair cut and colored, to cover the roots and dye the g...
-
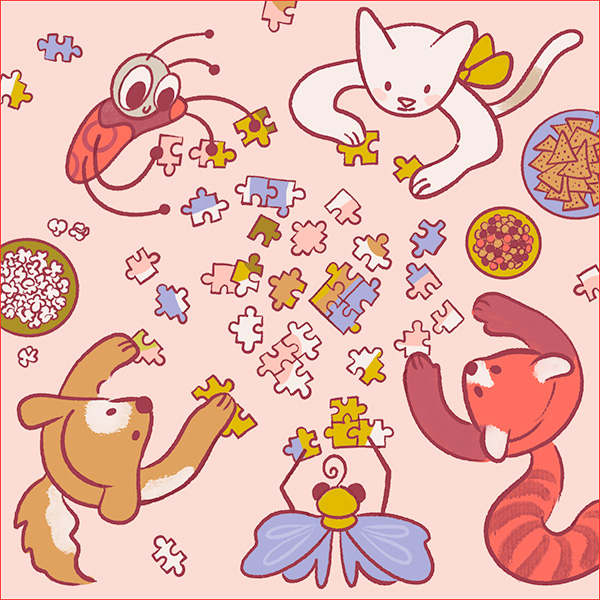
Parties & Entertaining How to host a puzzle exchange party: tips, themes and swap ideas
Three wonderful words have taken 2026 by storm: puzzle exchange party! A puzzle exchange party is exactly what it sou...
-
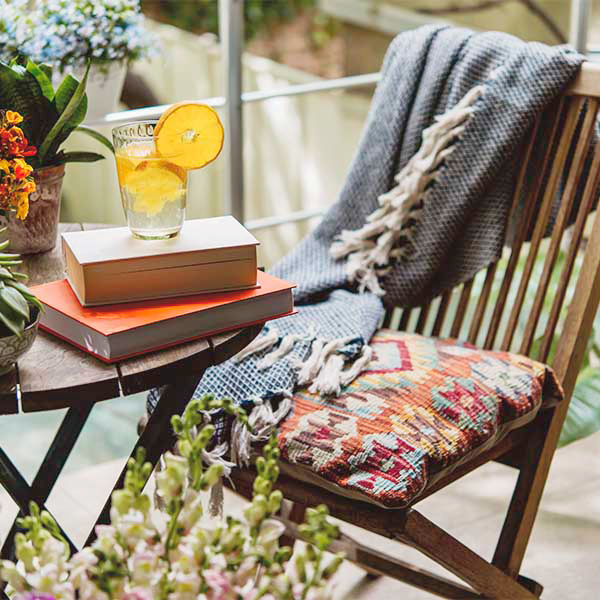
Mahogany This summer, I don't want to rush
This summer, I don’t want to rush. I want to laugh a little louder, move a little slower and allow myself the space t...
-

DaySpring When frustrations come, don't overlook the blessings
I take many things for granted. In fact, I've forgotten just how much the amenities of modern life have revolutionize...
-

Keepsake Ornaments Santa’s on his way to Keepsake Ornament Premiere…will you be there? 👀
July is prime vacation time for Santa, but he's happy to take some time out of his busy lounging schedule to head to ...
-

Summer Christmas in July stocking stuffer ideas: easy, fun summer gifts
There’s nothing like a merry little Christmas in July celebration to break the monotony of summer. But it feels like ...
-
Christmas Keepsake Hot Takes: 10 new Keepsake Ornaments that deserve to be added to your “must-have” list ASAP
We can all agree that summer is officially the start of the Christmas season, right? Summer means Christmas cookies ...
