We found
suggestions
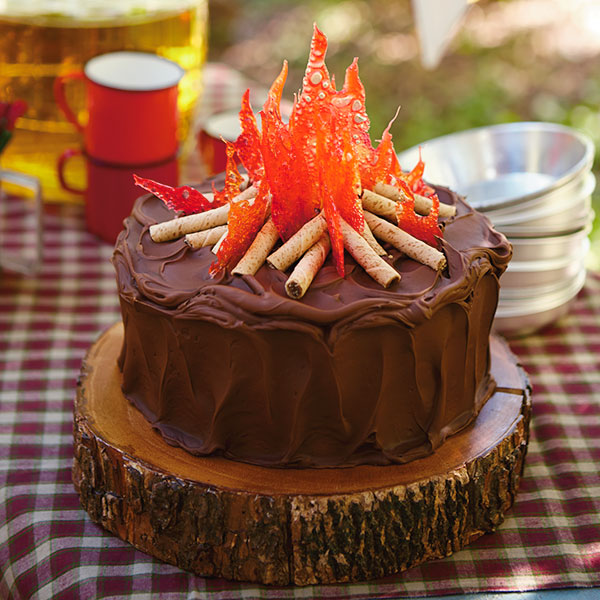
Here's the perfect birthday cake idea for a backyard party or camping party or for those outdoorsy types. Our campfire cake is topped with crackly hard-candy flames and rolled-wafer cookie logs. This campfire cake recipe is sure to light up the birthday camper as well as the other party guests.
Inspired? Create and share by tagging @hallmarkstores.
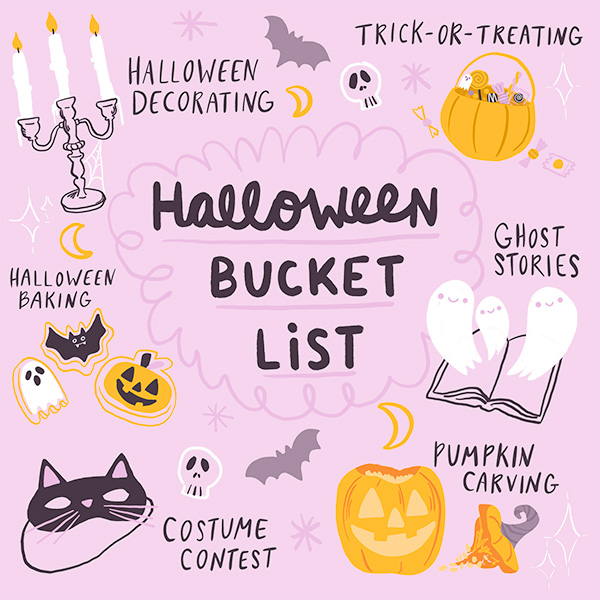
It’s no surprise that Halloween is a favorite for many. It’s a season filled with pumpkin carving, crisp breezes and ...
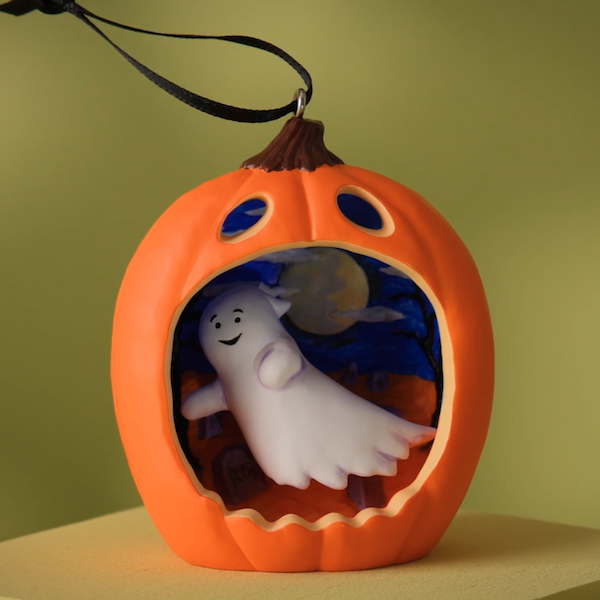
From sassy cats to friendly ghosts, vintage vampires to mischievous kittens, we have lots of options if you're lookin...
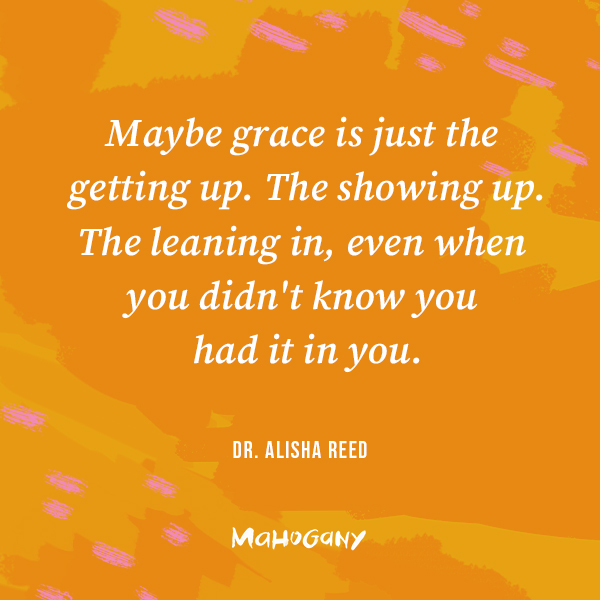
I was sitting in a coffee shop the other morning, when a woman walked up to me. She looked at me and touched my arm a...
For years, Halloween has been celebrated on a single night. But all of that’s changing. From frightfully fun activiti...
I wasn't your average 17-year-old dreaming about weekends at the mall or sleepovers with friends. Instead, I was cons...
As I've gotten older, I've learned that wellness isn't just about exercise. It's about feeling good, living well and ...
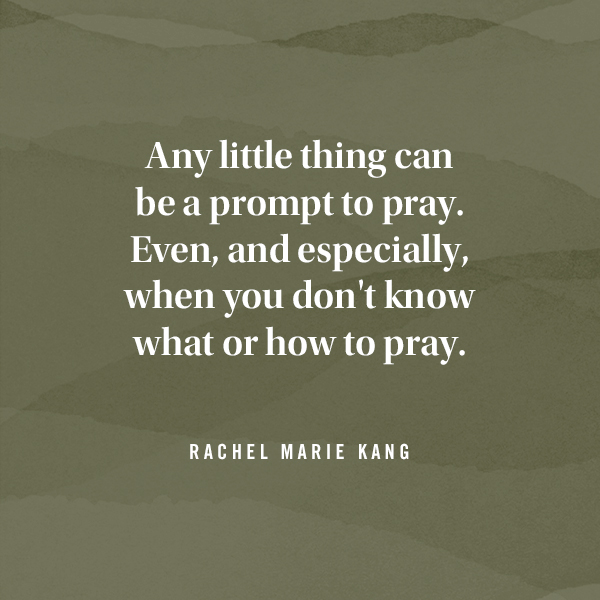
Amid the demands of daily life, carving out time for spiritual nourishment can indeed be a challenge. However, center...
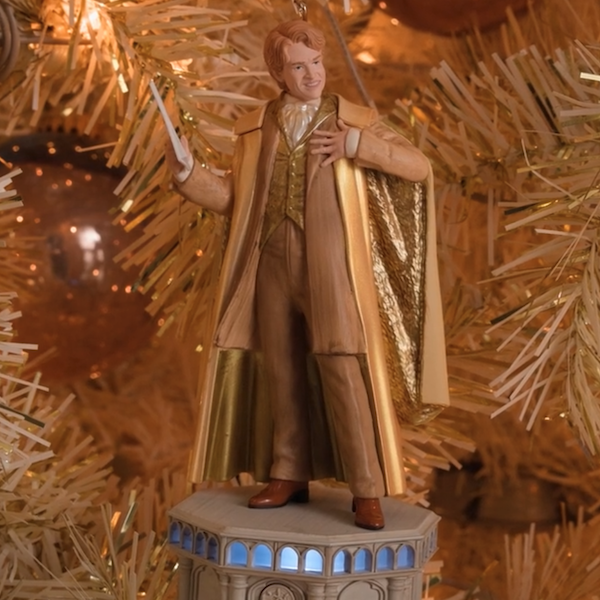
Class is in session with Defense Against the Dark Arts professor Gilderoy Lockhart™. 🪶 ✨ Complete your Harry Potter a...
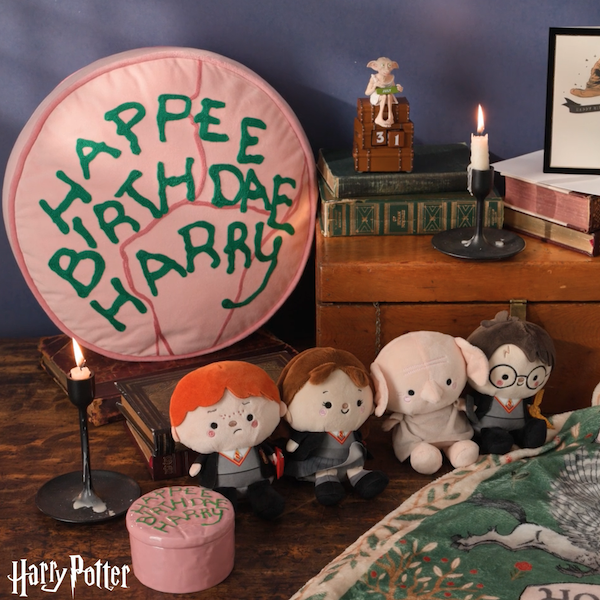
Celebrate the birthday of the Boy Who Lived with this fun collection of Harry Potter gifts! From cozy blankets perfec...
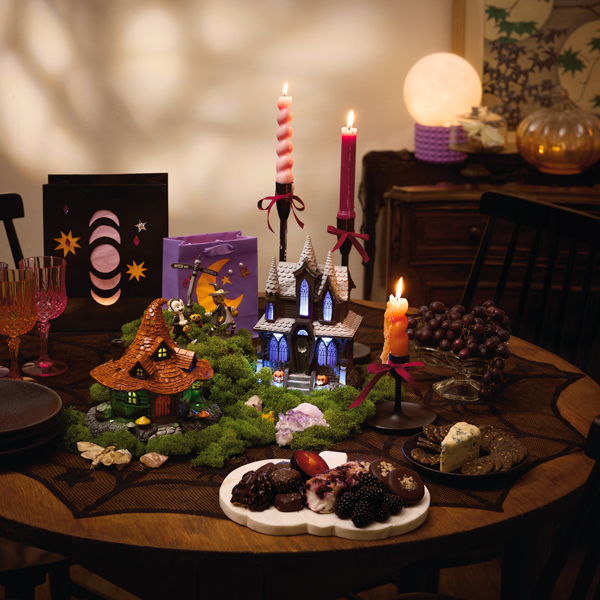
Witch-themed parties have always delighted Halloween fans. They offer hosts and partygoers alike the chance to intera...
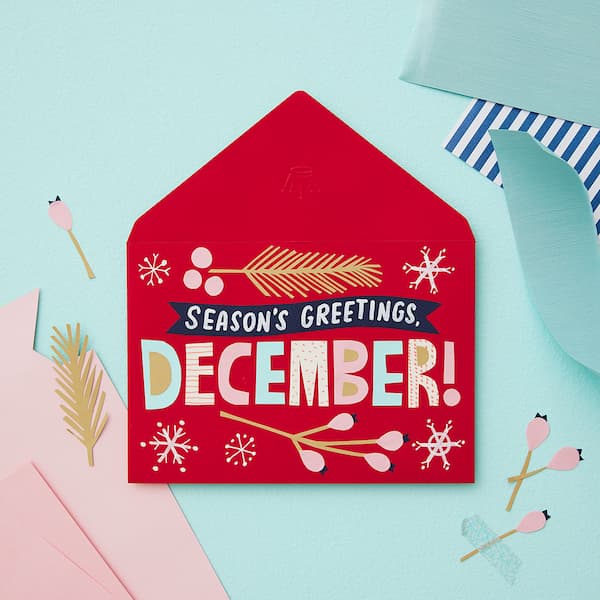
Whichever holidays you celebrate, whatever your traditions and whoever you call family, December is a month full of m...
Get info, ideas and inspiration for October holidays and observances, including free sharable quotes and digital wall...
Get info, ideas and inspiration for November holidays and observances.
I open the closet door in a room that is not my own. I put packages of diapers on the top shelf, rearranging and rest...
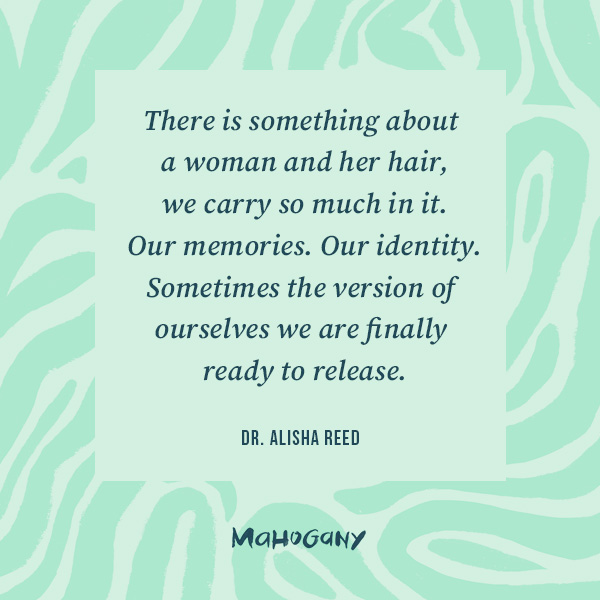
I always take a selfie as soon as I get in the chair at my hair appointment. Most women take photos after, but it’s t...

Relive some of your favorite moments from The Lord of the Rings: The Fellowship of the Ring™ with this Keepsake Ornam...

This little tree has a LOT going for it. And just like the one in "A Charlie Brown Christmas," this Peanuts® ShowTopp...
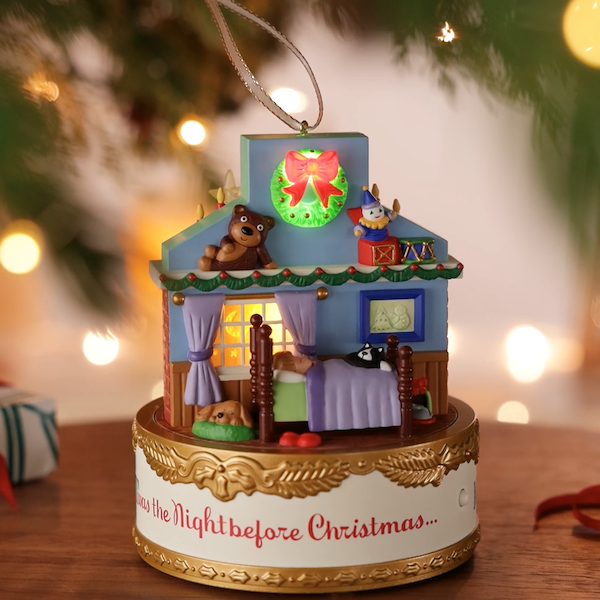
This incredible Keepsake Ornament depicting scenes from the classic poem, "A Visit from St. Nicholas," will take you ...
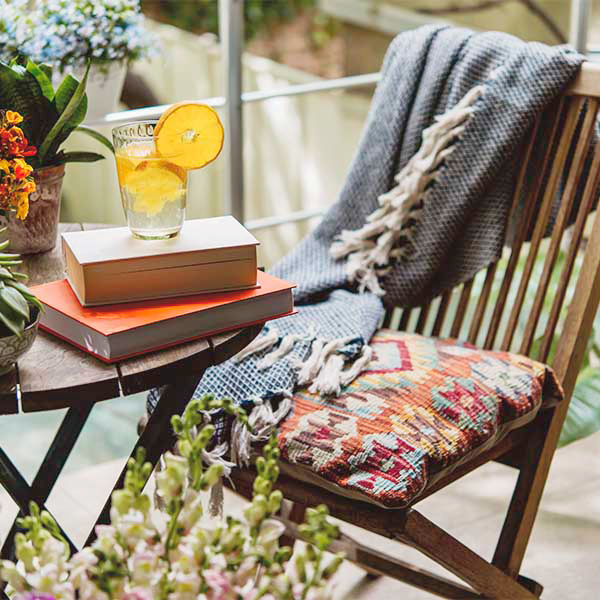
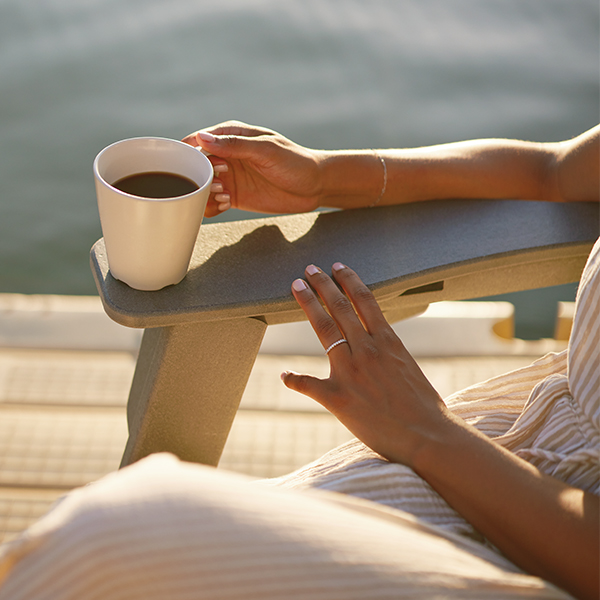
A recipe for a relaxing summer afternoon: the sun’s warming rays, a cool drink, something good to read, a comfortable...

A Disney Princess, that is! Cinderella, Jasmine and Ariel are riding in high style on this gorgeous, gilded carousel...
