Vegetable stamping: How to make simple, modern prints with produce
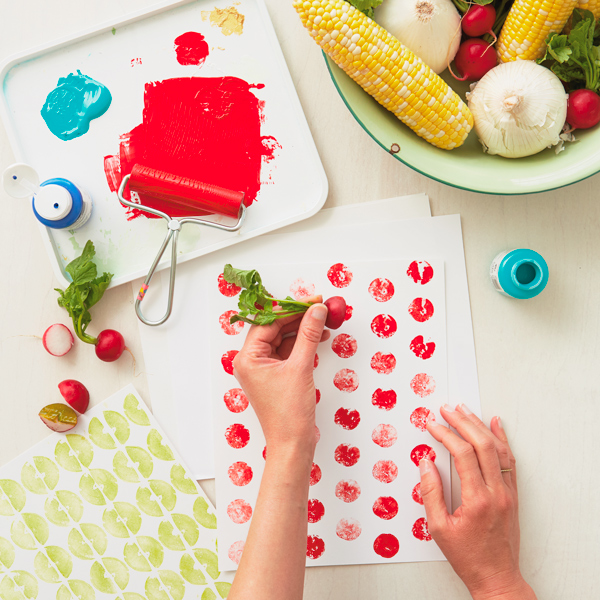
There are so many reasons to try fruit and vegetable stamping: It’s surprisingly creative. It’s easy. It uses stuff you have on hand. Kids can play, too. And making simple prints with fruits, veggies and acrylic paint is a chance to explore creating textures and patterns.
So gather some friends and/or the kids and raid the produce section, then try these vegetable stamping techniques for yourself—it’s a perfect summer project!
Inspired? Create and share by tagging @HallmarkStores.
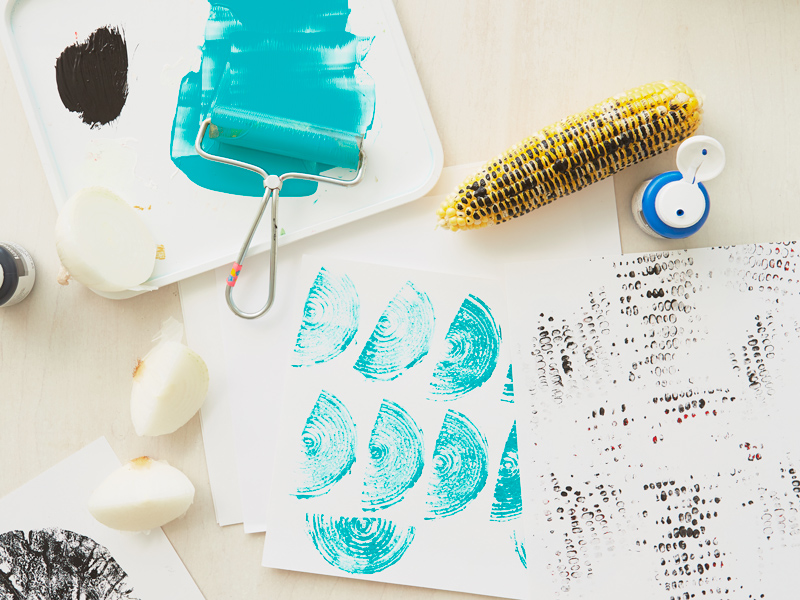
More on why you should try vegetable stamping
We’ve got a whole garden full of reasons we love this craft (minus the dirt and bugs 😊):
- It gives you the most fun incentive ever to stock up on fruits and vegetables. Brussels sprouts might not be the typical highlight of your week, but knowing you’ve got a creative craft to do with them could change that, especially if little ones are involved.
- Speaking of little ones, this is the perfect way to get them excited about fruits and vegetables. Not only is this craft easy enough for them to help, but it might make unfamiliar veggies seem less scary and less likely to be given the stink eye at the dinner table.
- It’s an inexpensive way to explore your crafty side. Creative hobbies can be costly, especially when you’re not sure how much time and money you want to invest in a new endeavor long-term. That’s why we love crafts like this one; the materials are easy to find and you get to explore your inner artist.
- Versatile is an understatement. We focused on some of our favorite summer produce this time, but you can do this activity in any weather or season. See link in the gray box below!
- It’s a creative rut antidote. If you already do consider yourself quite creative, this is a fun way to switch it up from your usual craft and get inspired by something unconventional.
- You can make DIY home decor. Use the patterns you stamp to create fun, colorful seasonal art at a fraction of the cost versus what you’d find at local stores.
- It’s a way to get really cool textures and patterns that you can’t achieve with a brush or sponge. If you’re working on a project and don’t have the time or money to grab new materials, you might already have what you need in the fridge!
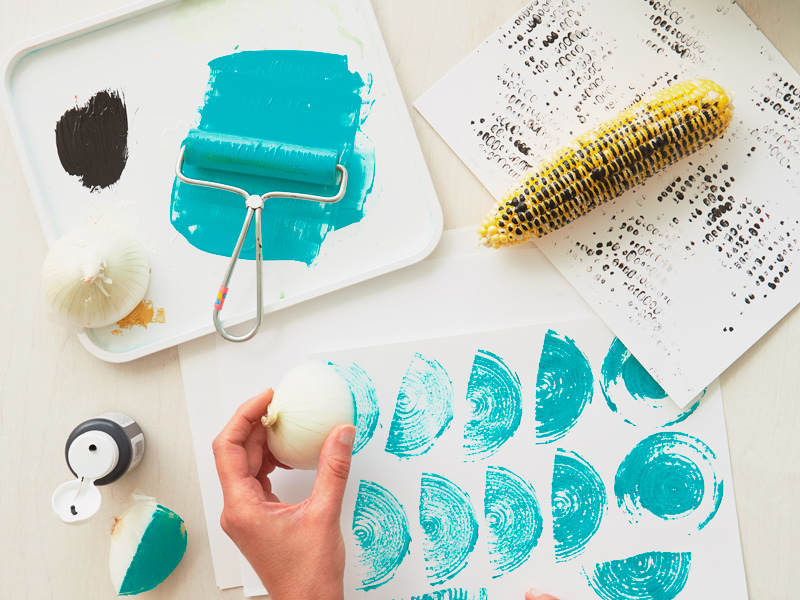
Supplies for vegetable stamping
- Cutting board
- Very, very sharp knife (a dull knife will make your details mushy; keep it out of kid reach!)
- Vegetables (try radishes, artichokes, carrots, onions, celery, mushrooms, peppers, okra, lettuce, corn, kale)
- Fruit (apples, oranges, melons, kiwi)
- Plant clippings
- Acrylic paint
- Tray, acetate sheet, or paper
- Ink brayer, glass or plexiglass (a brayer helps you get an even coat on the surface of large items)
- Ink pad (for covering small items with ink, instead of using a brayer)
- Paint brush (for adding paint to the surface of items, instead of using a brayer)
- Paper for prints
Pro tip: You can also use fabric paint and stamp T-shirts, tote bags or tea towels. Cuuuuute!
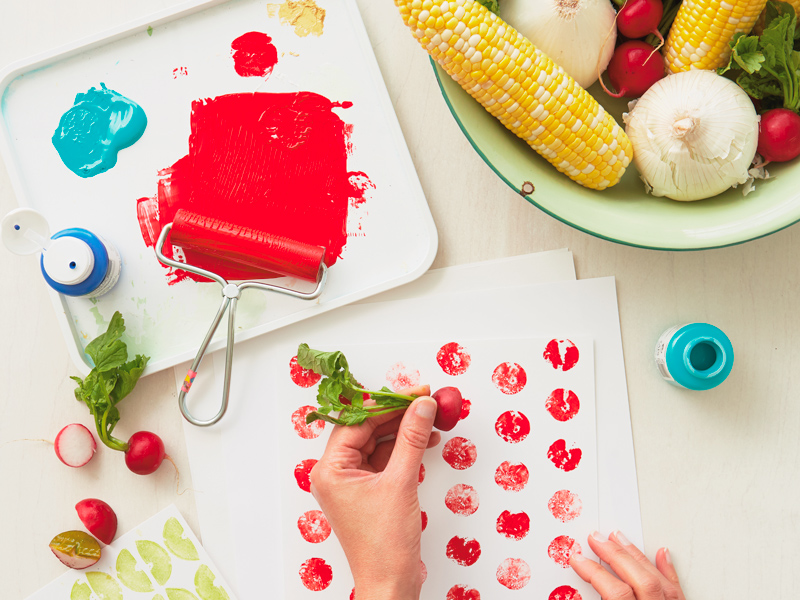
How to make fruit and vegetable prints
Step 1: Prep the fruits and veggies.
Cut your fruits and vegetables into pieces. Try cutting at different angles to get different details. Use the whole thing, inside and out, including leaves. We’re serious about the sharp knife, too—it’ll give you the best details.
Step 2: Cover the veggies with paint.
Add a bit of paint to a tray, acetate sheet, or paper, then roll the brayer in paint to cover it. Next, roll the brayer across the surface of your fruit or vegetable.
Step 3: Stamp your designs.
Press the paint-covered fruit or veg onto your paper and repeat. That’s it!
If you’re wanting to create a more intentional design, here are some fun ideas to try:
- Try a single color on one or two shapes and stamp in a grid.
- To create a pattern, simply stamp, then turn your shape 180 degrees and stamp again.
- Try a single big, simple shape in the center of a piece of paper, like a big kale leaf.
- Layer shapes and colors to make abstract images.
- Play with the ways you add paint to the fruits or vegetables—roll it on, paint it on—and how much paint you add.
- Cut simple designs into the surfaces of potatoes, turnips or carrots.
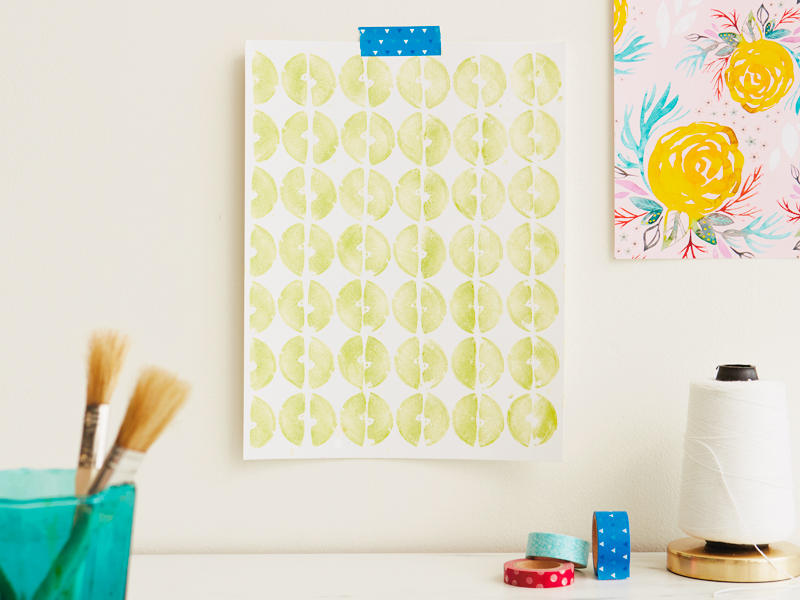
We hope you’re ready to start experimenting with your own fruit and vegetable stamping fun—or at the very least, that you have a newfound appreciation for how cool fruits and vegetables are. 😂
Hungry for even more arts, crafts & DIYs? Check these out:
Shop Summer
See allYou may also like
See more-
Valentine's Day Filling the day with love: Valentine’s Day date and activity ideas
Hey! Heard the one about Hallmark inventing Valentine’s Day? Welp, we didn’t. But I’m thinking we got that rep becaus...
-
Gifting Put me in coach! 🐾
Need a little motivation? Coach Snoopy and the rest of the Peanuts gang are here to inspire all kinds of spring fun t...
-
Valentine's Day 3 adorable Valentine’s Day gift wrap ideas that’ll show them they’re loved
There are a select few times a year that we go all out for our favorite people: Their birthdays. The holidays. And if...
-
Gifting Spend Valentine’s Day with an iconic couple
Maybe he's not into going out on Valentine's Day. Or maybe she'd rather watch sci-fi movies than a rom-com. If either...
-
Valentine's Day 200+ Valentine’s Day gift ideas for everyone in your heart
In junior high, I made a giant Valentine’s Day collage for my first girlfriend. She loved it. Was it amazing or dorky...
-
Valentine's Day Funny Valentine’s Day cards (and ridiculous messages to go inside them)
At Hallmark we have Valentine’s Day cards for everyone you love to laugh with: your significant other, your friends, ...
-
Card Ideas 5 tips to help you get the most out of Hallmark’s Semi-Annual Sale
I don’t know a person on this earth who doesn’t love a good semi-annual sale. In fact, I know several people who keep...
-
Valentine's Day Make little hearts happy this Valentine’s Day 💞
Nothing lights up a little one's face like letting them know just how much they're loved. Okay...except for when they...
-
Valentine's Day Valentine's Day gifts for him: 100+ ideas for the boyfriends, husbands, dads and sons in your life
Who’s ready for Valentine’s Day?! 🥰 We absolutely love this holiday and can’t think of a more perfect time to shower ...
-
Calendar Flip Spring Forward: March 2026 Holidays and Observances
Color us excited! From the wearin’ of the green and more sunny fun to colorful Holi festivals and celebrating crayons...
-
Calendar Flip Welcome a New Year: January 2026 Holidays and Observances
HAPPY NEW YEAR! If that hurt your head, you might have celebrated a little too much. When you’re feeling better, we h...
-
Calendar Flip Hello, Love: February 2026 Holidays and Observances
Let’s warm up this cold month with love and connections. From valentine cards to dressing up your pet, this month has...
-
Christmas Christmas gift wrap ideas to match your holiday personality
If you’re anything like me, the holiday season can make you tap into different sides of yourself. Maybe you become th...
-
Gifting 60+ Peanuts® Snoopy gifts to help fans channel their favorite beagle
It was a dark and stormy night in the winter of 2015. I was 17 years old, overwhelmed with AP classes, senior-year st...
-
Christmas 3 Christmas kids craft ideas, plus activities for even more easy holiday fun
From decorating the house to baking cookies, the Christmas season gives us so many opportunities to get creative and ...
-
Christmas The best Christmas gift idea: Bikini Bottom BFFs
Got a bestie who's as silly as you? Or one who's there through all of life's storms with a smile? Then we think this ...
-
Christmas Which Disney Pixar character is your favorite? 🤔
Thankfully, with so many beloved Disney Pixar character Keepsake Ornaments, you won't have to choose a favorite this ...
-
Christmas Not having Cher on your tree? As if! 💅
If you're a Millennial, we predict you will be majorly, totally, butt crazy in love with this Clueless Keepsake Ornam...
-
Christmas 20 vintage Christmas ideas to turn up the charm this holiday season
When I think of my perfect Christmas, vintage vibes are always what come to mind first. Santa’s sleigh in a dreamy wi...
-
Christmas 20+ ideas to help you plan your trip to the Hallmark Christmas Experience
Ever wanted to step inside of a picture-perfect Hallmark Christmas movie? Or travel to a place where you could immers...


