DIY clay bowls: easy to make and fun to give
“The perfect craft doesn’t exist.” Welp, explain these DIY clay bowls, then. 😎
They take just minutes to make, which means it’s super easy to create a bunch and keep them on hand. Plus, paired with simple add-ons like jewelry, candles or plants, they make thoughtful gifts with a sweet, personal touch. See how to make two different kinds of bowls with our simple directions below!
Inspired? Create and share by tagging @HallmarkStores.
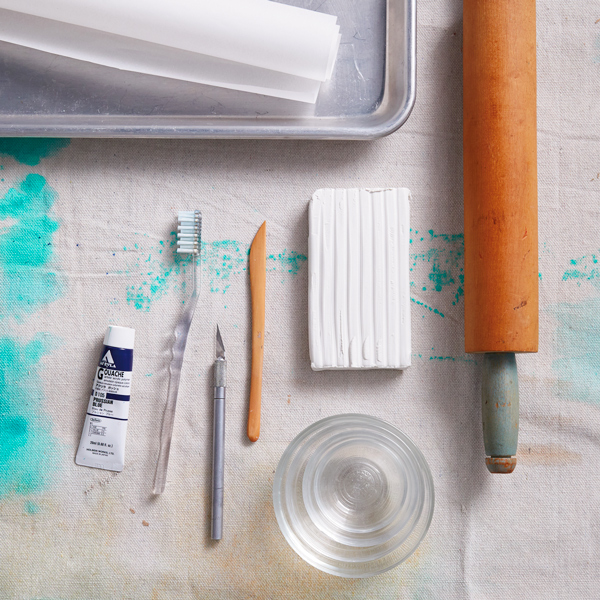
First, grab your DIY clay bowl supplies:
• Oven-bake clay
• Acrylic craft paint
• Stiff toothbrush
• Scrap paper
• Craft knife
• Ruler
• Clay blending tool (or you can use your fingers)
• A variety of small glass bowls (oven-safe if needed)
• Rolling pin
• Sheet pan
• Baking parchment
Pro tip: Make a bunch in several sizes and stash them in your gift closet.
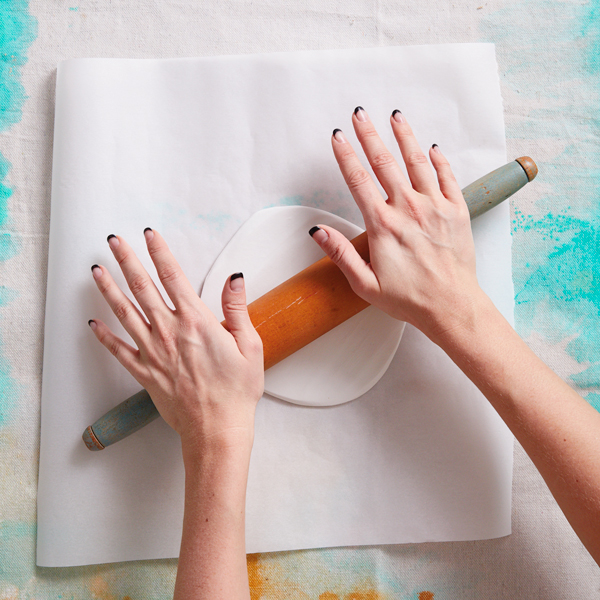
Next, prepare your clay:
If needed, follow the package instructions to condition your clay. Once you’ve warmed up the clay, make a ball and flatten it with a rolling pin on a piece of parchment. Roll to about 1/4″ thick.
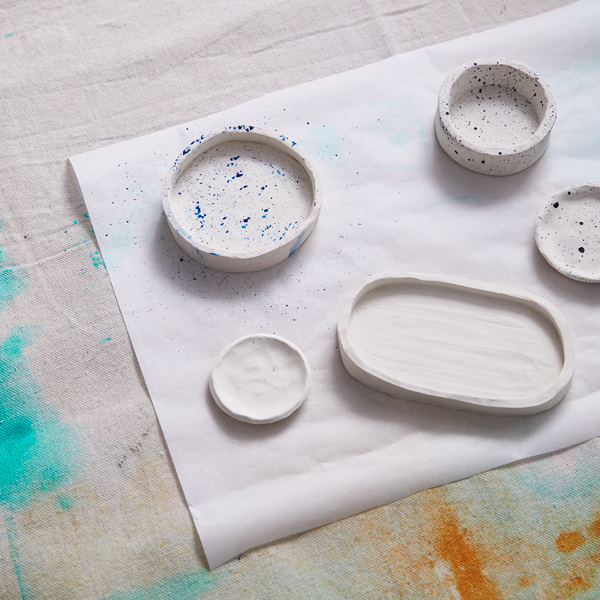
Make your bowls

To make a simple round base, place a glass bowl upside down on the clay and trace around the edge with a craft knife.
To make an oblong-shaped base, use a bowl to create the rounded ends by tracing around just half of the bowl with a craft knife. Then move the bowl a few inches away and trace around the opposite half of the bowl. You’ll now have two half circles (rounded ends) facing each other. Use a ruler to connect the two rounded ends, or for a handmade look, cut the sides freehand.
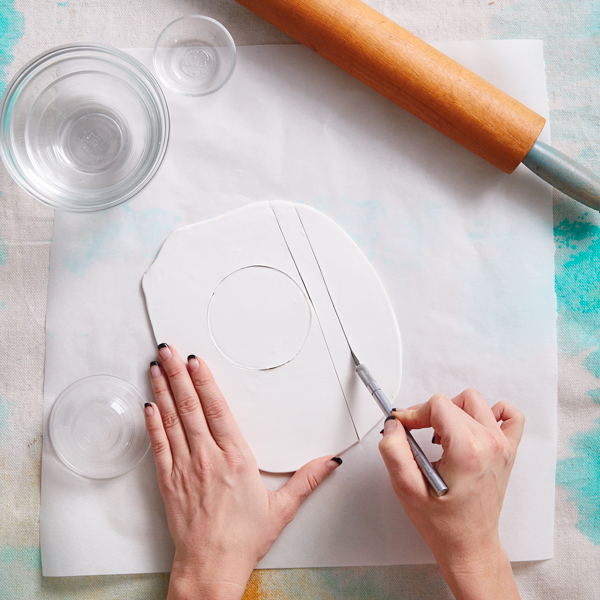
Next, using a ruler as a guide, you’ll cut a strip long enough to wrap around the base. This will be the sides of your dish.
Since it can be kinda hard to measure circumference (without geometric formulas, anyway), a piece of string or a cloth tape measure might be helpful here!
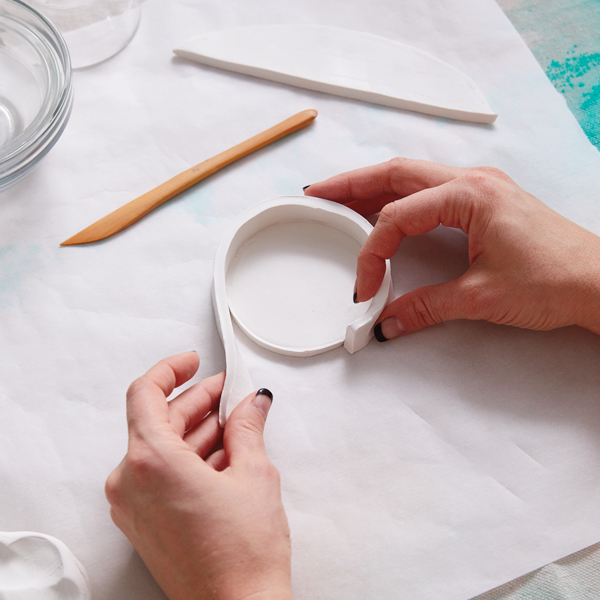
Wrap the side piece around the base and use the craft knife to cut off any overlap.
Use the blending tool or your fingers to smooth the seams together on the inside where it meets the base.
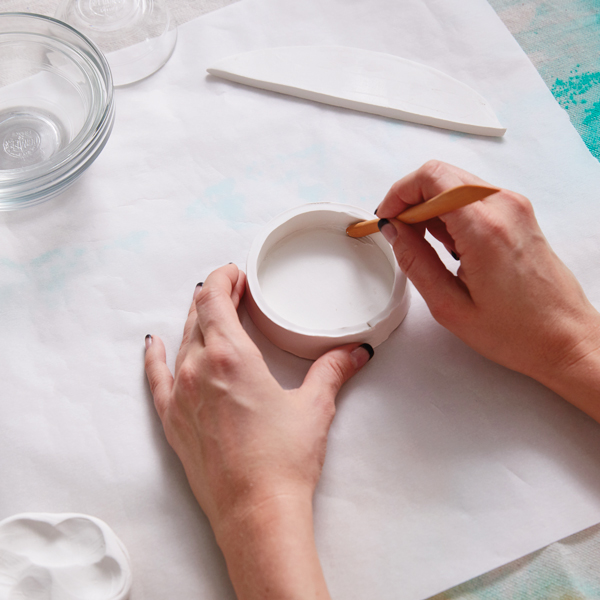
Pro tip: If you’d like to make your vessel more leak-proof, roll a thin, skinny snake of clay with your fingers and press into the inside seam. Blend it down into the base and up into the side.
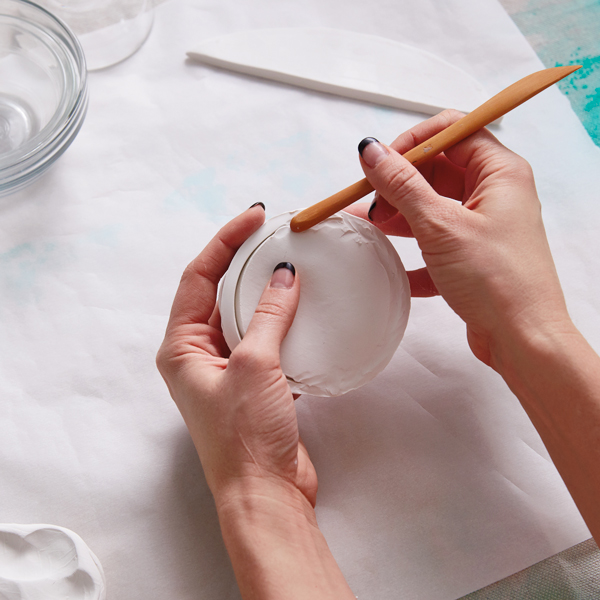
Make sure to also smooth the seams on the outside where you joined the side piece together.
Next, preheat your oven according to the package directions for the clay.
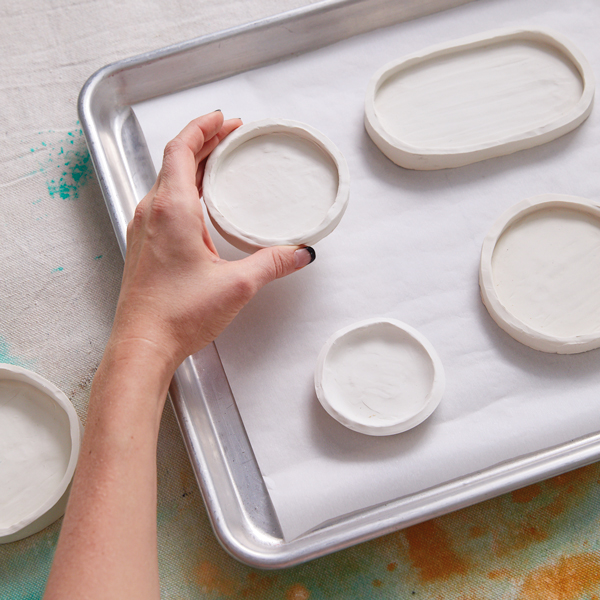
Place the bowls on a sheet pan lined with parchment paper and bake according to instructions.
Pro tip: Make a foil tent to cover the pieces—this will help make sure the pieces don’t brown or burn from the heat.
Another method: Baking clay in oven-safe glass bowls
This method requires a little less blending, since you’re relying on the bowl itself to hold the shape of the clay while it bakes.
The key here is to make sure the bowl you’re using is oven-safe—do not use a cereal bowl or other ceramic or porcelain bowl.
Here’s how to do it:
1. Trace an oven-safe glass bowl with a craft knife.
2. Press the circle of clay into the bottom of the bowl.
3. Use the craft knife to level the sides and smooth the edges with your fingers or the blending tool if needed.
4. Place the bowl with the clay inside on a baking sheet lined with parchment paper and bake according to directions above for ONLY five minutes.
5. After five minutes, carefully remove the bowl from the oven and allow it to cool enough to touch. Run a craft knife between the clay and the bowl to release it.
6. Place your clay bowl back on the parchment-covered tray and bake for the remaining time (according to package instructions).
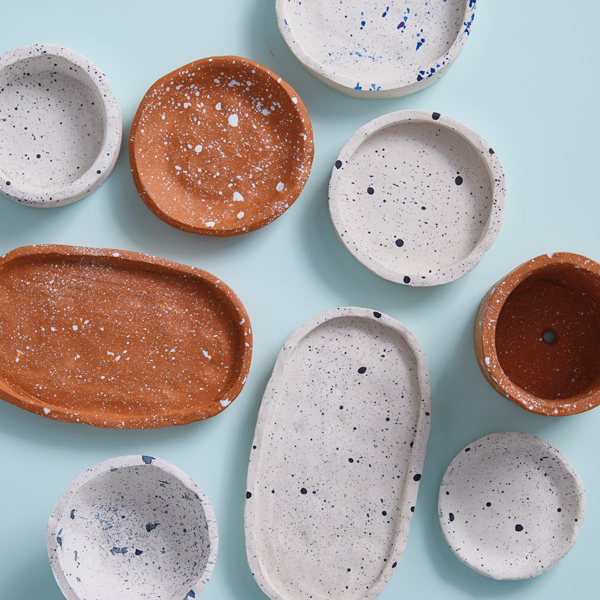
How to spatter-paint your DIY clay bowls

In a bowl, dilute some paint with a little bit of water. Practice your spatter technique on the piece of scrap paper first by dipping the bristle tips of the toothbrush into the paint, then trying some of these methods:
• Wrap your fingers around the head of the toothbrush and firmly scrape your thumb across the bristles in one direction to “spray” the paint.
• Try pointing the bristles down and tapping the back of the brush.
• To make bigger dots, gently touch the bristles directly on the clay.
The goal is to make dots of different sizes instead of streaks—so practice until you get the right ratio of water to paint.
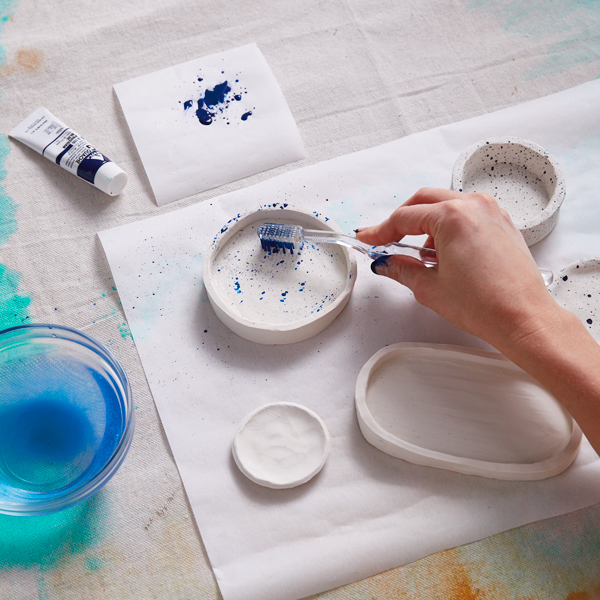
Be sure to keep dipping your toothbrush into the water and paint mix. Keeping the brush wet is a key part of spatter painting.
As far as when to paint your DIY clay bowls, you can paint them before or after you bake them.
• Paint before baking if you don’t want to wait for the paint to dry.
• Paint after baking if you want to see what color the clay is when it dries, before deciding on what colors to use when spatter painting.
If you choose to paint after baking or decide to give the bare clay a base coat for some sheen or gloss, just make sure the clay is completely cool before painting.
Pro tips:
• If you plan to use your DIY clay bowl as a planter, poke a hole in the bottom before baking.
• Use sandpaper after baking to smooth out any rough patches.
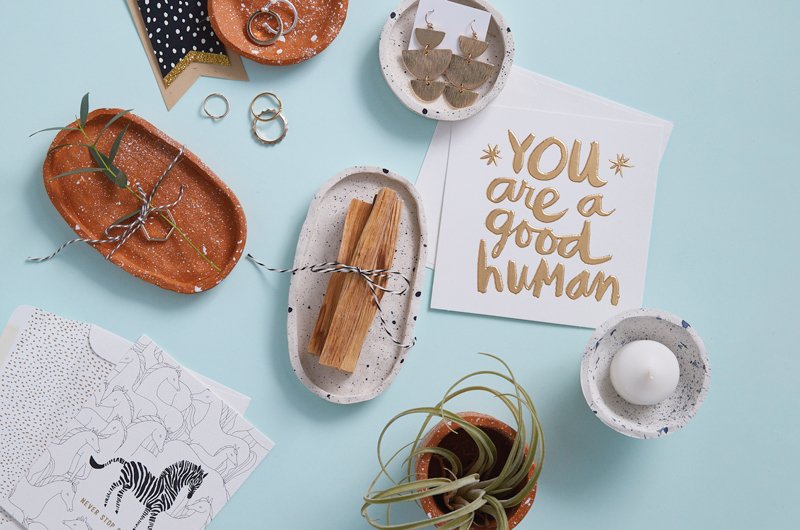
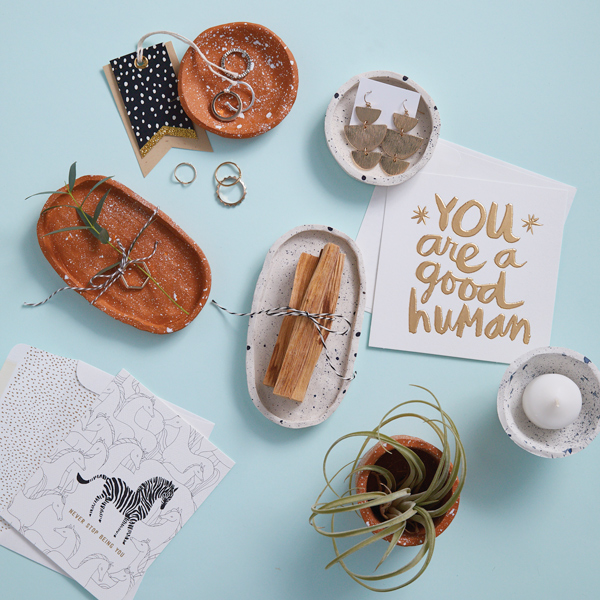
Gift ideas for your DIY clay bowls
You can totally just give a set of your beautiful bowls away as presents without extra items included. But to plus it up even more, we suggest adding:
- Mini cards
- Luggage tags, if they’re always on the go
- Plants, plant seeds or these DIY plant markers, pins and tags.
- Cute rings, earrings and other jewelry like we mentioned above. We love handmade friendship bracelets for a personal touch!
- A recipe you love handwritten on pretty stationery.
- Candles
- Cute magnets to stick on the fridge
- Little photos of you and the recipient, or random silly ones you like.
- Stickers
- Tiny bookmarks
- Mini ornaments, especially these ridiculously adorable magnetic Better Together ones
- Mini nail polishes
- Tea or hot cocoa packets
- Keychains
- Scented hand sanitizers
- Bath soap bars
- A special pastry
- Lip balms
Note: Don’t use dishes made of polymer clay for burning Palo Santo or stick incense, or for serving food.
We hope you’re ready to roll up your sleeves and start crafting some DIY clay bowls! Make and save these for your next gifting occasion for a personalized gift they won’t forget. ❤️
Still in a crafting mood? We’ve got tons of DIYS to try next, like:
Shop Arts & Crafts
See allYou may also like
See more-
Mahogany The joy of movement
As I've gotten older, I've learned that wellness isn't just about exercise. It's about feeling good, living well and ...
-
DaySpring How to start each day feeling renewed by grace
Amid the demands of daily life, carving out time for spiritual nourishment can indeed be a challenge. However, center...
-

Keepsake Ornaments Complete your collection!
Class is in session with Defense Against the Dark Arts professor Gilderoy Lockhart™. 🪶 ✨ Complete your Harry Potter a...
-
Gifting Happee Birthdae, Harry!
Celebrate the birthday of the Boy Who Lived with this fun collection of Harry Potter gifts! From cozy blankets perfec...
-
Halloween Witchy Halloween party ideas: Fun crafts and activities for a magical night in
Witch-themed parties have always delighted Halloween fans. They offer hosts and partygoers alike the chance to intera...
-
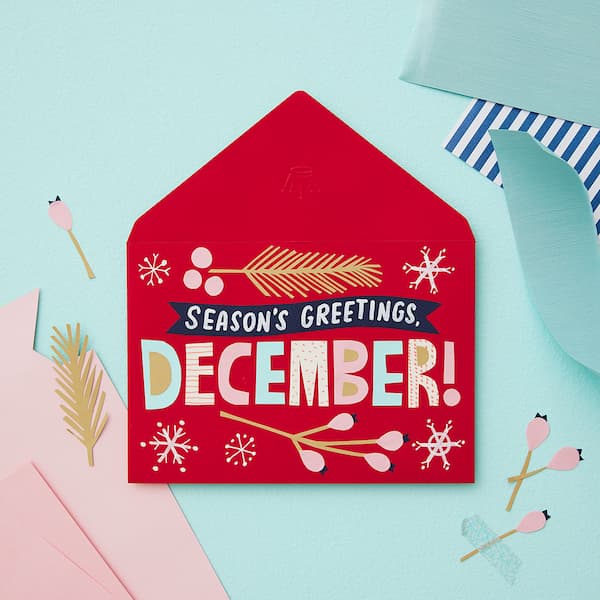
Calendar Flip Share More Moments: December 2026 Holidays and Observances
Whichever holidays you celebrate, whatever your traditions and whoever you call family, December is a month full of m...
-
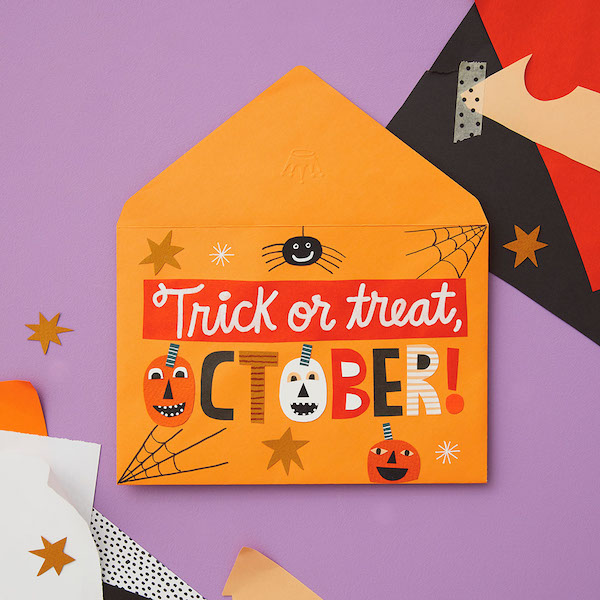
Calendar Flip Hey, Pumpkin! October 2026 Holidays and Observances
Get info, ideas and inspiration for October holidays and observances, including free sharable quotes and digital wall...
-
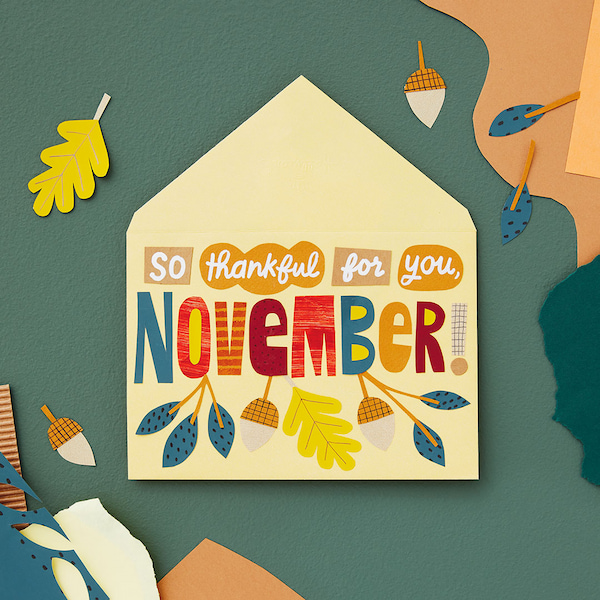
Calendar Flip Share joy, give thanks: November 2026 Holidays and Observances
Get info, ideas and inspiration for November holidays and observances.
-
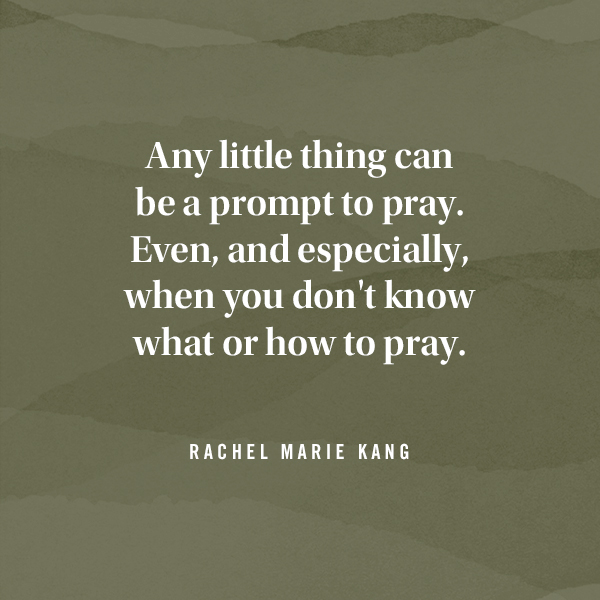
DaySpring The secret to praying when you don't know how to pray
I open the closet door in a room that is not my own. I put packages of diapers on the top shelf, rearranging and rest...
-
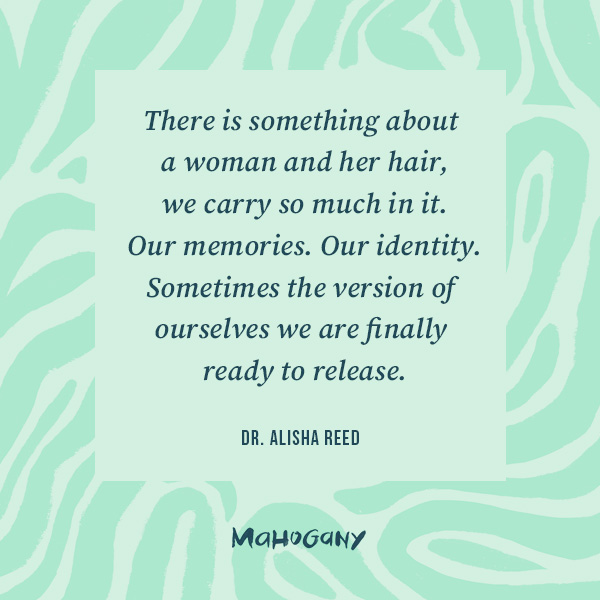
Mahogany Every woman has a hair story
I always take a selfie as soon as I get in the chair at my hair appointment. Most women take photos after, but it’s t...
-
Keepsake Ornaments Add some Halloween glee to your tree! 🎃
From sassy cats to friendly ghosts, vintage vampires to mischievous kittens, we have lots of options if you're lookin...
-

Keepsake Ornaments An epic adventure for your tree 🧙🏻♂️
Relive some of your favorite moments from The Lord of the Rings: The Fellowship of the Ring™ with this Keepsake Ornam...
-

Keepsake Ornaments What a great little tree! 🎶🎄
This little tree has a LOT going for it. And just like the one in "A Charlie Brown Christmas," this Peanuts® ShowTopp...
-
Keepsake Ornaments Childhood nostalgia incoming! 🥰
This incredible Keepsake Ornament depicting scenes from the classic poem, "A Visit from St. Nicholas," will take you ...
-
DaySpring Six Scriptures for spiritual rest this summer
A recipe for a relaxing summer afternoon: the sun’s warming rays, a cool drink, something good to read, a comfortable...
-

Keepsake Ornaments A carousel fit for a princess 👸
A Disney Princess, that is! Cinderella, Jasmine and Ariel are riding in high style on this gorgeous, gilded carousel...
-
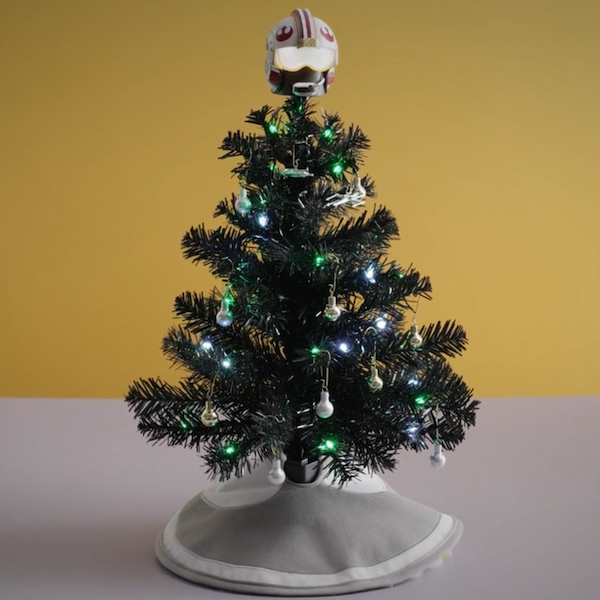
Keepsake Ornaments Mini tree, big pew-pew energy ✨
Immerse yourself in intergalactic adventure with a mini tree that's filled with Star Wars™ fun. From the Mini Star Wa...
-

Keepsake Ornaments Soar to new holiday heights with Disney Dumbo 🐘
First in the Disney Parks Memories series, this Keepsake Ornament is inspired by the original 1955 facade of the clas...
-
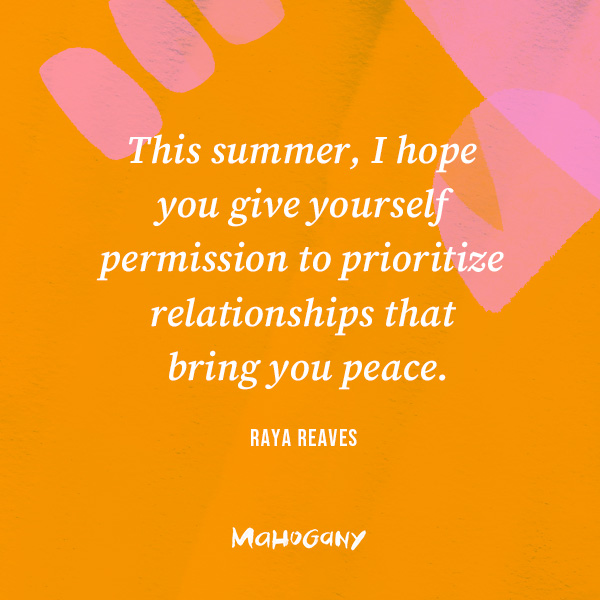
Mahogany Making new summer memories
When I think about summer and friendship together, my mind immediately goes back to one particular day in college. I ...
-

Keepsake Ornaments Avast mateys, here be pirates 🏴☠️
So it's pirates yer lookin' for, is it? Well, ye've stumbled upon a veritable treasure trove! Relive the swashbuckl...
