3 Christmas kids craft ideas, plus activities for even more easy holiday fun
From decorating the house to baking cookies, the Christmas season gives us so many opportunities to get creative and make merry memories. But there’s nothing quite as sweet as seeing the holidays through kids’ eyes. Their joy is contagious, turning the simplest moments into holiday magic.
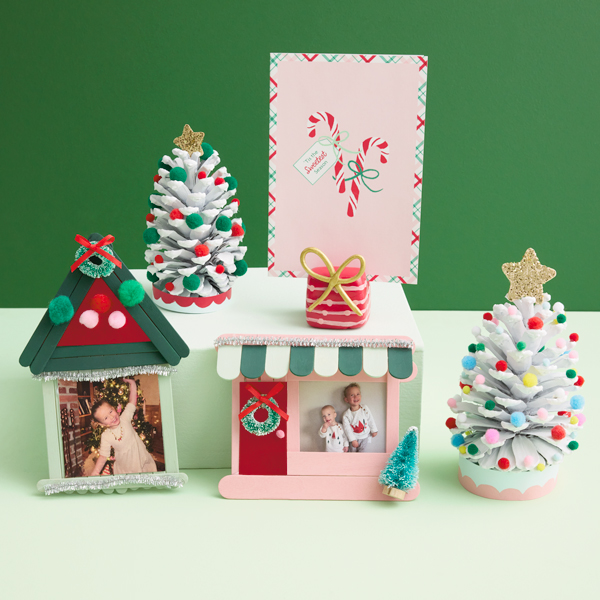
If you’re looking for festive fun to let your little one’s imagination run wild, these easy (and adorable!) kids Christmas crafts don’t disappoint. With minimal supplies and endless opportunities to express their creativity, our DIY art ideas are perfect for a holiday break “crafternoon” with the whole family. The best part? You’ll have darling new décor for your home—or personalized gifts for Grandma! Let’s get started.
Inspired? Create and share by tagging @HallmarkStores.
Merry mini Christmas card stands
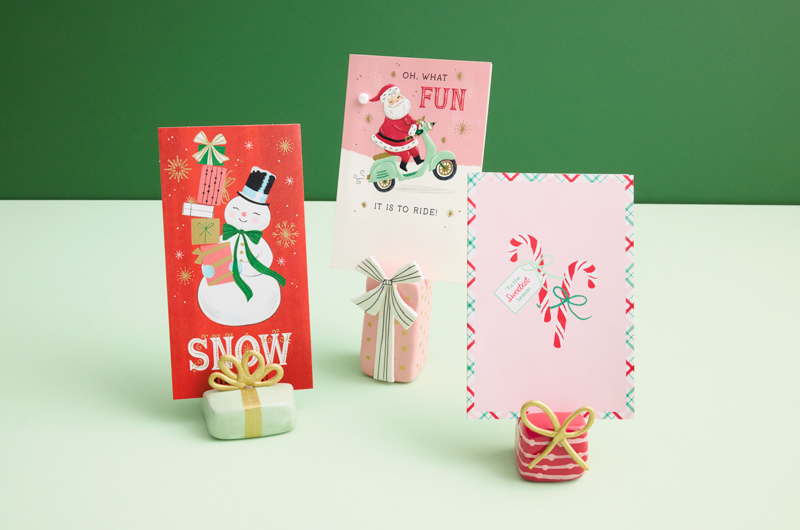
This kids Christmas craft is our gift to you—sweet, simple and oh-so adorable! Plus, it’s a fun way to deliver your annual holiday card to family members who love to display them.
Supplies:
- White Crayola® Model Magic
- Popsicle sticks
- Acrylic craft paint
- Hot glue
- Craft varnish
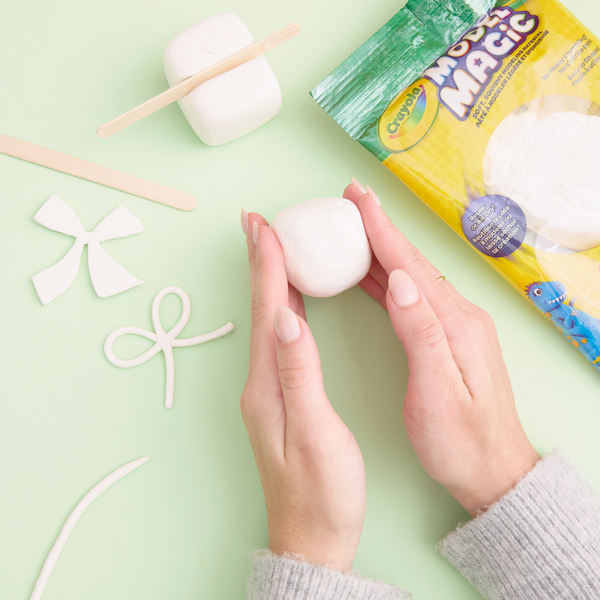
1. First, take the white Model Magic and shape it into cubes and rectangles. Each shape should look like a box or mini present.
2. Next, push a popsicle stick into the top of the present to make a slot to hold the Christmas cards.
3. Shape your bows. Using more Model Magic, roll out a long, thin rope. Use the rope to shape a classic bow. You can also shape ribbons, layered bows or any other 3D accessories you want to add to your gifts…after they’re dry!
4. Set everything aside and let it dry overnight.
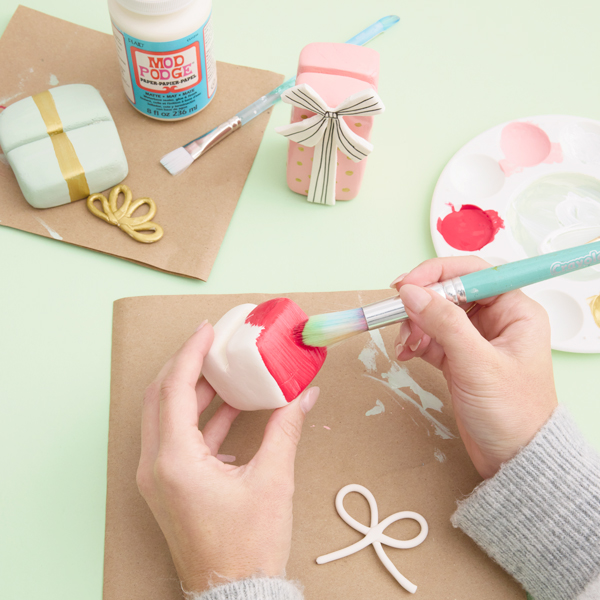
5. Once dry, paint your mini presents and bows.
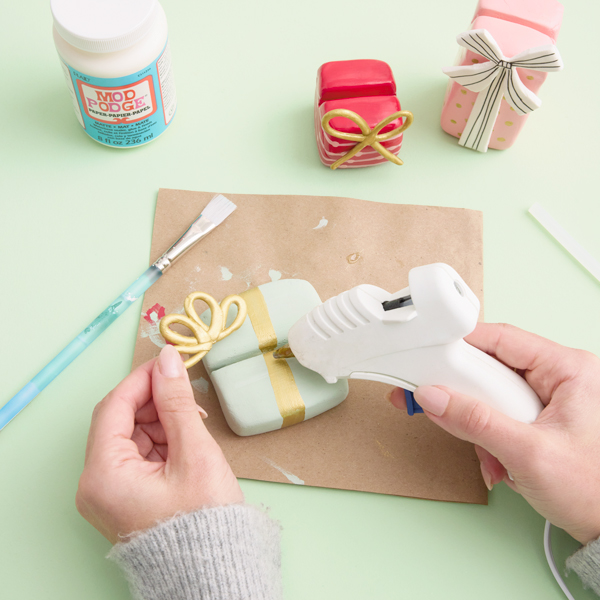
6. Once the paint is dry, hot glue the bows onto the top of the presents in front of the slot.
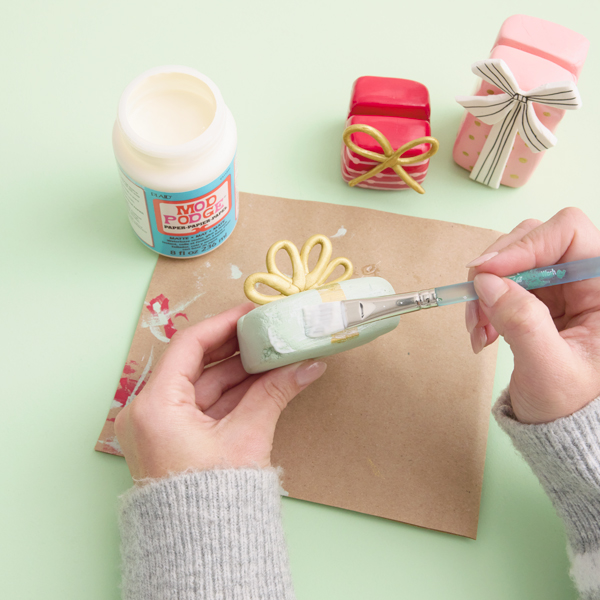
7. Finish with a layer of craft varnish to add some shine. Voila! You now have an adorable stand for Christmas cards, artwork or favorite photos.
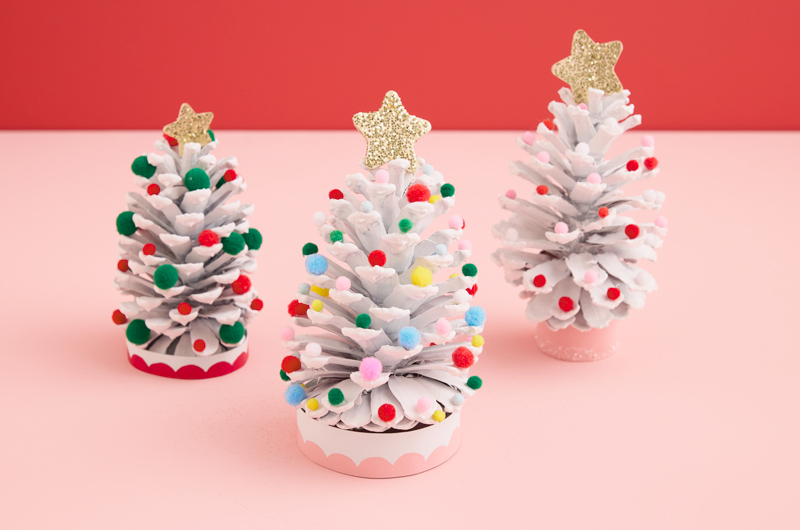
Pretty pinecone Christmas trees
Looking for inexpensive Christmas crafts for kids with supplies you have on hand? Skip a trip to the craft store and send your little merrymakers outside to get started!
Supplies:
- Pinecones
- White acrylic craft paint
- Crayola® school glue
- Glitter
- Scrap cardboard or paperboard, like a cereal box
- Pom-poms
- Toilet paper roll or scrap paper
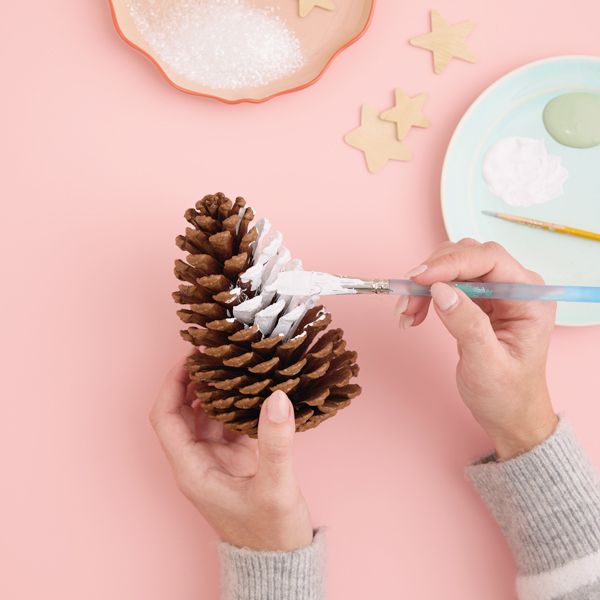
1. First, paint the entire pinecone white. Make sure to get in all the nooks and crannies! If you’re feeling fancy, you can also add glue to the edges and sprinkle on some white glitter to make it look like shimmery snow.
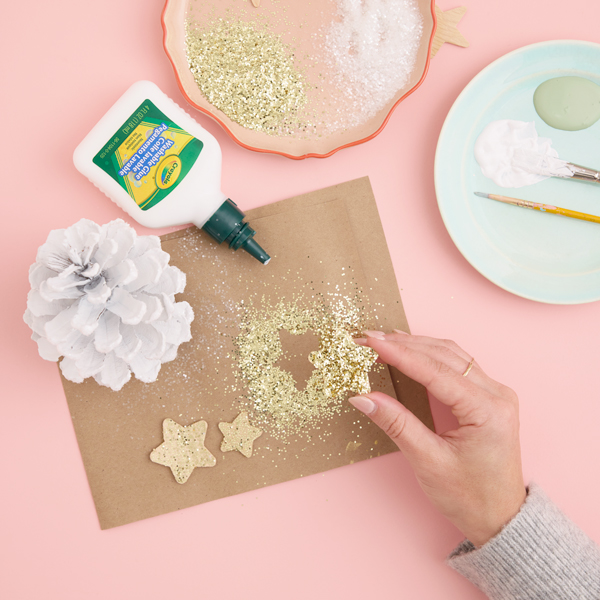
2. Next, draw a small star on a piece of scrap cardboard or paperboard, and cut it out. You could also use precut stars from a craft store. Cover your star in glue and gold glitter to make it sparkle. Let it dry, then glue it to the top of the pinecone.
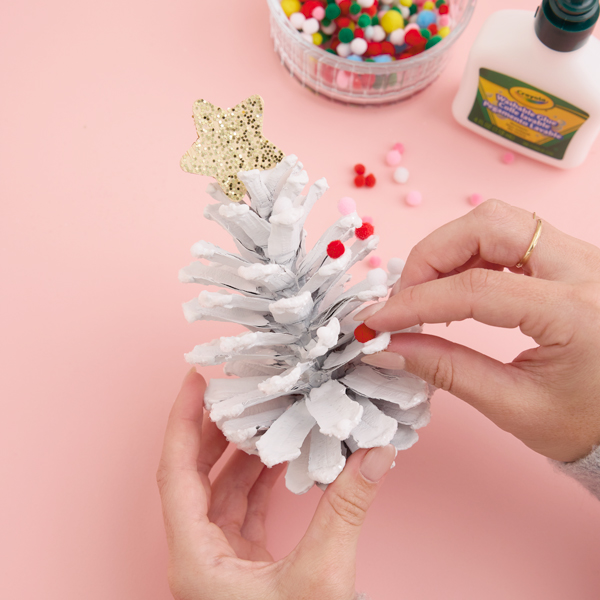
3. Now it’s time to decorate! Parents, you’re on glue duty while kiddos place all the pom-poms. Remember, when it comes to festive vibes…more is more!

4. Finally, to make the tree skirt, cut a piece from the end of a toilet paper roll to create a small ring, then let the kids paint it whatever color they choose. If you don’t have a toilet paper roll, you can cut a strip of paperboard, shape it into a ring and glue the ends together. Decorate the tree skirt with more glitter, fun drawings or paint a simple scalloped pattern like we did.
5. Place your pinecone on top of the tree skirt and stand back to admire your tree-rific new art piece. You could also glue a ribbon on top to make a tree ornament!
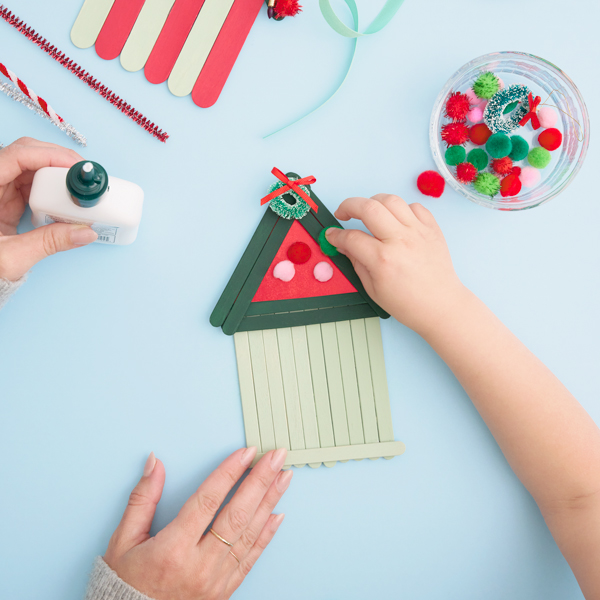
Festive Christmas village photo frames
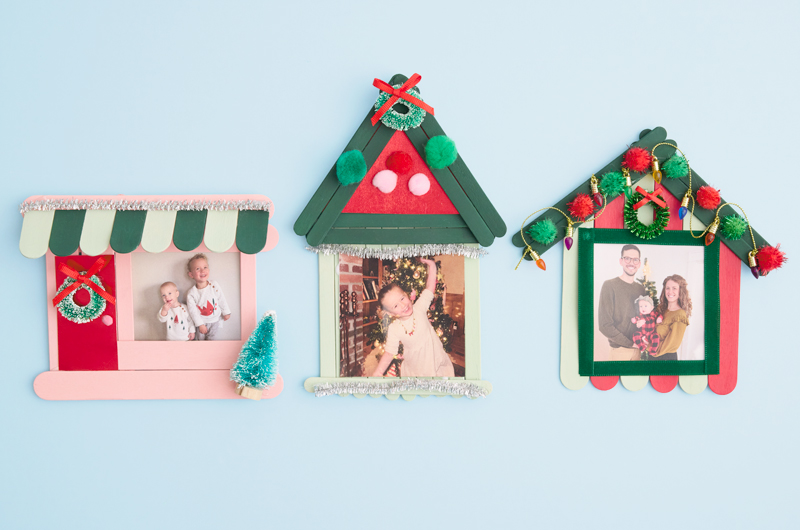
Who knew popsicle sticks could be so cute? Us, actually! This adorable DIY transforms your favorite photos into a sweet little scene straight out of a Hallmark Channel movie.
Supplies:
- Popsicle sticks (regular, jumbo or both)
- Crayola® school glue or hot glue
- Acrylic craft paint
- Decorations like pom-poms, mini trees, pipe cleaners, ribbons, glitter or cut-out paper shapes
- Family photos
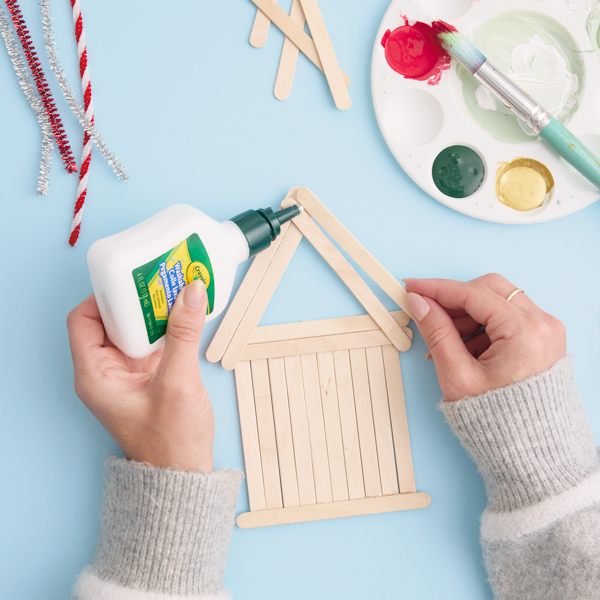
1. Gather your popsicle sticks and lay them out in the shape of a house. Make your house tall and skinny, square, rectangular—you’re the architect here! Then, using Crayola® glue or hot glue, stick everything together.

2. Next, it’s time to give it some personality. Paint your house, then let it dry.
3. Now it’s time to start adding all the delightful details—find some adorable add-ons at the craft store or make your own!
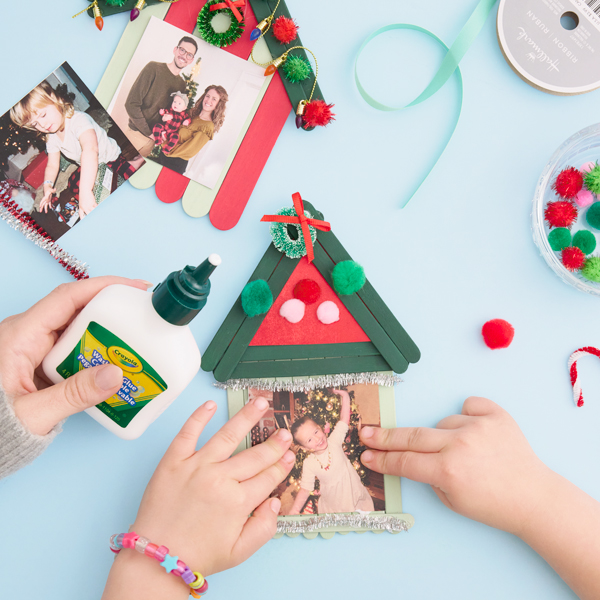
4. Choose the photos you want to display, print them out, then cut them to size and glue them onto their festive new frame.
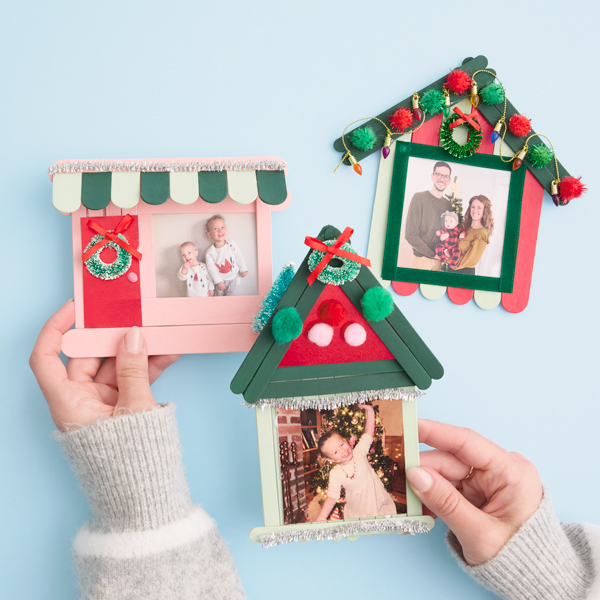
5. Display your new photo frames around your home, add magnets and put them on the fridge, line them up across the mantel or gift them to your family members!
If you’re looking for more inspiration to keep the kids occupied this holiday break or make the countdown to Christmas extra fun, might we suggest:
- Have a merry movie night with themed snacks and this cozy Christmas tree hooded blanket.
- Crank up your favorite holiday tunes and channel your inner Prancer & Dancer with a living room dance party. This holly jolly hippo plush would love to join in!
- Count down the days with our Here Comes Santa Claus Countdown Calendar. For extra fun, hide the calendar numbers around the house each day and give the kids clues to find them. The one who finds it first gets to add it to the calendar that day!
- If you’re looking for a ready-to-go craft that requires no prep or supplies, our Christmas Magic Tree Skirt Handprint Kit is just the thing. Use the included non-toxic paint to help your kids add their handprints to the skirt. Let it dry, and it’s ready to go under the tree! Parents and pets can also get in on the fun.
We hope these Christmas kids craft ideas help you and your kids make merry memories this holiday. Whether you decide to keep the final results and deck the halls or share them as gifts, they’re sure to spread joy to all.
Who knows? Maybe a Christmas “crafternoon” will even become your family’s favorite new tradition.
Shop Kids Christmas
See allYou may also like
See more-

DaySpring An Easter prayer
As we reflect on the Resurrection of Jesus, take some time to praise Him and ask for even more of His Presence in our...
-
Mahogany How to step into spring with intentional joy
Spring has always been my favorite time of year. It feels like stepping into joy. Like the world is gently reminding ...
-
Baby 80+ thoughtful baby shower ideas you’ll love
There are few things more exciting than finding out a friend or family member is expecting a baby—or going to be a ne...
-

Graduation 100+ majorly meaningful college graduation gift ideas
Choosing the best college graduation gifts for the grads in your life can feel a little overwhelming. There are so ma...
-

DaySpring He is the God who sees and loves you
If we could get together, I would tell you that no matter your decision or how you move from this moment, that I am h...
-

Mahogany Happy Women’s History Month to all the real ones who hold it down
Happy Women’s History Month to all the real ones who hold it down. The women who show up, speak up and do not fold ju...
-

Graduation The College Survival Guide and the Graduation Survival Guide: Make the perfect graduation gift even better
The College Survival Guide and the Graduation Survival Guide were created to turn the most-requested high school grad...
-

Mother's Day 60+ first Mother’s Day ideas to give Mom her moment
As a mom, I can tell you that there’s nothing like celebrating Mother’s Day for the first time. My child was finally ...
-

DaySpring Eight influential Christian women throughout history
March is Women’s History Month, so we’re taking a look at some influential Christian women throughout history and the...
-
DaySpring Some things are worth the wait
I don’t know what you have been waiting for, but if it comes from Him, it is going to be good. It is going to be wort...
-
Mahogany Strength doesn’t always roar...sometimes it whispers
I was sitting in the chemo chair the day my doctor told me the treatment was no longer working. The room felt colder ...
-

Gifting 85+ “just because” gift ideas to show you care
Sharing a gift is a wonderful way to let someone know that they’re appreciated and cared for. With so many reasons to...
-
Mother's Day What is Mexican Mother’s Day: A look at a heartwarming celebration of motherhood in Mexico
At Hallmark, we believe mothers deserve love and recognition in every country (and in every language). In Mexico, mam...
-
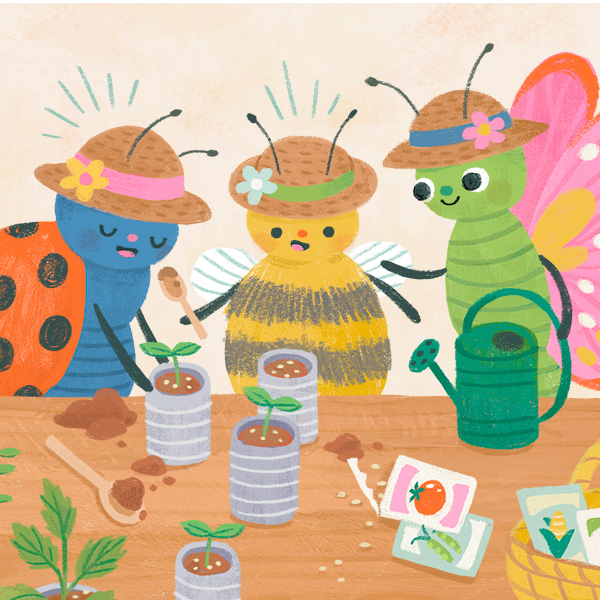
Spring Small garden ideas: 25+ creative ways to make the most of a tiny outdoor space
Spring is hereeeee! 😍 And if you’ve been out and about, chances are you’ve seen more than a few reminders that spring...
-
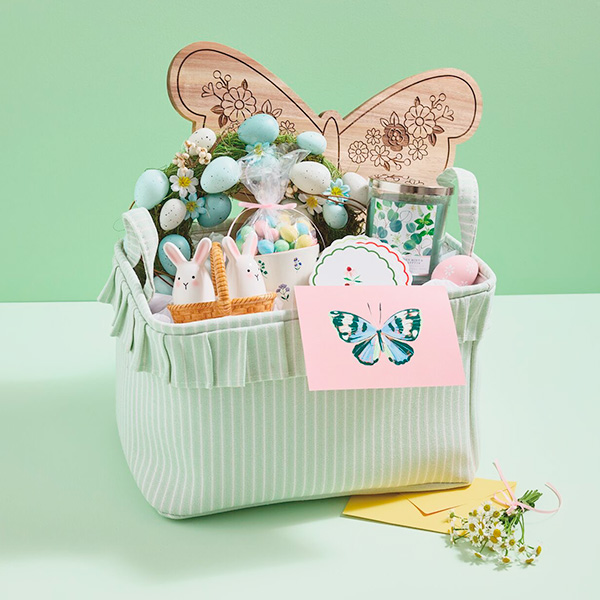
Easter 70+ festive Easter basket ideas for adults—because grown-ups need fun, too!
With its fresh vibes and warming weather, spring is easy to love. And if you’re looking for a way to bring even more ...
-

DaySpring The hidden fruit of a frozen season
I believe there is an invitation from God to bear fruit…even in winter. Your winter season, whether literal weather o...
-
Mahogany How to navigate change with your friends
There is a level of uncertainty that comes with change, even wanted change. I have spent years writing about marriage...
-
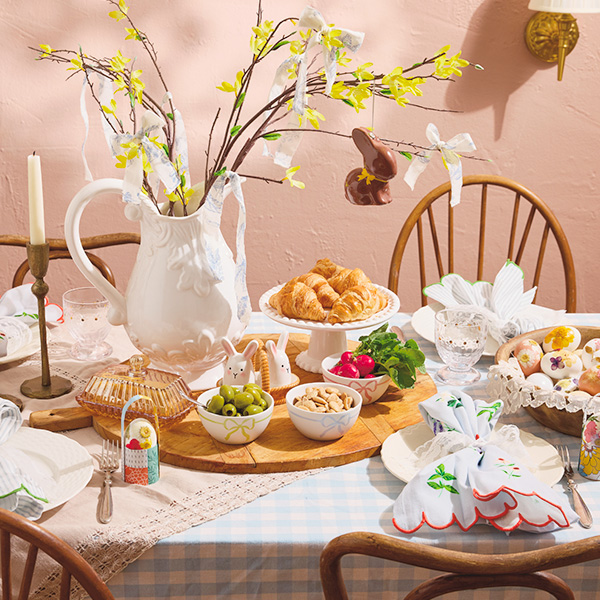
Easter 50+ vintage Easter decor ideas to bring the charm this spring
Decorating for Easter can put a little spring in your step, especially if there’s vintage Easter decor involved! If y...
-
Spring Lean into the season: 35 spring ideas and activities for a fresh start
We know it’s a cliché to say that spring is the season of hope and new beginnings and whatever, but clichés are clich...
-

DaySpring Meet the DaySpring contributors
The DaySpring Writing Community is where women of different ages, life stages, cultural backgrounds and church tradit...
