Super cute chocolate cherry cake truffles

There’s something deeply satisfying about one-bite desserts. Maybe it’s the fun of eating with your fingers. Maybe it’s the way your brain tells you, “That was just one bite! You should immediately have another one.”
These chocolate cherry cake truffles check that box, and they do it in a ridiculously cute way. They also come with a tasty twist on your average cake pop recipe—a maraschino cherry in the middle—that’s sure to delight the special someone, BFF or group of friends you decide to celebrate with this Valentine’s Day dessert.
Inspired? Create and share by tagging @HallmarkStores.
Chocolate Cherry Cake Truffle Ingredients
What you’ll need:
- Chocolate cake mix (dark chocolate or devil’s food preferred)
- Buttercream frosting (recipe below)
- Two 12oz. bags red candy melts
- 1 16oz. jar maraschino cherries
- Solid vegetable shortening
- Red sugar sprinkles
- Toothpicks
- Parchment paper
Buttercream frosting:
- 1 cup (2 sticks) unsalted butter, room temperature
- 3 ½ cups powdered sugar
- ½ cup cocoa powder
- 2-4 teaspoons heavy cream (2% milk works in a pinch)
- Pinch of salt
- 1 teaspoon vanilla extract
Yields approximately 6 dozen (72) cake truffles.
Notes: Maraschino cherries can be tricky to locate in stores. If they’re not with the canned/jarred fruit, look near the olives and pickles. Also, if you don’t need this many cake truffles, simply freeze one cake and half the buttercream for a small cake or another batch of cake truffles later.
Step 1: Bake the cake
Could you make a cake from scratch? Absolutely. But while we know you love your people and would do anything for them, this step is one that’s best made as easy as possible. Since I don’t think there’s any such thing as “too much chocolate,” I go for the chocolatiest cake mix I can find—devil’s food is great.
Bake the cake (cakes, if you’re using two round pans instead of a 9×13″ dish) exactly according to package directions, no changes necessary. Allow the cakes to cool in the pans for about 5 minutes, then turn them out onto a cooling rack. Allow them to cool completely—at least an hour.
Step 2: Strain and halve the cherries
While the cake is cooling, strain the maraschino cherries in a mesh strainer over a food-safe bowl. Save the juice for something yummy—like these Cherry Vodka Sours!
Cut the cherries in half and place them cut-side down on a paper towel to dry out a bit. This will help keep the filling from getting too wet and messy when you’re assembling them, and will also keep the truffles a manageable size.
Step 3: Make the buttercream frosting
Add the two sticks of room-temperature butter to the bowl of an electric mixer fitted with a paddle attachment. Turn the mixer on low to break the butter up a bit, then increase speed to medium and whip for about 30 seconds, or until the sides of the bowl are covered in light, fluffy butter.
Turn the speed back down to the lowest setting and add the powdered sugar to the butter one cup at a time. Once the sugar is somewhat incorporated, remaining at low speed, add the cocoa powder, pinch of salt and vanilla.
Begin adding the heavy cream or milk one tablespoon at a time. When things start to come together, turn the mixer speed up to medium, adding more cream until you get a light, fluffy frosting. You might need to stop the mixer and scrape down the sides of the bowl once or twice to get all the butter mixed in.
Tip: Forgot to set the butter out before starting the frosting? Put the sticks in the microwave, wrappers on, for 10-15 seconds. They’re softened enough when they have a tiny bit of give to them.
Step 4: Crumble cake into frosting
Channel your inner 1-year-old and smash that cake up with your bare hands, then sprinkle it into the mixing bowl with the chocolate buttercream frosting. Big chunks, little chunks, it doesn’t matter.
Once all the cake has been added, turn the mixer on low. Allow the paddle attachment to break the cake down and mix it into the frosting a bit, then once it starts coming together, turn the speed up to medium and mix for about a minute until you have a thoroughly combined filling.
Congratulate yourself on making your cake truffle filling by sneaking a bite or two. I won’t tell.
Step 5: Form the cake truffles
You’ve got your filling. You’ve got your cherries. Let’s put them together!
Take a rounded teaspoon of cake truffle batter and use your fingertips to flatten it out a little. Place a halved maraschino cherry in the center and press the batter up around the sides.
Take another half a teaspoon of the batter and put it on top, roughly pinching the sides and top together. When the cherry is well covered, gently roll the truffle into a little ball with the palms of your hands. Set the truffle aside on a piece of parchment paper.
Once you’ve got all your truffles formed, place them in a container and freeze for 4 hours, or overnight.
Step 6: Make the DIY cherry stems
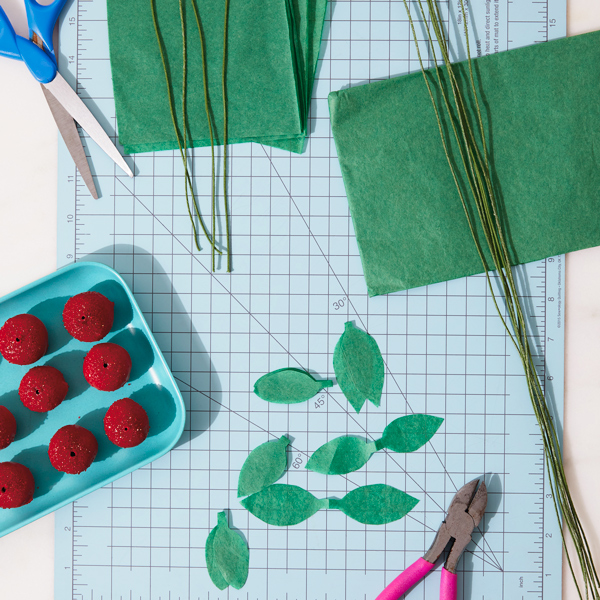
Okay, so you don’t have to be this cute with your chocolate cherry cake truffles, but we absolutely encourage it.
To make the stems for your little cherry lookalikes, you’ll need:
- green coated floral wire, cut into 3″ strips (use wire cutters or a pair of scissors you don’t care about…not your good scissors)
- green tissue paper
- piece of scrap paper or card stock
- pencil
- scissors
- tape
Make the leaves
First, draw a leaf shape on a piece of scrap paper in pencil, then cut it out. This will be your pattern. (Though if you’re comfortable with the idea, go ahead and freehand those leaves in the following steps instead.)
Stack four pieces of tissue paper on top of one another. On the top piece, trace around the leaf you cut out of scrap paper. Trace the leaf all around the edges of the tissue paper, as many times as you can comfortably fit.
Cut the leaves out carefully with a good pair of sharp scissors. (You could also use a cutting mat and craft knife, if you have them.)
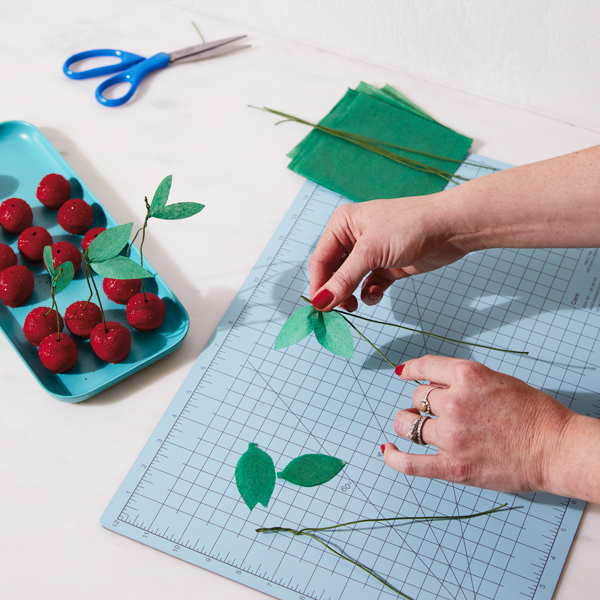
Assemble the stems
Next, take two strips of floral wire and twist one end together. Take two tissue paper leaves and using tape, attach them to the twisted end of the floral wire “stems.” Done!
Step 7: Warm the candy melts
Warm the candy melts according to the package directions. At the right temperature, your candy coating should drizzle easily off of a spoon.
But if you’re making your chocolate cherry cake truffles in a cold kitchen in February, this consistency is hard to achieve and your melted candy coating is likely to cool and set up thicker and faster than you’d like.
So we highly recommended adding the two following steps to the package directions:
- Melt the candies in a saucepan over low heat or in a double boiler instead of a microwave. That way you’re not having to reheat them every 2-3 minutes (maddening).
- Add solid vegetable shortening, a teaspoon at a time, to your melts to help you get that thin, glossy, drizzly consistency at a lower temperature.
Step 8: Dip and sprinkle the chocolate cherry cake truffles
Remove the formed truffles from the freezer. Insert a toothpick into a truffle and dip it into the melted candy coating, using a spoon to get consistent coverage if needed. Tap the toothpick gently on the side of the saucepan to remove excess coating. (If the excess isn’t coming off easily, the coating is too thick…thin it with a little shortening as directed above.)
Set the dipped truffle on parchment and immediately top with red sugar sprinkles. Don’t wait until you have a few dipped—the candy coating sets fast, and once it does, the sprinkles won’t stick.
After the coating has had about 30 seconds to set, gently wiggle the toothpick out of the dipped and sprinkled truffle, and move on to the next one. I find that once you get going, by the time you’ve dipped and sprinkled the third truffle, you can go back and remove the toothpick from the first one.
Tip: Got a wonky looking truffle? You can totally roll them after they’ve been chilled to get them into the desired shape.
Step 9: Insert the DIY cherry stems
Part of what makes these chocolate cherry cake truffles so cute is the little green DIY cherry stems. So let’s add them!
Just take the free ends of each completed stem and poke them into a cake truffle, using the holes created by the toothpicks earlier.
Do we have ideas for serving them at a party? Do we ever! Style your own Valentine’s Day Cocktail Party with our ideas here.
Shop Valentine's Day
See allYou may also like
See more-
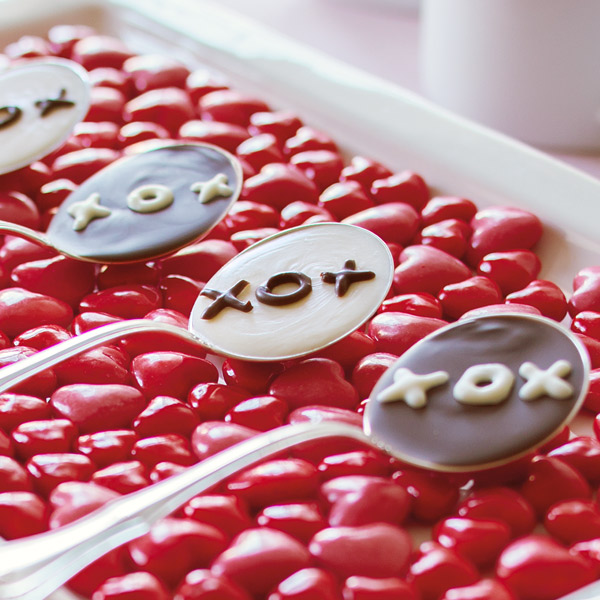
Dessert Chocolate spoons
Make ’em swoon with these chocolate spoons made for stirring in some sweetness. Melted milk chocolate and white choco...
-
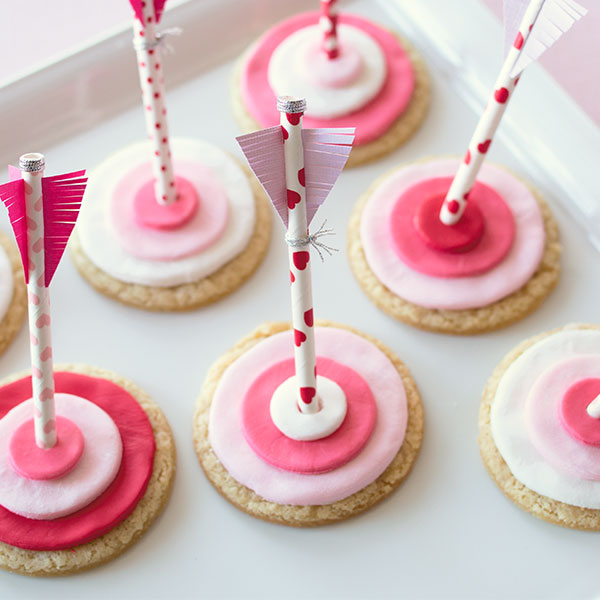
Dessert Valentine’s Day sugar cookies
Looking for a no-bake Valentine's Day treat? These Valentine's Day sugar cookies hit the mark...or, target. Start wit...
-
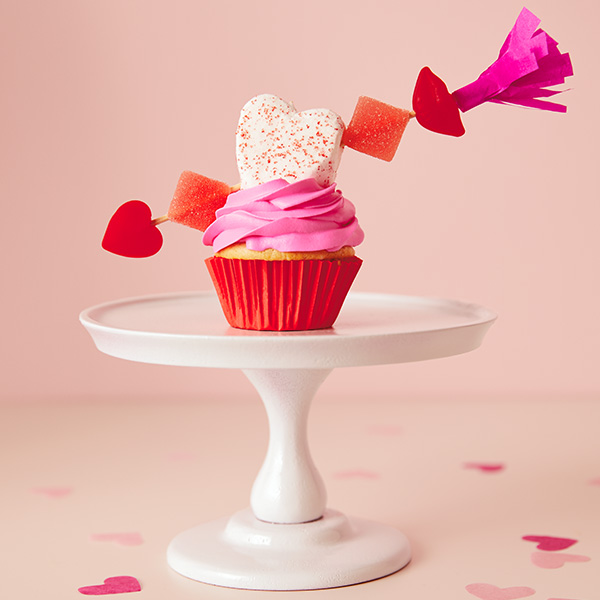
Dessert Cupid Valentine’s Day cupcakes
Cupid hits his mark with these fabulous Valentine's Day cupcakes complete with an arrow made from a wooden skewer and...
-
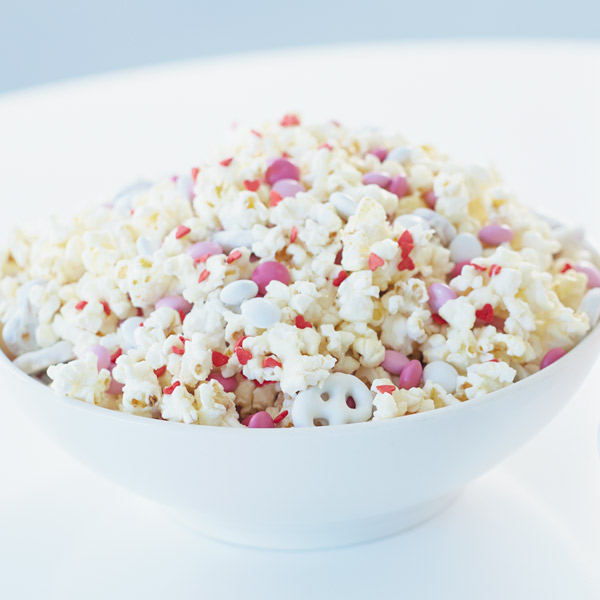
Appetizer & Snacks Valentine snack mix
Need an easy Valentine's Day party treat? We've got you covered with this sweet and simple Valentine snack mix. This ...
-
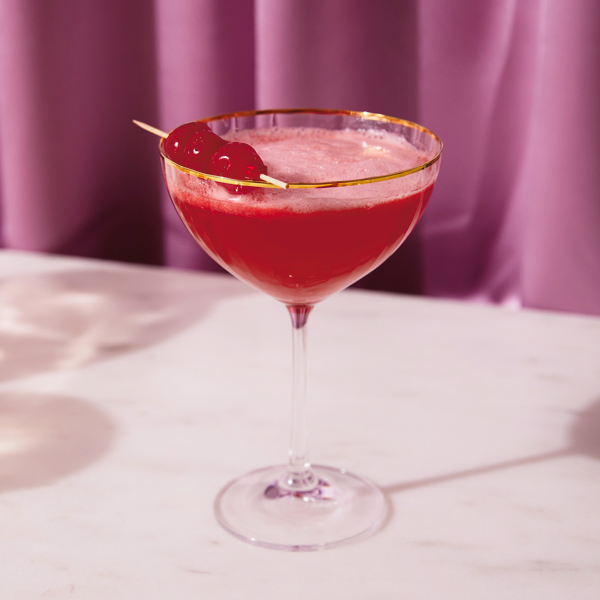
Valentine's Day The Sweetest Cherry Vodka Sour Cocktail
If you’re the sort of person who loves going all out on Valentine’s Day AND you also love a good theme party, then th...
-

Dessert Love on Display Valentine Cupcake
Present the object of your affection with…an object of your affection. A jar is the perfect container for a cupcak...
-
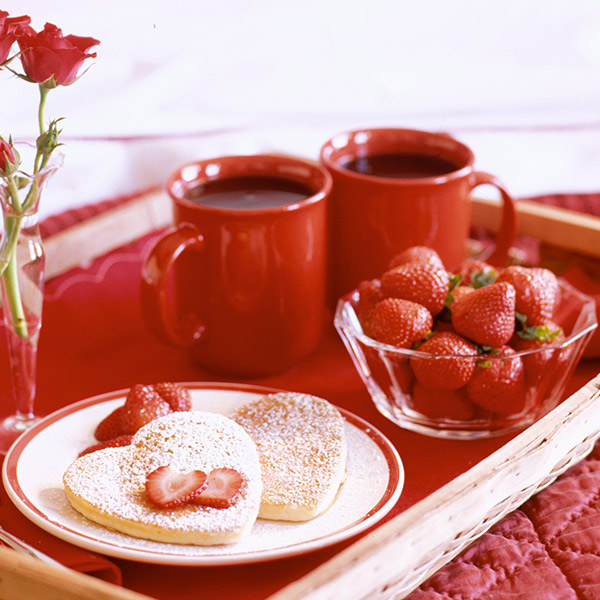
Valentine's Day 6 heart-y Valentine’s breakfast ideas
Here at Cupid capital, we have the perfect way for you to start your Valentine’s Day: a heart-y breakfast. These s...
