

How to wrap a present: a step-by-step guide with pictures!

In theory, we all know how to wrap a present. You get some wrapping paper, fold it around a box, tape the paper—in like, places—and then it’s done. It’s a present.
The problem is that having a theory about how something is done and actually doing that thing (and doing it well) are very different.
So if you’ve never wrapped a present or you have wrapped a present and been thoroughly underwhelmed by the results, this article is for you. We’re going through the process of how to wrap a present step-by-step, with pictures and details that will help you on your way to becoming a present-wrapping pro!
Inspired? Create and share by tagging @hallmarkstores.
Step 1: Gather your materials
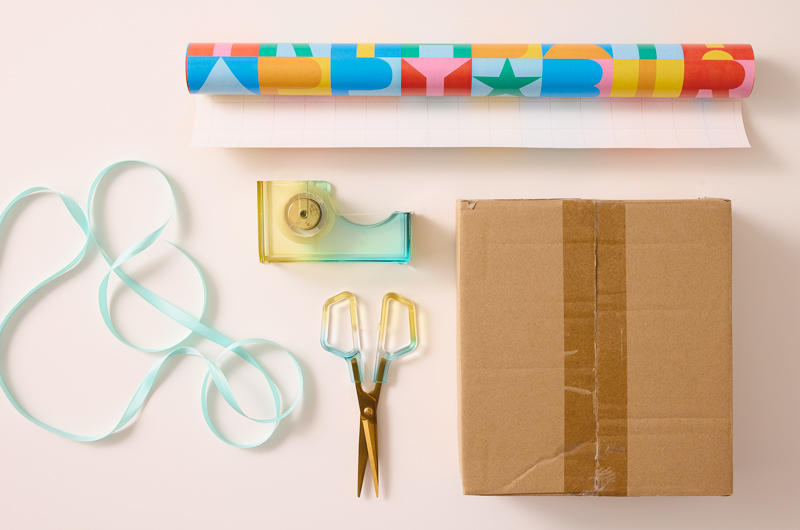
Just like any project, having everything you need within easy reach is key when it comes to how to wrap a present.
You’ll need:
- a box to put your gift in
- wrapping paper
- scissors
- tape
- some ribbon or a bow (optional but highly recommended)
Step 2: Determine your width
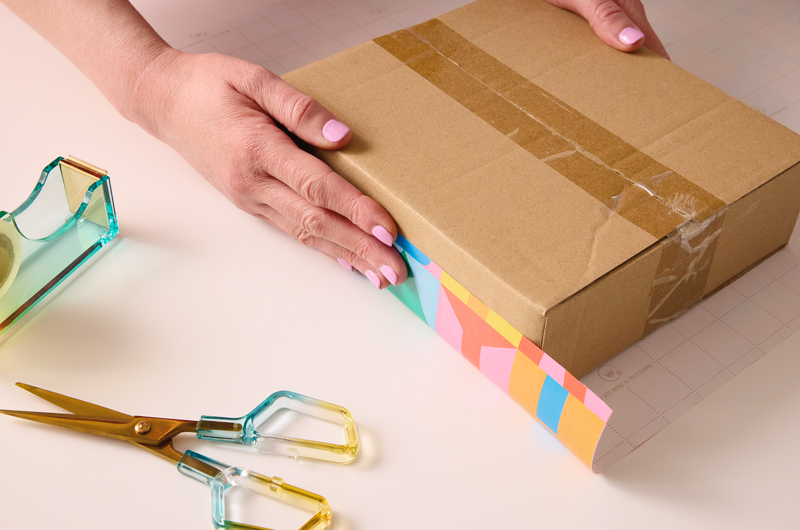
Roll out your wrapping paper and place the box you’re wrapping on top of the reverse/blank side. Ideally, the width of the piece you cut will reach just 2/3 up each side of the box.
Tip: Making crisp creases and folds at the ends will be so much easier if you’re not wrestling with excess wrapping paper.
Step 3: Cut the width of your wrapping paper
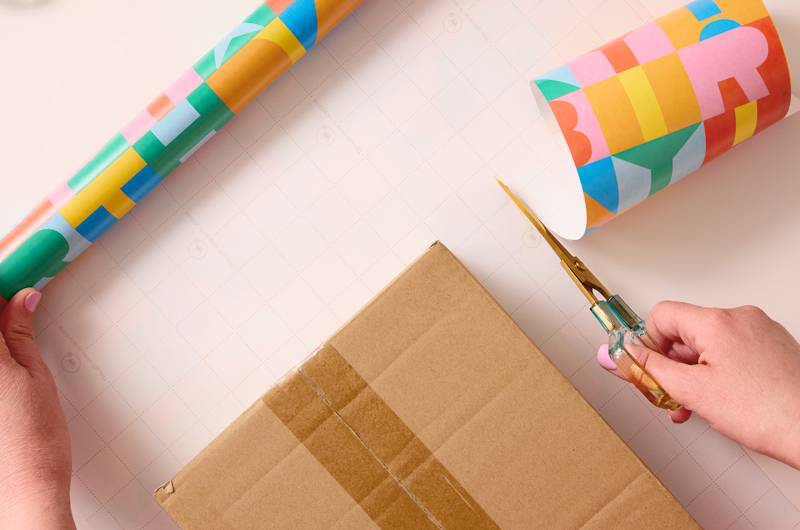
Once you’ve double-checked to make sure you’ve got an equal amount of paper extending out on both sides, use a pair of scissors to cut your width.
Tip: Cutting the width now will save you from having to cut off excess later, which usually ends up jagged and a little sloppy looking. (Not speaking from experience or anything. 😬) It’s super helpful if it’s wrapping paper with a grid on the back to help you measure! All Hallmark gift wrap has this handy-dandy grid on the back.
Step 4: Measure and cut the length of your wrapping paper
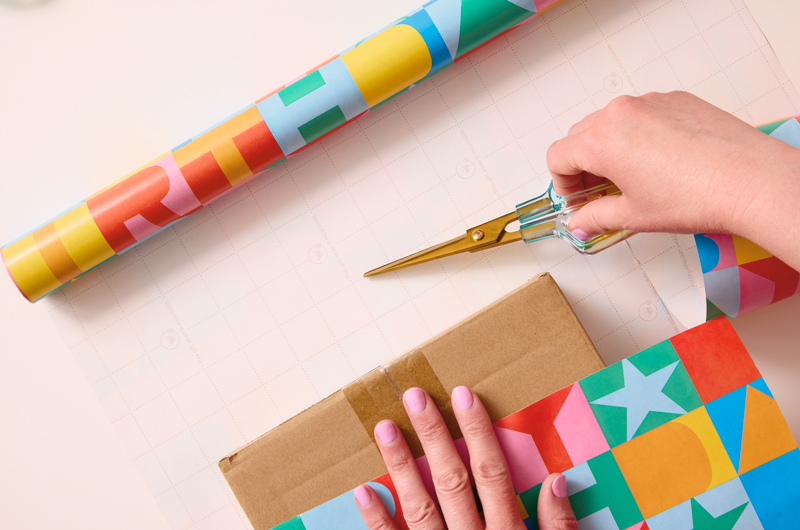
After you’ve cut for width, measure out a length that’s long enough to go around all four sides, plus a couple inches for overlap. Note where this is, then slide the box back a bit to allow yourself room to cut as shown.
Tip: Measuring also helps you avoid waste, making that roll of wrapping paper last!
Step 5: Place your box carefully
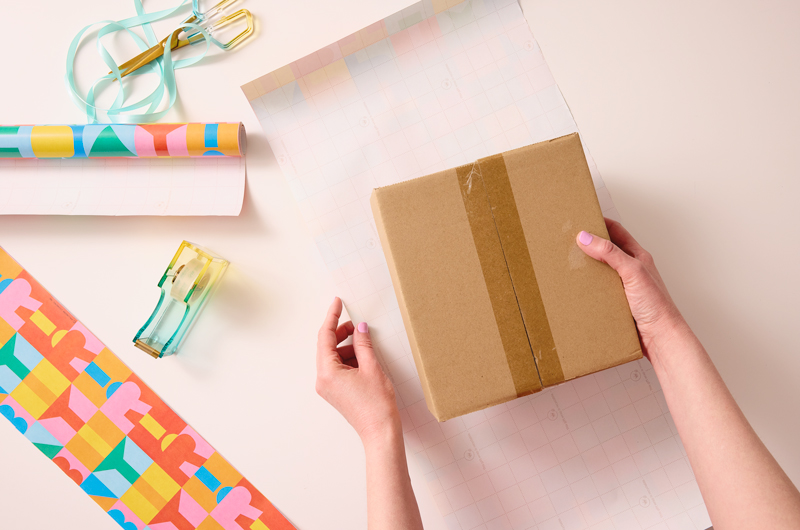
Place your box with the top facing down at the center of the width of your paper and near the top of the length of your wrapping paper. If your wrapping paper has a grid on the reverse side, use it to help align the box.
Tip: Strategically placing the box ensures an even amount of overlap on all sides. This helps make sure you don’t have any uncovered areas!
Step 6: Do a “test fold”
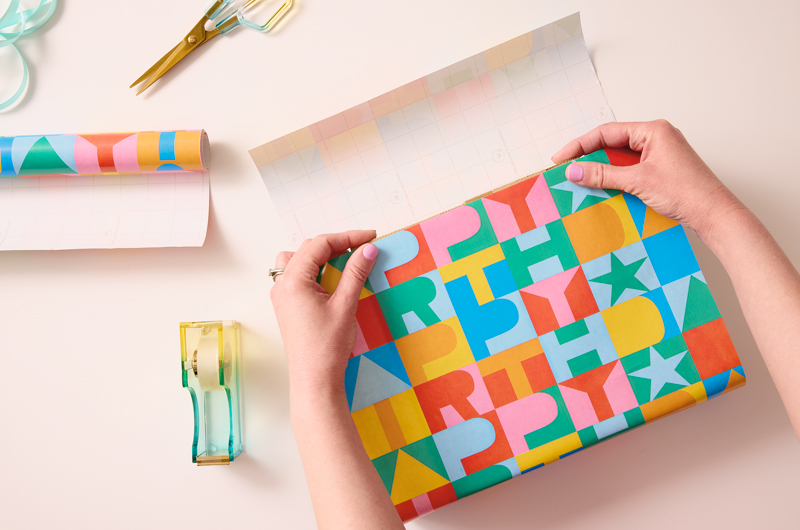
Fold the bottom length of the wrap up to the top edge of the box. If it meets that edge, and you’ve got that top length to provide you with overlap, you’re golden. ✨
Tip: Double-checking where you want to fold your wrapping paper before creasing or taping it ensures a neater wrap. It’s also helpful if you’re the sort of person who’s very particular about patterns matching up.
Step 7: Fold down and tape the top length
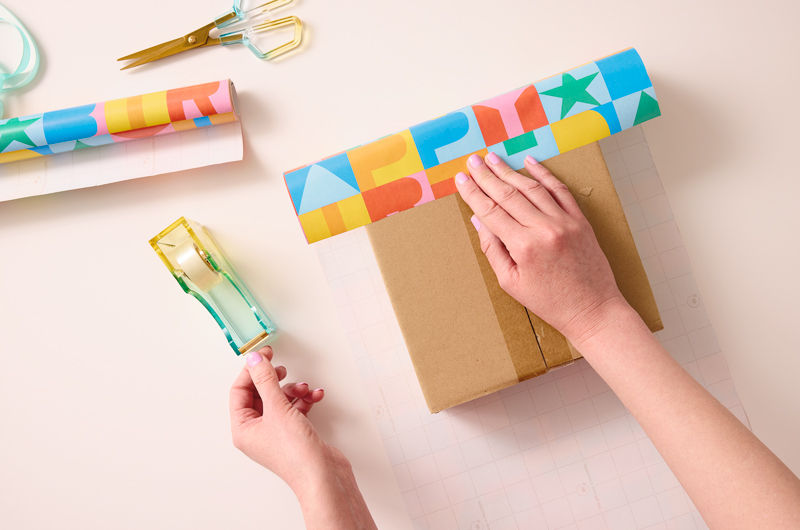
Fold the top length of the wrapping paper over the top edge of the present and secure with one strip of tape. The paper should only cover an inch or two of the box.
Tip: Taping the first edge down keeps the paper from sliding around and making your wrapping turn out crooked. It’s also easiest to fold up the lengths before worrying about any creasing on the widths or sides of the box.
Step 8: Fold up and tape the bottom length
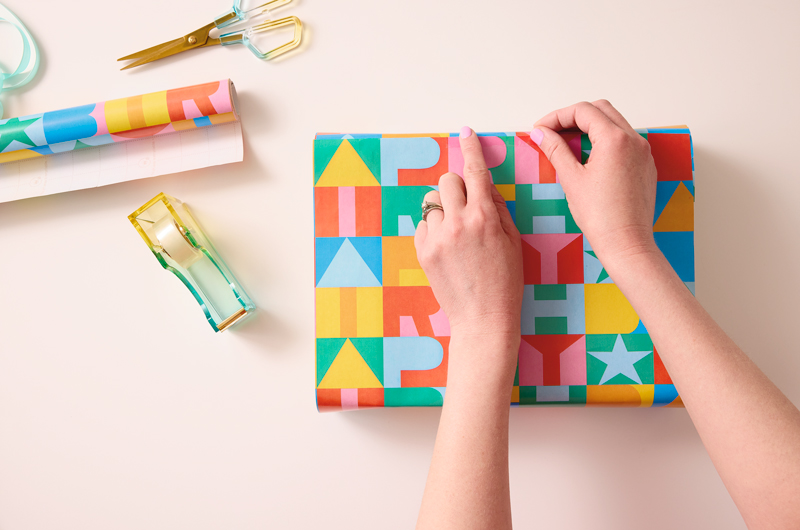
Bring the remaining bottom length of wrapping paper—the part you did your “test fold” with—up and over the box, overlapping the length you taped down in Step 7. Tape it down along the edge.
Tip: Taping the paper at the edge of the box, rather than in the center, makes any misalignments in the wrapping paper design (florals, characters, repeating patterns) less noticeable. If you’re worried about the design not matching up, opt for solid-colored gift wrap or gift wrap with a busy, irregular pattern that will disguise any crooked seams!
Step 9: Crease at the sides
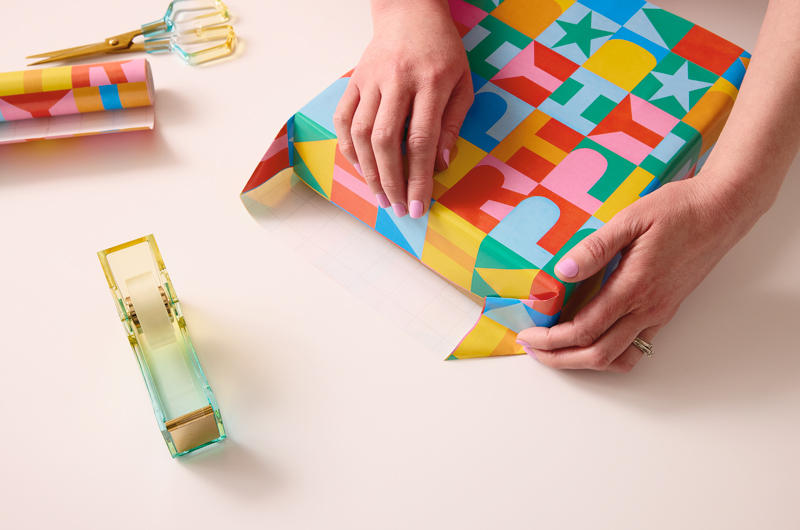
Fold down the top flap of paper that extends beyond the side of the box. Crease it where it meets the corner to make a triangle-like shape, first at the top, then at the bottom.
Step 10: Fold the creases in
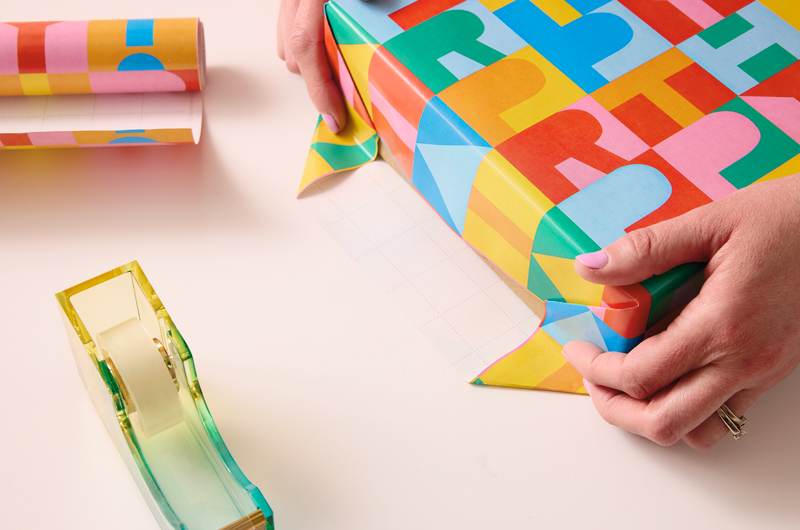
Once again, use the corners of the box as a guide and fold the initial creased flaps you made inward, toward the center of the box.
Step 11: Fold the flap up and tape
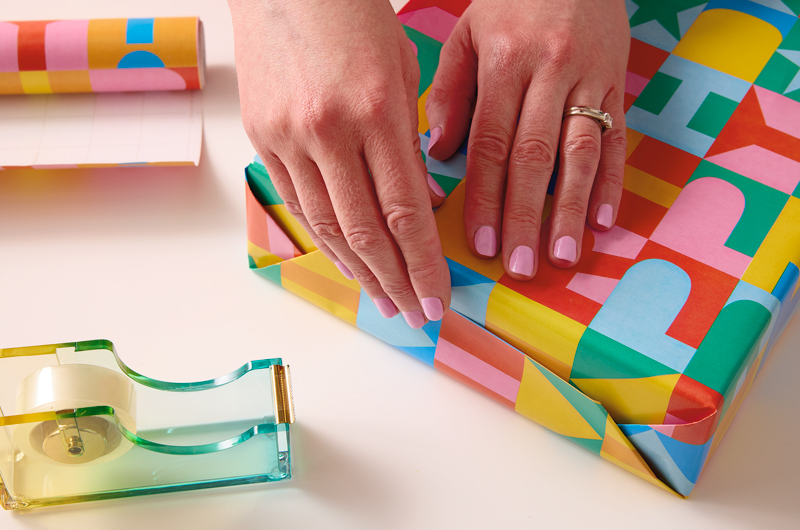
Just like it sounds, easy-peasy. 😊
Step 12: Repeat creases on the other side
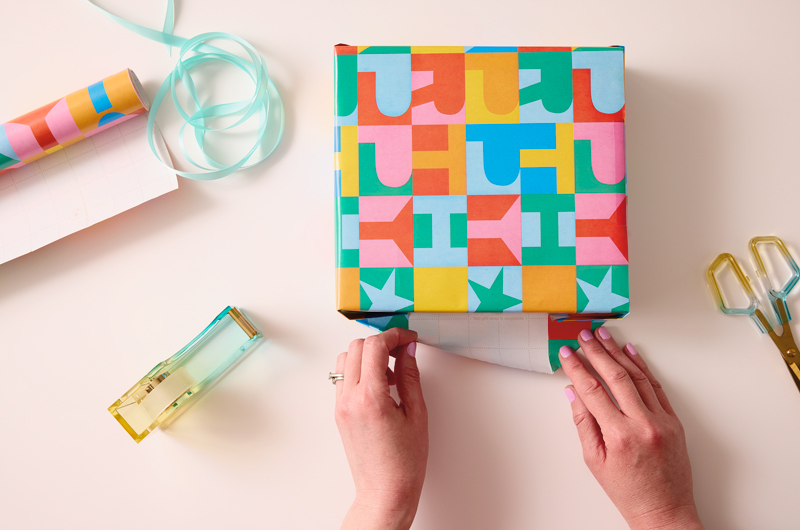
You’re basically a pro at this now. 😏
Step 13: Crease all the way around
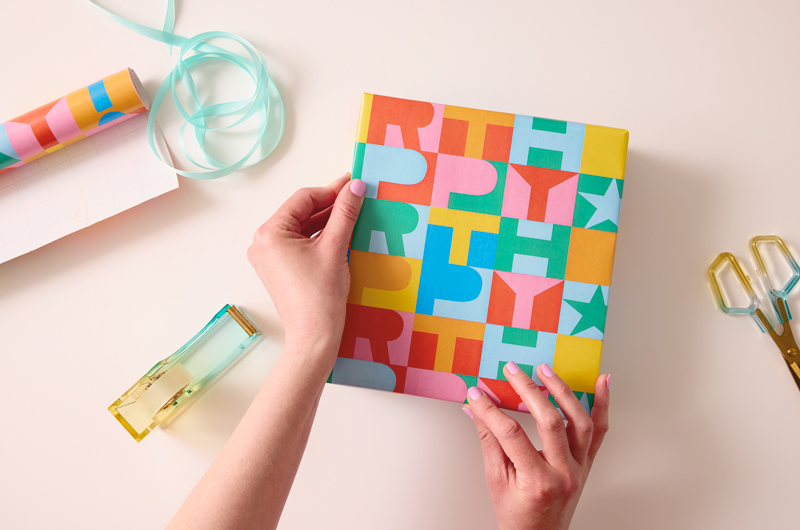
Using your forefinger and thumb, crease along the corners of the box at the top, bottom and sides. This removes any remaining “puffiness” in the paper and gives your present a nice, clean look.
Step 14: Add a bow and a card!
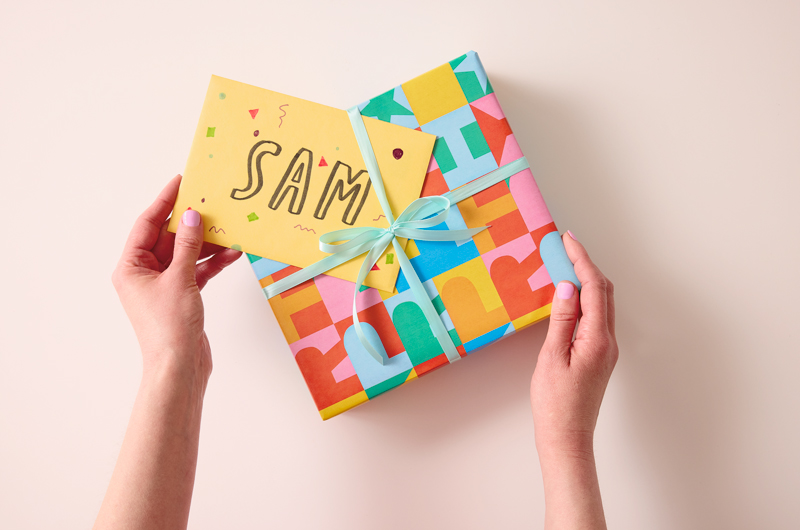
Tie some ribbon around your gift, slip a card underneath the ribbon and you’re done!
There you go! Now that you’ve gone through this step-by-step guide on how to wrap a present you have all the secrets to getting a perfectly wrapped gift box. But that’s just the start! We can get wayyyyyy fancier if you wanna. 🤩
Check out these fun ways to get your gift-wrapping status to legendary:
Shop Gift Wrap
See allYou may also like
See more-
Christmas Make your Christmas merrier with Disney: Explore the Holiday Ever After collection!
We all have that one thing we can’t do without during the holidays. Maybe Christmas doesn’t feel like Christmas witho...
-

Mahogany When rejection stings and it feels like God keeps closing doors
Sis, let me tell you something about how God works. When He is looking out for you, His protection can look a whole l...
-
Christmas Why our family loves the Shepherd on the Search: A Christ-centered Christmas tradition
In our home, a variety of Advent activities have passed through over the years. Our Nativity set still has a prominen...
-
DaySpring An unexpected sign of God’s love
For years at my annual check-up, my doctor has urged me to get moving. She was less concerned about what I did, as lo...
-
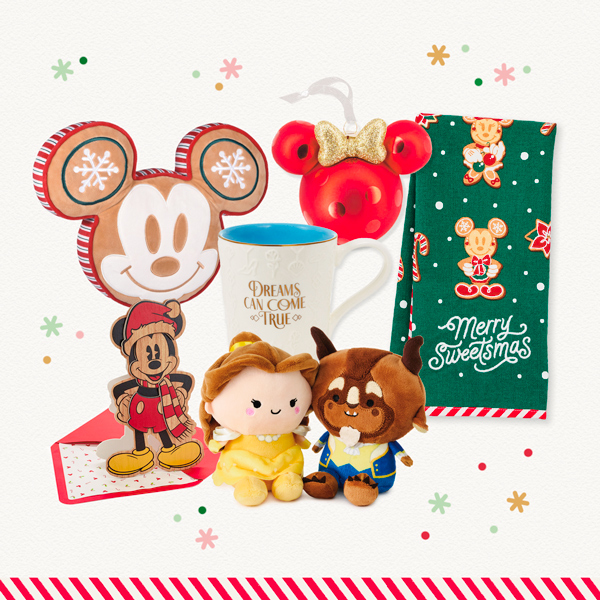
Christmas Gift ideas to help you share the wonder of Disney this Christmas
There’s no denying it—Disney just hits different at Christmas. The magic, joy and wonder we associate with the holid...
-
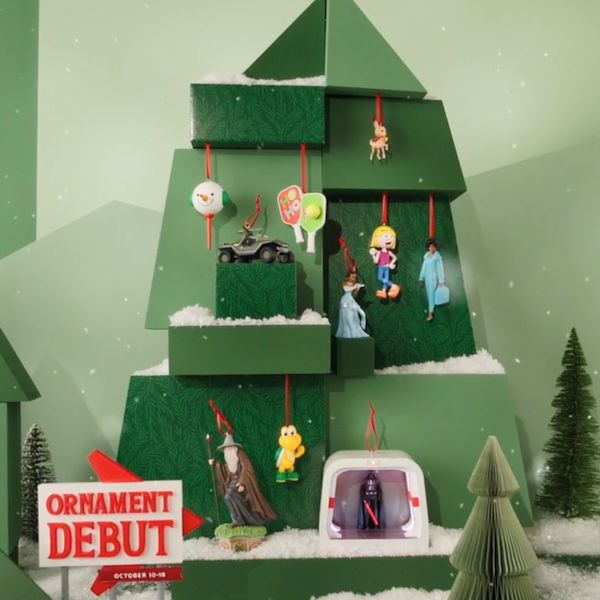
Keepsake Ornaments There’s something for everyone at Keepsake Ornament Debut! 😍
Millennial nostalgia? Check. Fandom favorites? Check. Christmas wonder? CHECK. With more than 150 new Keepsake Orname...
-
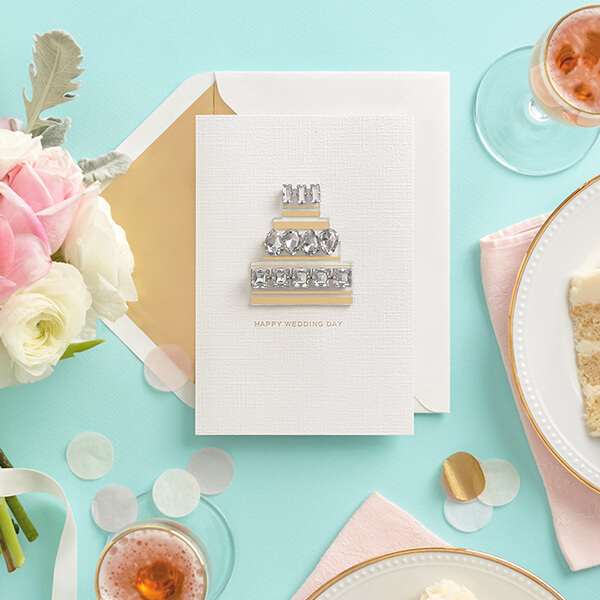
Wedding Wedding wishes: What to write in a wedding card
Imagine yourself in the parking lot walking in to your friend’s wedding reception—pen in hand, necktie/pantyhose in a...
-
Mahogany Believing bigger, one year at a time
In 2021, I was grieving. My husband had passed, and the holiday season leading up to the anniversary of his death had...
-
Halloween Upgrade Your Halloween movie night traditions with these fun ideas
These days, Halloween is more chock-full of movies than ever before, from cozy and nostalgic to downright spine-chill...
-

Fall ¿Qué es el Mes de la Herencia Hispana?
El Mes de la Herencia Hispana (en inglés: Hispanic Heritage Month), también conocido como el Mes de la Herencia Latin...
-
Mahogany Why fall always feels like a fresh start
One of my favorite childhood rituals happened before the school year even began. Long before the first day of school,...
-
DaySpring If you struggle to accept what is
Statements that come out of my mouth during summer include: “Why can’t I grow magnolias?” “Why don’t we have live...
-
Halloween Halloween boo bag ideas for your entire boo crew
If you’re looking for some good-natured Halloween hijinks, boo bags would be the perfect fun tradition to add to your...
-

Gift Wrapping How to put tissue paper in a gift bag
Gift bag + tissue paper = a quick gift-wrap solution. Sure, it’s easy enough, but there are a couple of tricks to ...
-
DaySpring Create space for faith in your everyday planning
Despite the ease of planning and scheduling our lives on our electronic devices, many of us find a physical planner o...
-
Mahogany How to let go of the familiar and embrace the unknown
For my 27th birthday, I planned to go to Paris with my then boyfriend—but we broke up a few months before the trip. F...
-

DaySpring Even though we must rest, our God keeps watch always
The day my husband and I brought our firstborn baby home was both magical and frightening. Still in our 20s, we’d be...
-

DaySpring Reading, writing and recharging our faith
There’s something in the air. Parents and kids scurry through the retail aisles, checking supply lists, picking out n...
-
Halloween Gosh! What a fun surprise for Disney fans! 🦇
Is it even really Halloween without a little lighthearted mischief? We don't think so. That's why we love this motion...
-
Halloween Allergy-friendly Halloween treats and nonfood alternatives for trick-or-treaters
A lot of us don’t think about how many allergens are in most traditional Halloween treats. But if you have little one...