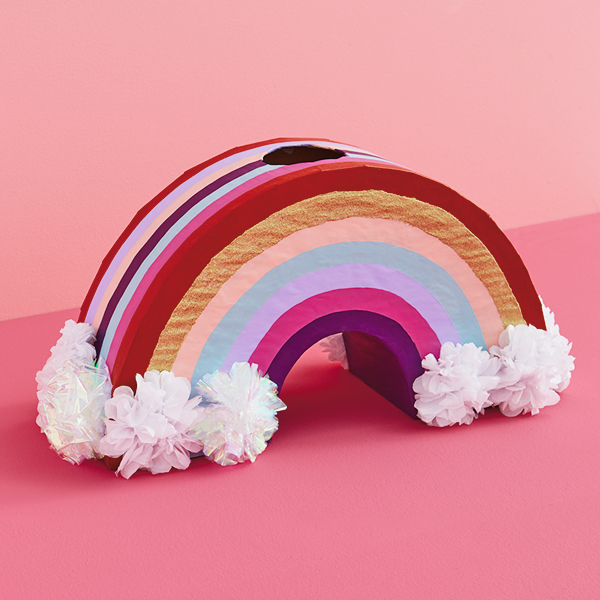
DIY rainbow valentine box
This design is for that child who when asked what their favorite color is exclaims, “the rainbow!” (They may or may not be future Hallmarkers.)
One of the best things about this rainbow valentine box is that you can customize the colors however you want. If your kid wants nothing but shades of purple in their rainbow? You can totally make that happen. Get the details, including the free printable, below.
Inspired? Create and share by tagging @HallmarkStores.
What you’ll need:
- Rigid cardboard or paperboard (like cereal boxes)
- Single-face corrugated cardboard or paperboard
- Scratch paper (at least the size of the rainbow you’re making)
- Craft paper or grocery bags (optional)
- Tissue paper, pom-poms or cotton balls for clouds
- Craft knife
- Cutting mat
- Glitter
- White glue
- Pencil
- Glue stick
- Masking tape
- Hot glue gun
How to make your DIY Rainbow Valentine Box
- Get the free download. Download and print the DIY Rainbow Valentine Box template.
- Make the arches. Sketch out the pieces on scratch paper. Then trace onto rigid cardboard and cut out. Approximate size and detail available in the free download. Tape the squares or “feet” of the rainbow to the arches using masking tape.
- Add top and bottom. Cut two strips from the single-face cardboard as wide as the bottom squares. Cut an oval or rectangular mail slot in the strip that will go on top. Attach bottom and top to sides using masking tape.
- Paint or wrap it. To cover up the masking tape, either paint the box white or cover with craft paper (which is what we did).
- Sketch the rainbow. Decide how many colors you want your rainbow to have. Sketch each stripe lightly in pencil to indicate the different colored arches.
- Paint the stripes. Of course you can do a classic rainbow, but feel free to choose your own color palette!
- Add glitter. To add sparkle, make a 50/50 mix of glitter and glue in a small jar or bowl, then swipe it on.
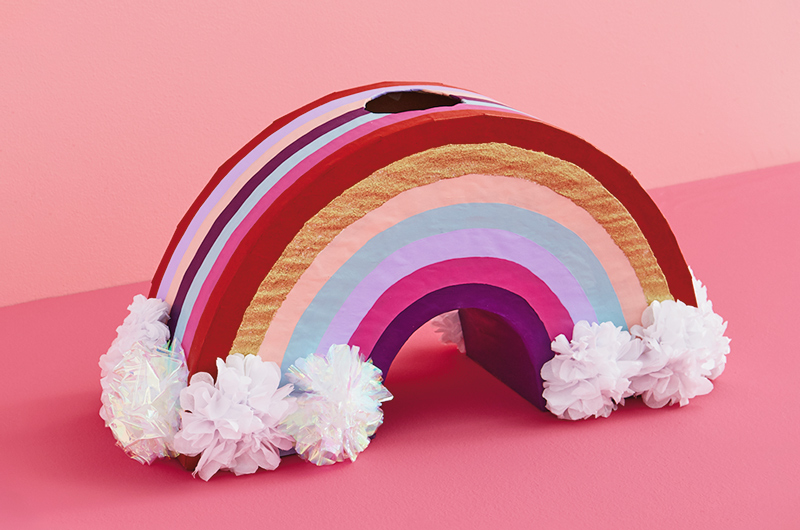
- Make the clouds. Scrunch up little balls of tissue paper, make tissue paper flowers, or glue on pom-poms or cotton balls. Whichever you use, simply hot glue them to each end of the rainbow to create clouds.
Go brighten up the party!
Tip: If you’re using something like a cereal box, cover it with a coat of primer or craft paper before you start painting so the existing print won’t show through your design.
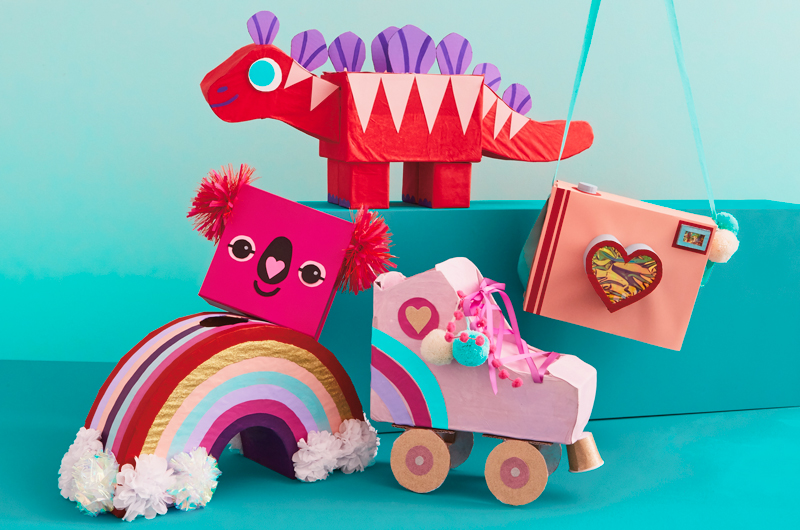
Check out more of our fun DIY valentine box ideas here. Want even more ideas? You know we have ’em:
Shop Valentine's Day
See allYou may also like
See more-
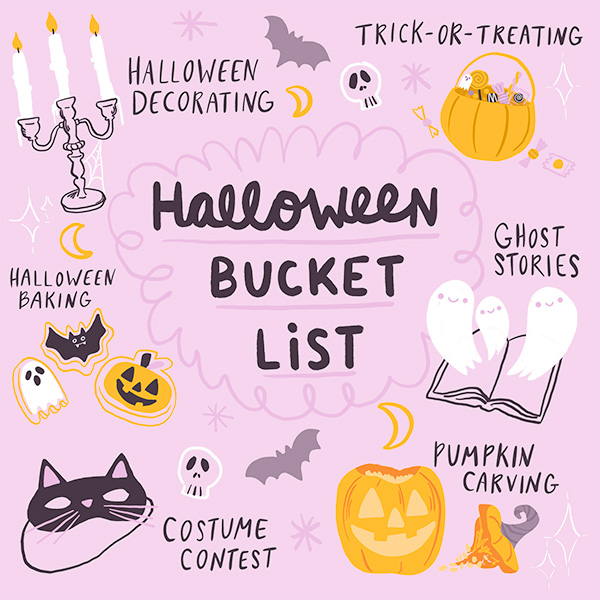
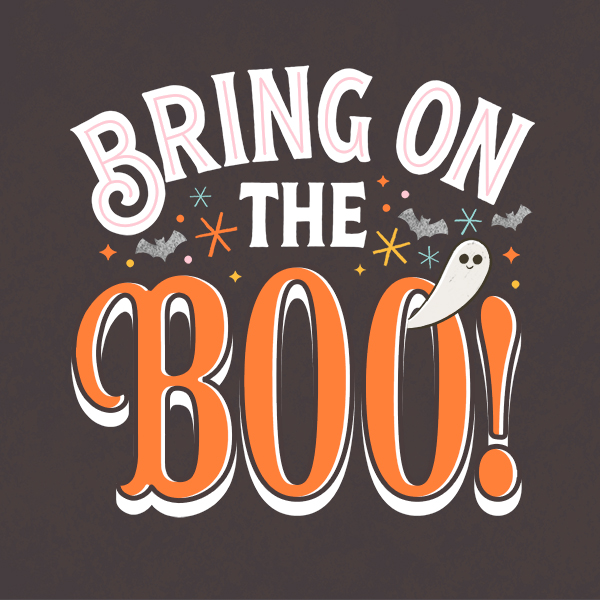
Halloween Your Halloween bucket list: fun, cozy and creative things to do all October long
It’s no surprise that Halloween is a favorite for many. It’s a season filled with pumpkin carving, crisp breezes and ...
-
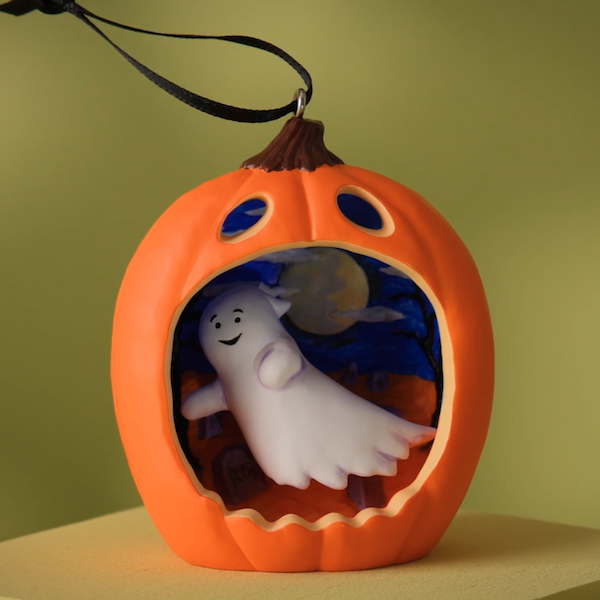
Keepsake Ornaments Add some Halloween glee to your tree! 🎃
From sassy cats to friendly ghosts, vintage vampires to mischievous kittens, we have lots of options if you're lookin...
-
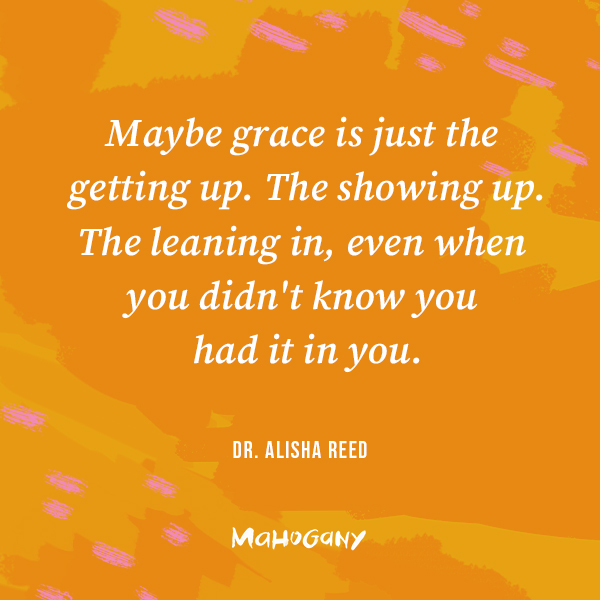
Mahogany You do it all with so much grace
I was sitting in a coffee shop the other morning, when a woman walked up to me. She looked at me and touched my arm a...
-
Halloween More than a night: The trends shaping Halloween 2026
For years, Halloween has been celebrated on a single night. But all of that’s changing. From frightfully fun activiti...
-
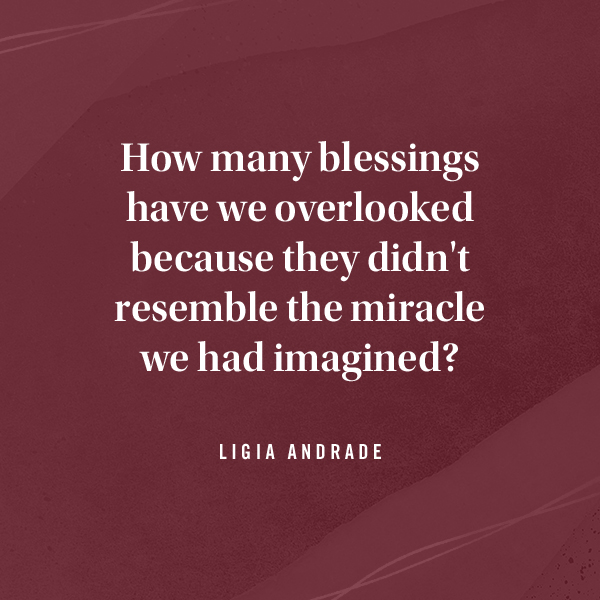
DaySpring God’s answers might just be hidden in the ordinary
I wasn't your average 17-year-old dreaming about weekends at the mall or sleepovers with friends. Instead, I was cons...
-
Mahogany The joy of movement
As I've gotten older, I've learned that wellness isn't just about exercise. It's about feeling good, living well and ...
-

DaySpring How to start each day feeling renewed by grace
Amid the demands of daily life, carving out time for spiritual nourishment can indeed be a challenge. However, center...
-

Keepsake Ornaments Complete your collection!
Class is in session with Defense Against the Dark Arts professor Gilderoy Lockhart™. 🪶 ✨ Complete your Harry Potter a...
-
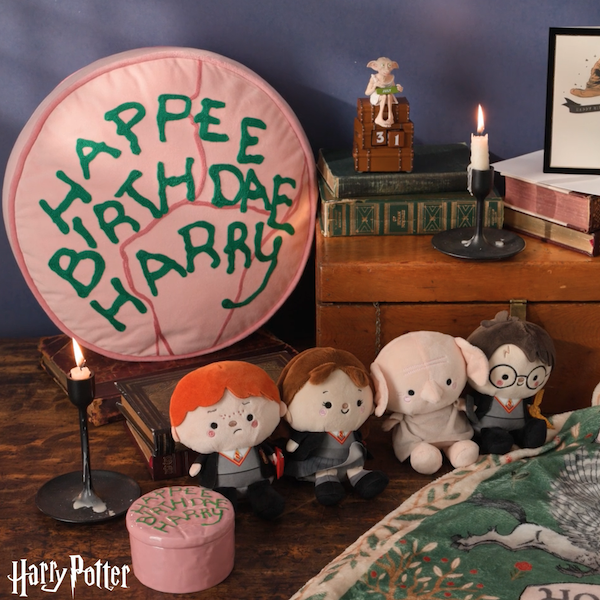
Gifting Happee Birthdae, Harry!
Celebrate the birthday of the Boy Who Lived with this fun collection of Harry Potter gifts! From cozy blankets perfec...
-
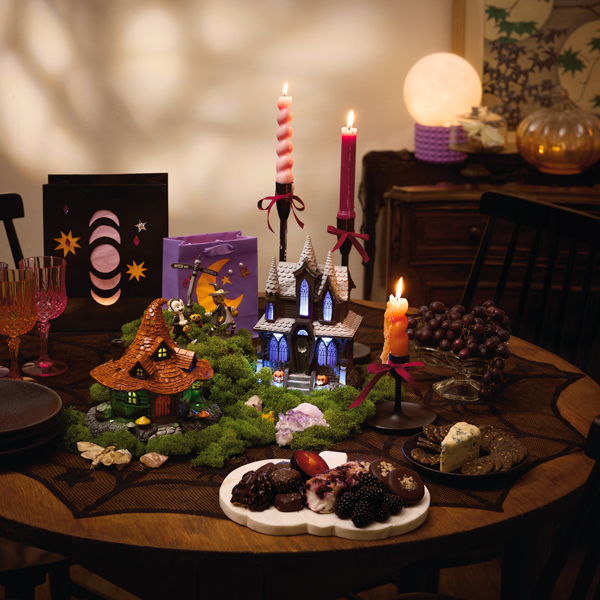
Halloween Witchy Halloween party ideas: Fun crafts and activities for a magical night in
Witch-themed parties have always delighted Halloween fans. They offer hosts and partygoers alike the chance to intera...
-
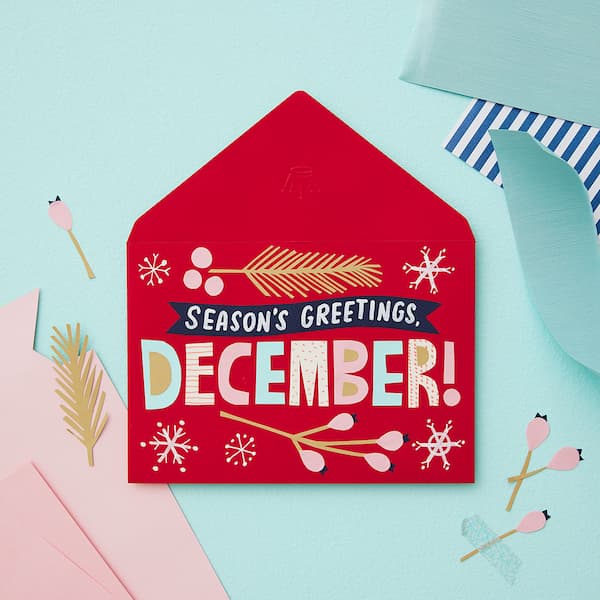
Calendar Flip Share More Moments: December 2026 Holidays and Observances
Whichever holidays you celebrate, whatever your traditions and whoever you call family, December is a month full of m...
-
Calendar Flip Hey, Pumpkin! October 2026 Holidays and Observances
Get info, ideas and inspiration for October holidays and observances, including free sharable quotes and digital wall...
-
Calendar Flip Share joy, give thanks: November 2026 Holidays and Observances
Get info, ideas and inspiration for November holidays and observances.
-
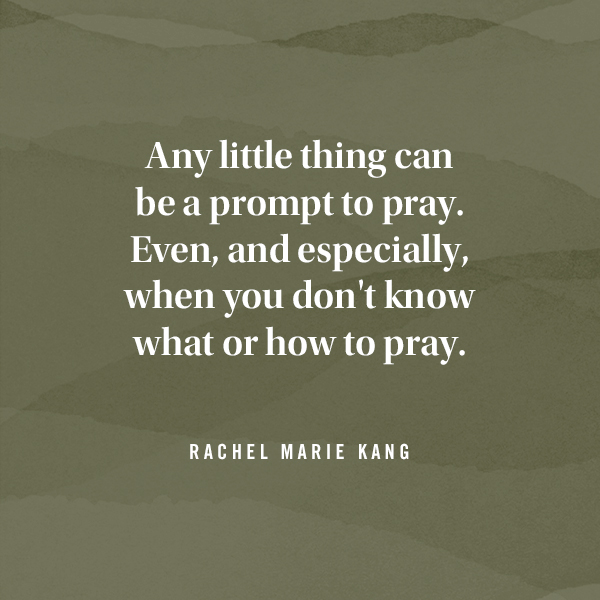
DaySpring The secret to praying when you don't know how to pray
I open the closet door in a room that is not my own. I put packages of diapers on the top shelf, rearranging and rest...
-
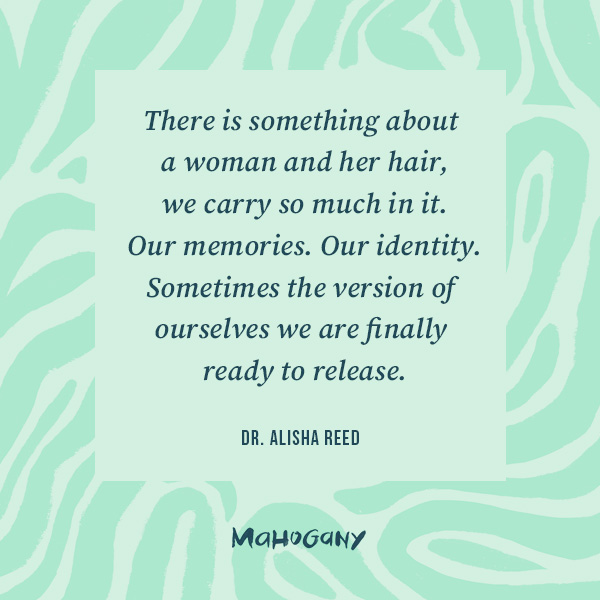
Mahogany Every woman has a hair story
I always take a selfie as soon as I get in the chair at my hair appointment. Most women take photos after, but it’s t...
-

Keepsake Ornaments An epic adventure for your tree 🧙🏻♂️
Relive some of your favorite moments from The Lord of the Rings: The Fellowship of the Ring™ with this Keepsake Ornam...
-

Keepsake Ornaments What a great little tree! 🎶🎄
This little tree has a LOT going for it. And just like the one in "A Charlie Brown Christmas," this Peanuts® ShowTopp...
-
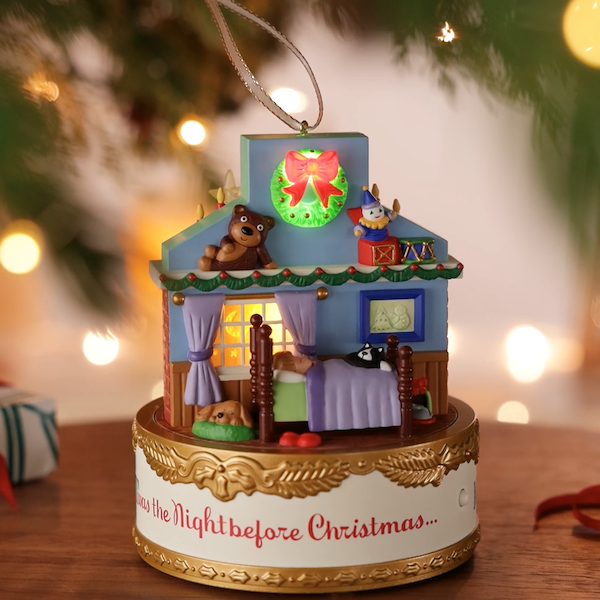
Keepsake Ornaments Childhood nostalgia incoming! 🥰
This incredible Keepsake Ornament depicting scenes from the classic poem, "A Visit from St. Nicholas," will take you ...
-
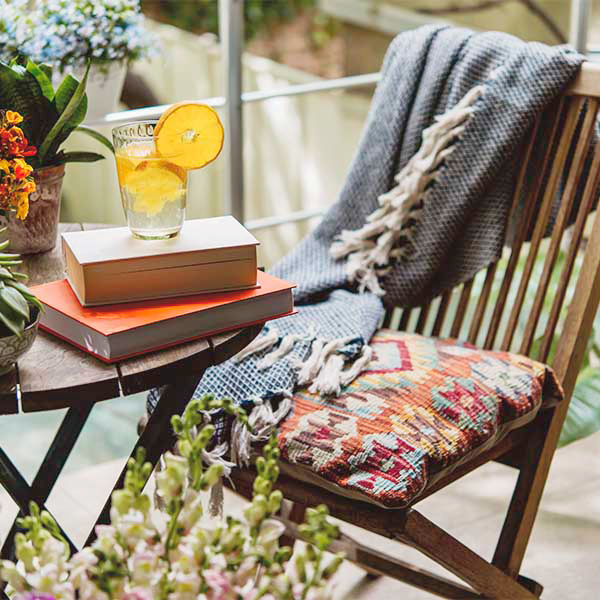
DaySpring Six Scriptures for spiritual rest this summer
A recipe for a relaxing summer afternoon: the sun’s warming rays, a cool drink, something good to read, a comfortable...
-

Keepsake Ornaments A carousel fit for a princess 👸
A Disney Princess, that is! Cinderella, Jasmine and Ariel are riding in high style on this gorgeous, gilded carousel...
